

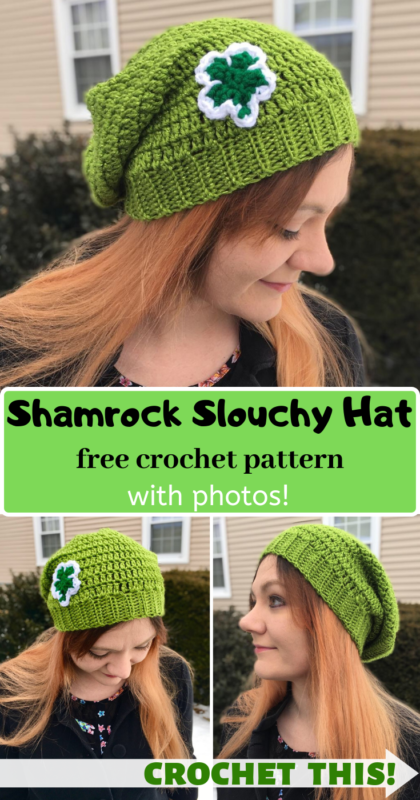
Shamrock Slouchy Hat Crochet Pattern
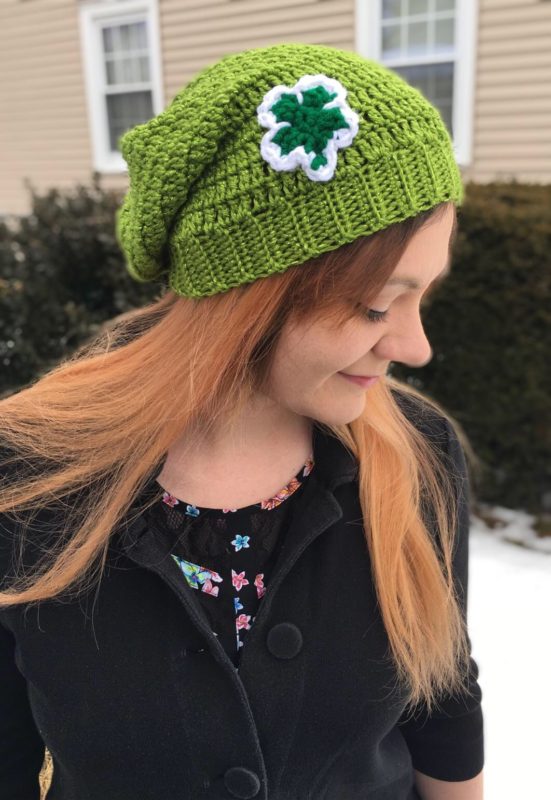
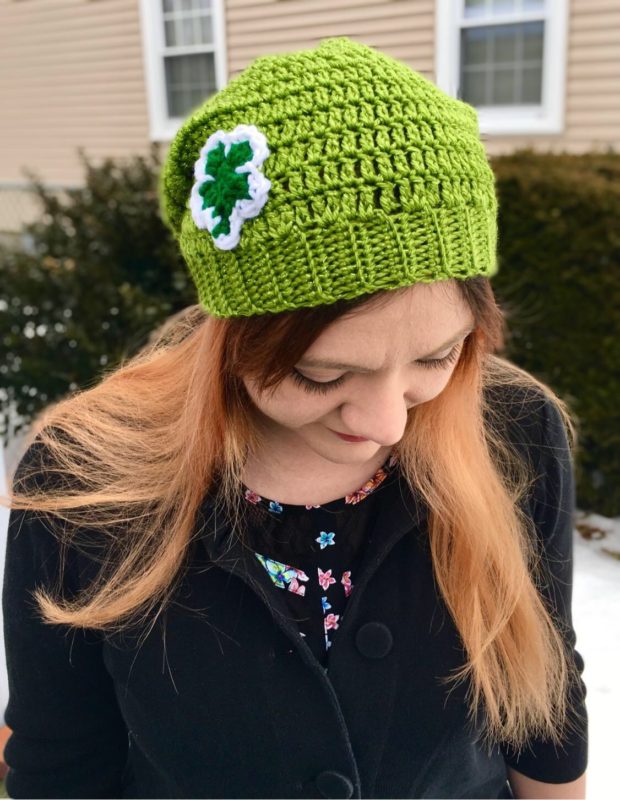
Are you feeling lucky? Well, you will be, once you’re wearing this Shamrock Slouchy Hat! It’s comfy, it glitters, and it has a tiny shamrock applique on it – it doesn’t get much more festive than this!
I can’t explain it, but I’ve always been a huge fan of St. Patrick’s Day. I’m part Irish, so maybe that has something to do with it! I’ve never gotten in on any of the big traditions of the holiday – corned beef and cabbage, the annual parade, etc. So I’m not sure why I always look forward to it so much. I live in upstate New York, so maybe it has something to do with the fact that once St. Patrick’s Day is here, we are already past the most brutal parts of winter (well, for the most part, anyway). Whatever the reason may be, I love to celebrate with lots of green gear!
(Pin this pattern for later!)
I started making these shamrock hats for my online store many years ago, and they were always a big hit each year. So I figured I would share the pattern here, so that whatever your St. Patrick’s Day plans are, you have something green and sparkly to wear!
Another fun fact about this pattern is that it can easily be adjusted to be made into a smaller/kids size by reducing the number of rows on the cuff by about 4, and reducing the stitches made in the round (body of the hat) by about 4. To make it larger, do the same thing, but add the stitches instead of reducing them. That’s a great way to make a men’s size beanie!! Guys need to wear green on St. Patty’s, too, you know!
Looking for the ad-free PDF copy of this pattern? You can find one in my shop HERE!
I again turned to an all-time favorite yarn of mine for this pattern – Caron Simply Soft Party in Spring Sparkle! I can’t get enough of this “Party” yarn right now – the sparkle amount is just right, and it’s medium weight (weight class “4”), which makes it a versatile yarn for lots of different projects. Pick some up on Amazon HERE
!
Ready to make a St. Patrick’s Day accessory that would be the envy of any leprechaun? Then let’s get started!!
Supplies
Size H/8 5.00 mm crochet hook
2 skeins of Caron Simply Soft Party in Spring Sparkle
Caron One Pound in Kelly Green (small amount needed)
Caron One Pound in White (small amount needed)
Scissors
Yarn Needle
Abbreviations
*= indicates the beginning/end of a section to be repeated
BLO = back loop only
Ch = chain
Dc = double crochet
FLO = front loop only
Rep = repeat
Rnd = round
Sc = single crochet
Sl st = slip stitch
Tr = triple crochet
Size
About 21″ circumference around cuff when stretched; about 11″ length (women’s / teens – one size fits most)
Gauge
9 sc = 2 in (5 cm) and 6 rows of sc rib (when VERY stretched) = 1.75 in (4.5 cm)
Instructions
Cuff of hat
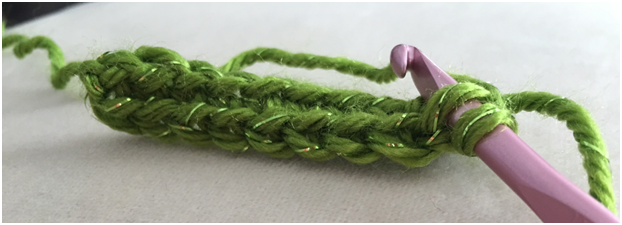
With Spring Sparkle, Ch 10.
Row 1 – Sc in each ch across (9 sc). Ch 1, turn.
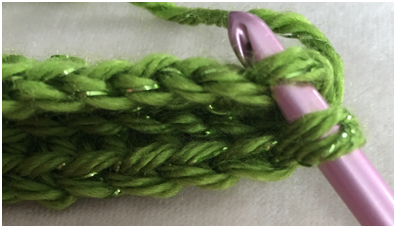
Row 2 – Working in BLO, sc across (9 sc). Ch 1, turn.
Rep Row 2 until piece measures about 21″ when VERY stretched (or about 15-16” when unstretched – about 54 rows).
Joining cuff
With right sides facing together, fold cuff and sl st two sides together, working in FLO. Do not fasten off. (9 sl st)
Turn right side out, ch 3.
Body of hat
Rnd 1 – Tr 72 sts evenly across cuff cuff (it helps to tr 1 in each row of sc rib below, but add an extra tr about every 7-10 sts). and change to Red in last st. Join with sl st to top of ch 3. (72 tr)
Rnd 2 – Ch 3, tr in each st around. Join with sl st to top of ch 3. (72 tr)
Rnd 3 – 14 (or until total hat length is 11 inches) – Rep Rnd 2. Do not ch 3 at the end of last rnd.
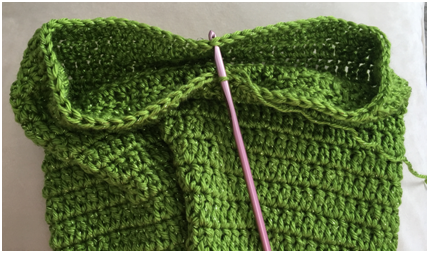
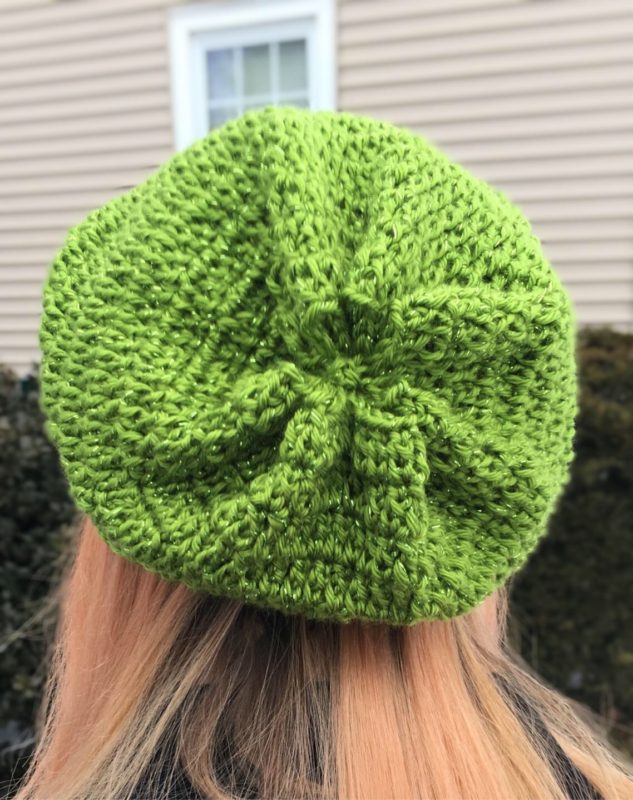
Closing the hat
Fold body of hat together and sc two sides together.
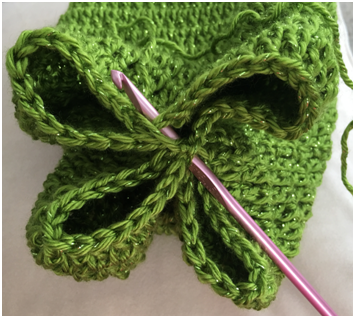
Fold in the other direction, closing two large gaps left after first side has been closed.
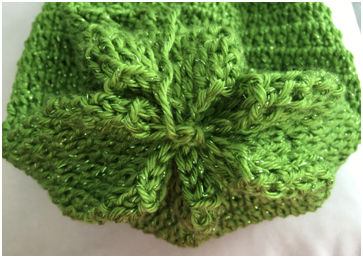
Close the remaining gaps even further by repeating the above two steps. Weave in all ends.
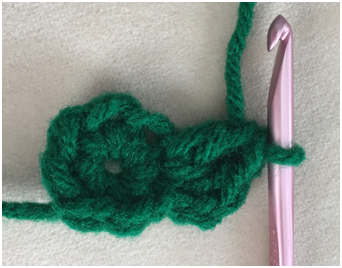
Shamrock
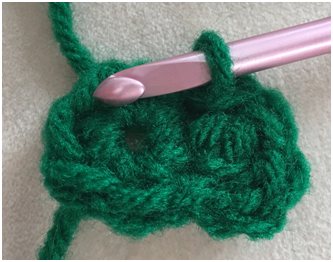
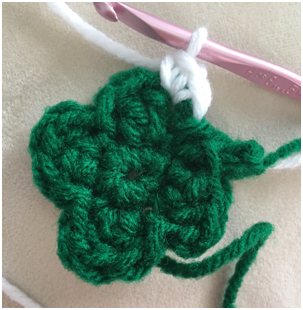
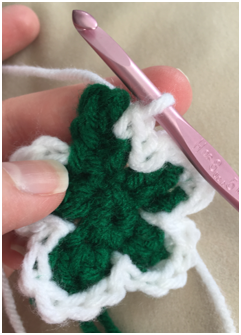
Rnd 1 – With Green, make a magic ring, 7 sc in ring. Join with sl st to first sc on ring. (7 sc)
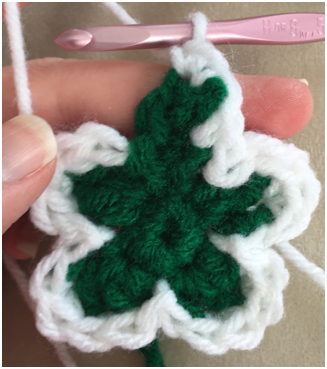
Rnd 2 – To make clovers: *Ch 2, 2 Dc in next st, Sl st in next st.* Rep from * to * three more times; on last clover, sl st is made into first st of rnd. To make stem: ch 3, sc across 2 chs. Join with sl st to first st of first clover.
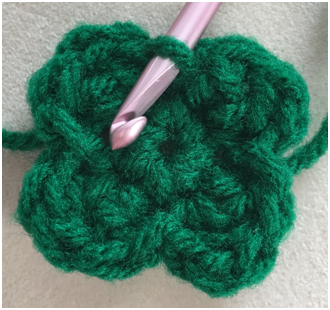
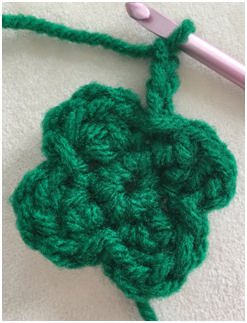
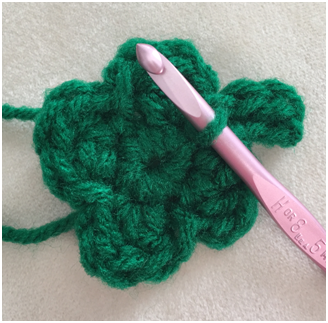
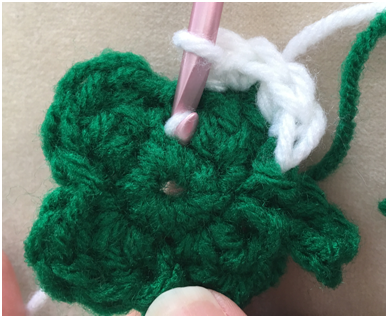
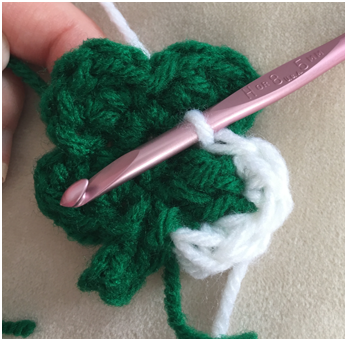
Rnd 3 – Attach White and fasten off Green. Ch 1, 2 sc around ch 2 from previous rnd, 2 sc in next st, Sl st between clovers*. Rep from * to * three more times. Around stem, sc 1 on side of stem, 2 sc at bottom of stem, sc in other side of stem, join with sl st to first st into first st of rnd. Fasten off, leave long tail for sewing.
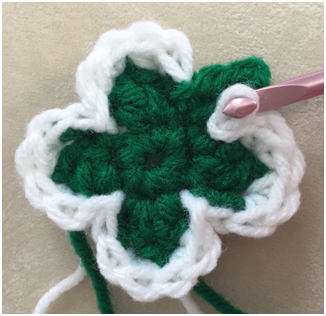
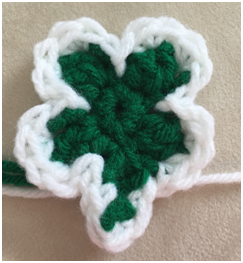
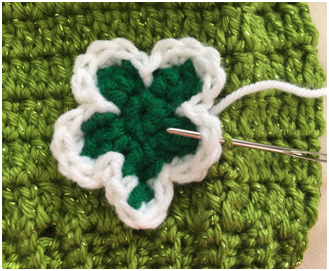
Finishing
Sew Shamrock to Hat, above cuff. Weave in all ends.
Here is the finished hat!
I hope you had a great time crocheting this hat along with me! I have lots more fun patterns coming soon, so please be sure to subscribe to my email list and follow me on social media!
COPYRIGHT: This pattern is owned by Crafty Kitty Crochet (Melissa Moore). Any reselling or distribution of this pattern is prohibited. Sale of items made using this pattern is welcomed, but I do ask that credit/a link be provided back to my site, craftykittycrochet.com.
Comments (5)
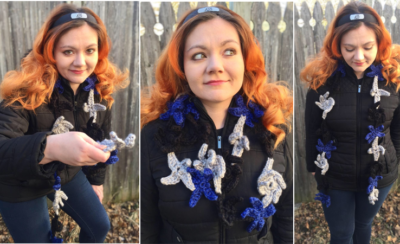
Shamrock Scarf Crochet Pattern – Crafty Kitty Crochet
March 6, 2019 at 2:37 am
[…] your lucky day!! Here is the sequel to my Shamrock Slouchy Hat – the Shamrock Scarf! It would be the perfect scarf to wear to a St. Patrick’s Day […]
babyboomnagels
April 29, 2019 at 9:31 am
Saved as a favorite, I really like your site!
Melissa
April 29, 2019 at 10:10 pm
Thank you!!!!
St. Patrick's Day Crochet Pattern Round-Up – Crafty Kitty Crochet
March 6, 2020 at 1:52 pm
[…] it’s not always*quite* springy weather yet on March 17. So better keep warm in style, right? Click here for the free […]
St. Patrick’s Day Crochet Hat Patterns FREE – I Good Ideas
March 13, 2023 at 8:34 pm
[…] 4: SHAMROCK SLOUCHY HAT FREE PATTERN […]