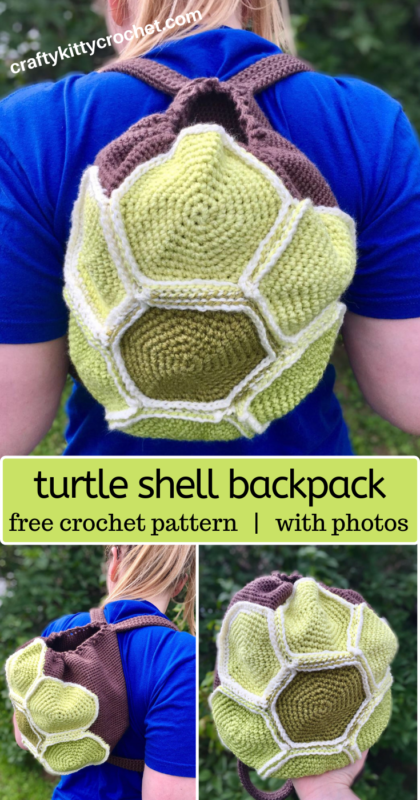
Turtle Shell Backpack Crochet Pattern
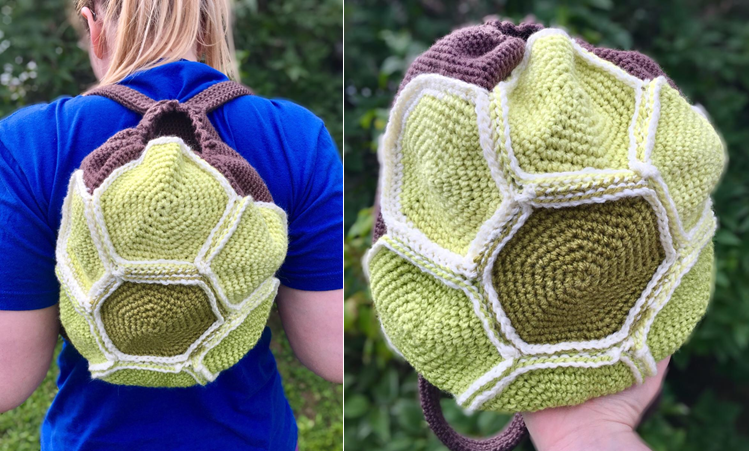
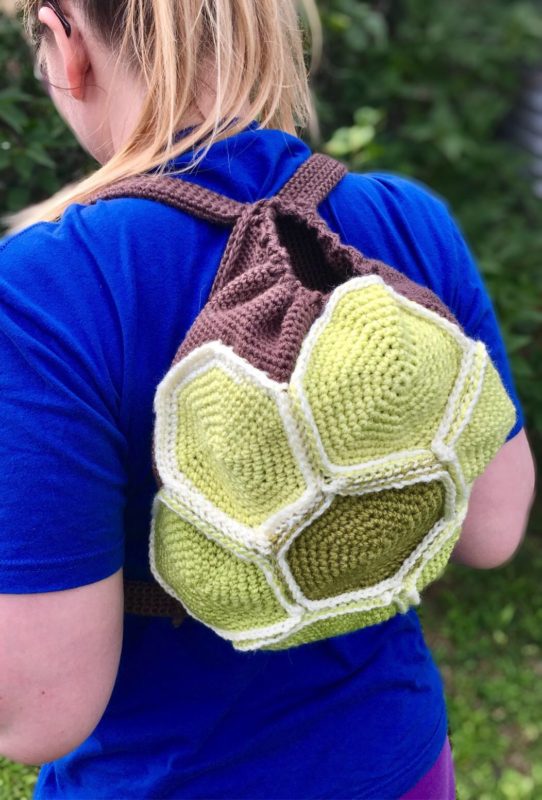
Can I get a SHELL YEAH? This turtle backpack is easy to make, fun to wear, and perfect for back to school! The concept of the backpack is that it is a large drawstring pouch with hexagons assembled to look like a turtle shell on the front. The end result is that you get to wear your very own turtle shell and carry around your belongings in style – a win win!
(Pin it for later!)
The turtle backpack fun doesn’t have to be just for kids/students, either – it’s also a great alternative to a purse, and it’s ideal for carrying craft supplies (including yarn)! The tight stitching is sturdy and not as prone to stretching as larger stitching. To top it all off, there’s no need to fuss and muss with buttons, clasps, etc. since the closing method is an easy-peasy drawstring made with a chain stitch!
This backpack calls for two yarns that are easy and fun to work with: Caron Simply Soft and Caron Cakes. Simply Soft is a great, versatile yarn that has a soft texture and pretty sheen, and Caron Cakes are great for a number of projects and come in all kinds of dessert-themed colors! You can find Simply Soft in Taupe (the backpack base color) on Amazon HERE, and Caron Cakes in Pistachio (shell color) on Amazon HERE
!
Another great thing about this backpack is that it is easily gender neutral. That being said, you can easily customize the backpack in lots of different colors – I think a pink base with a green shell would be super cute for any fan of the color pink! Since Caron Cakes comes in different variegated patterns, you could even get crazy and make a rainbow shell, too! The possibilities are endless!
With end-of-summer trips and back to school just around the corner, now is the perfect time to create a unique, multi-purpose backpack for the turtle lover in your life!
So who’s ready to raise some shell? I know I am – let’s go!
Supplies
Size E-4 / 3.5 mm crochet hook
Size G-6 / 4.25 mm crochet hook
Caron Cakes in Pistachio – 1 cake
2 skeins of Caron Simply Soft in Taupe
Scissors
Yarn Needle
Abbreviations
*= indicates the beginning/end of a section to be repeated
Beg = beginning
Ch = chain
Dc = double crochet
Flo = front loop only
Rep = repeat
Rnd = round
Sc = single crochet
Sk = skip
St(s) = stitch(es)
Gauge
Exact gauge is not essential to this project.
Size
About 12 inches wide by 14 inches long, laying flat
Instructions
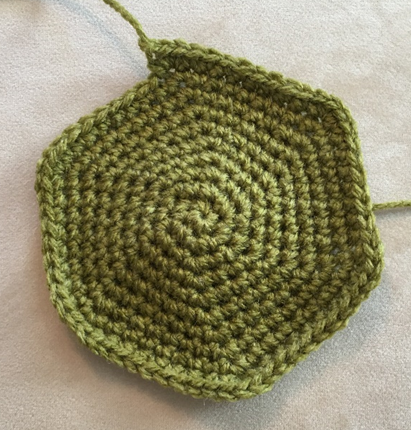
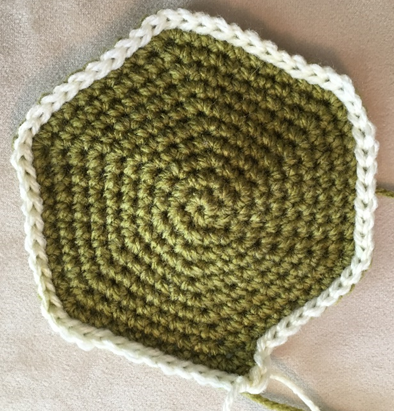
Shell Parts (make 7)
This piece is worked in continuous rnds. Do not join. You may wish to use a stitch marker and move it up at the beg of each new rnd.
Rnd 1 – with G hook and Pistachio, make a magic ring, 6 sc in ring (6 sc)
Rnd 2 – 2 sc in each st around. (12 sc)
Rnd 3 – 2 sc in next st, sc in next st; rep around. (18 sc)
Rnd 4 – 2 sc in next st, sc in next 2 sts; rep around. (24 sc)
Rnd 5 – 2 sc in next st, sc in next 3 sts; rep around. (30 sc)
Rnd 6 – 2 sc in next st, sc in next 4 sts; rep around. (36 sc)
Rnd 7 – 2 sc in next st, sc in next 5 sts; rep around. (42 sc)
Rnd 8 – 2 sc in next st, sc in next 6 sts; rep around. (48 sc)
Rnd 9 – 2 sc in next st, sc in next 7 sts; rep around. (54 sc)
Rnd 10 – 3 sc in next st, sc in next 8 sts; rep around. (66 sc)
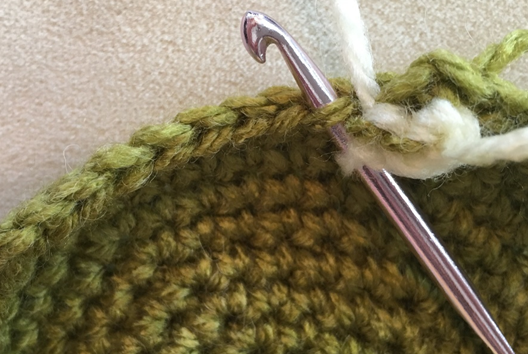
Edging
Fasten off current color and attach a section of yarn with contrast color. Loosely sl st through FLO of each st around.
Fasten off, leaving long tail for sewing.
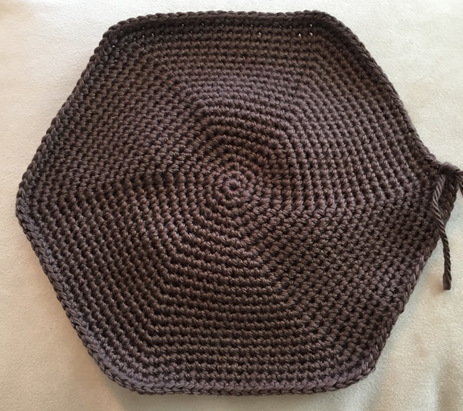
Backpack
This piece is worked in continuous rnds. Do not join. You may wish to use a stitch marker and move it up at the beg of each new rnd.
Rnd 1 – with E hook and Taupe, make a magic ring, 6 sc in ring (6 sc)
Rnd 2 – 2 sc in each st around. (12 sc)
Rnd 3 – 2 sc in next st, sc in next st; rep around. (18 sc)
Rnd 4 – 2 sc in next st, sc in next 2 sts; rep around. (24 sc)
Rnd 5 – 2 sc in next st, sc in next 3 sts; rep around. (30 sc)
Rnd 6 – 2 sc in next st, sc in next 4 sts; rep around. (36 sc)
Rnd 7 – 2 sc in next st, sc in next 5 sts; rep around. (42 sc)
Rnd 8 – 2 sc in next st, sc in next 6 sts; rep around. (48 sc)
Rnd 9 – 2 sc in next st, sc in next 7 sts; rep around. (54 sc)
Rnd 10 – 2 sc in next st, sc in next 8 sts; rep around. (60 sc)
Rnd 11 – 2 sc in next st, sc in next 9 sts; rep around. (66 sc)
Rnd 12 – 2 sc in next st, sc in next 10 sts; rep around. (72 sc)
Rnd 13 – 2 sc in next st, sc in next 11 sts; rep around. (78 sc)
Rnd 14 – 2 sc in next st, sc in next 12 sts; rep around. (84 sc)
Rnd 15 – 2 sc in next st, sc in next 13 sts; rep around. (90 sc)
Rnd 16 – 2 sc in next st, sc in next 14 sts; rep around. (96 sc)
Rnd 17 – 2 sc in next st, sc in next 15 sts; rep around. (102 sc)
Rnd 18 – 2 sc in next st, sc in next 16 sts; rep around. (108 sc)
Rnd 19 – 2 sc in next st, sc in next 17 sts; rep around. (114 sc)
Rnd 20 – 2 sc in next st, sc in next 18 sts; rep around. (120 sc)
Rnd 21 – 2 sc in next st, sc in next 19 sts; rep around. (126 sc)
Rnd 22 – 2 sc in next st, sc in next 20 sts; rep around. (132 sc)
Rnds 23 – 80 – sc in each st around.
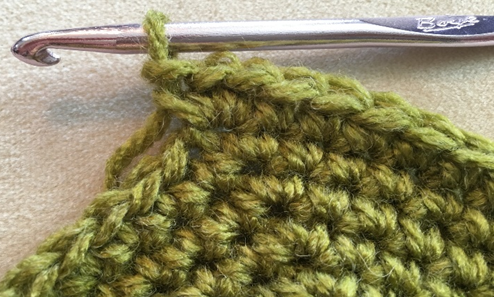
Rnd 81 – ch 3 (counts as a dc), sk 1 st, dc in next st. *Ch 1, sk 1 st, dc in next st.* Rep from * to * around. Join with sl st to 2nd ch in beg ch 3. (66 dc)
Fasten off.
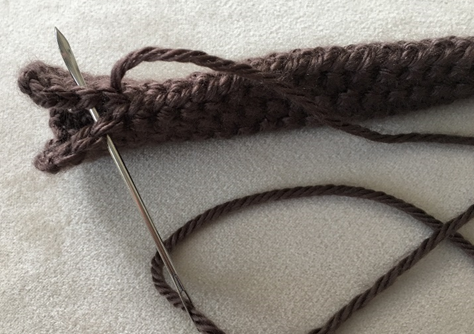
Drawstring
With Taupe and E hook, Ch 145. Fasten off, trim end. Make a few knots at each end.
Straps
With Taupe and E hook, Ch 101.
Row 1 – sc in 2nd ch from hook, and in each st across. Ch 1, turn (100 sc)
Rows 2 – 13 – sc in each st across. Ch 1, turn (do not ch 1 at end of Row 13). (100 sc per row)
Fasten off, leaving long tail for sewing
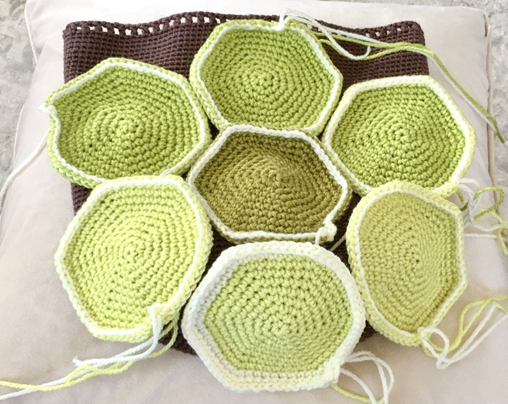
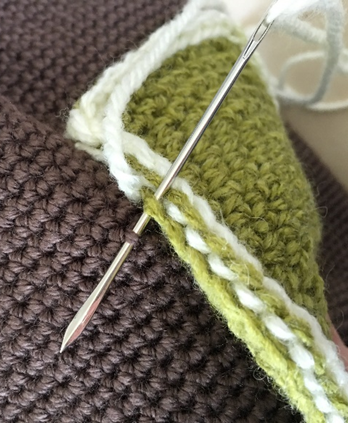
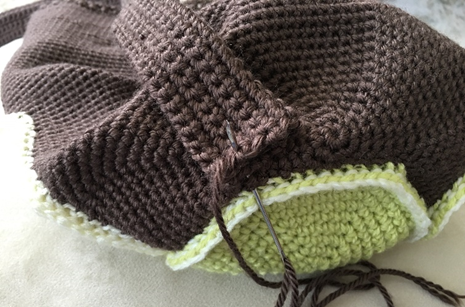
Finishing
Arrange Shell so that one Shell Part is in the center, and the other Shell Parts are connected to the edges of the center Shell Part. Sew all Shell Parts together through rem loop from Edging of Shell Parts. Lay backpack flat and arrange entire piece of sewn together Shell Parts on Backpack; sew Shell Parts to Backpack.
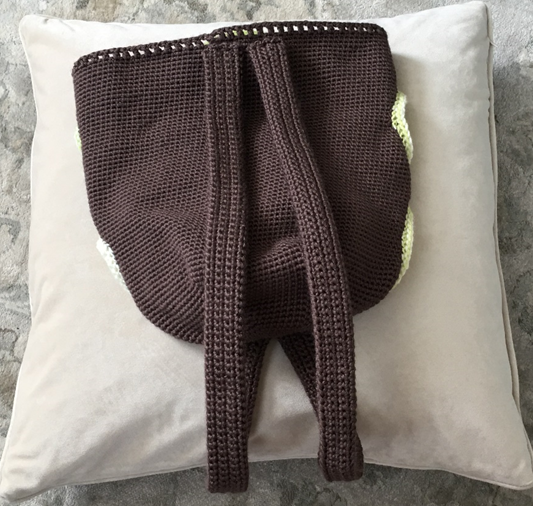
Fold Straps in half and sew together edges. Arrange straps so that they are next to each other both on top and on bottom of Backpack. Sew Straps in place.
Weave Drawstring through spaces of Rnd 81 of Backpack.
Weave in all ends.
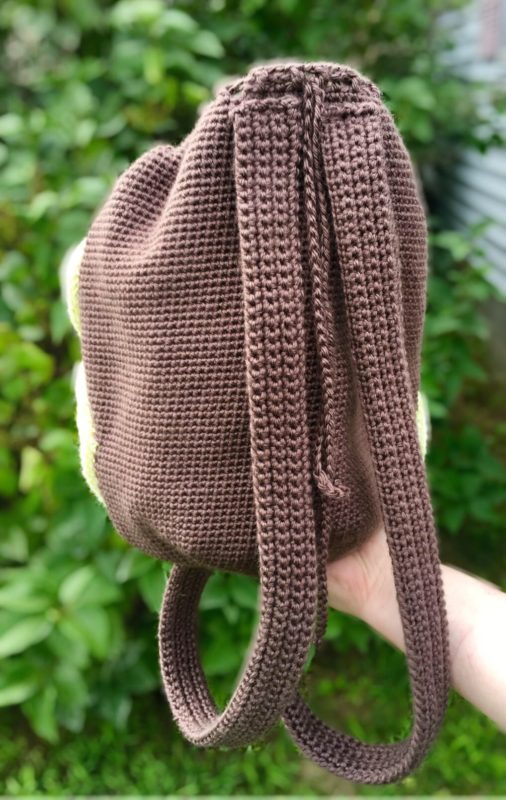
Here is the finished backpack!


I hope you enjoyed crocheting this turtle backpack along with me! If you love fun, free patterns like this one, please be sure to subscribe to my email list and follow me on social media. I have so many more fun patterns like this one coming soon!
Happy Crocheting!
COPYRIGHT: This pattern is owned by Crafty Kitty Crochet (Melissa Moore). Any reselling or distribution of this pattern is prohibited. Sale of items made using this pattern is welcomed, but I do ask that credit/a link be provided back to my site, craftykittycrochet.com.