Peppermint Granny Square – Crochet Pattern
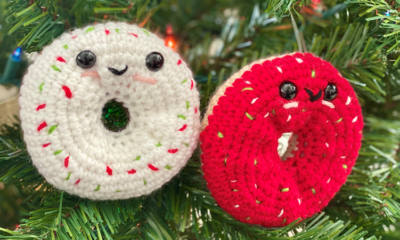
The holidays are upon us, and in terms of yummy holiday symbols, Peppermint is basically the Pumpkin Spice of the Christmas season! Everywhere you go, flavors, decor, etc. seem to all have a peppermint “twist” (get it?!). So if you or someone on your gift list love candy cane striped decor, this Peppermint Granny Square is the perfect DIY crochet project! The squares can be made into blankets (afghan or throw – the size is up to you!), scarves, pillows, etc. The possibilities are endless!
Pin it for later!
A few great things about this pattern include how fast and easy it is, and how customizable it is! I decided to make red and green peppermints to represent classic candy canes and wintergreen. But you could really mix it up and make a rainbow peppermint blanket, pastel peppermint ensemble, etc. This means you can also customize it specifically to whoever you’re gifting it to – school colors, team colors, and so on!
Regarding the colors I used, you’re probably not surprised to find out that I used some favorites from Lion Brand Vanna’s Choice. Scarlet and Kelly Green are classic Christmas colors that are vibrant enough to be colorful, but not too bright to stop being traditional holiday colors. You can find Scarlet on Amazon HERE and Kelly Green on Amazon HERE
!
Another thing I love about these granny squares is that they’ve got you covered no matter what your timetable is. Since the peppermint “disc” at the center of the square works up quickly, and the “square” portion comes from just a few rounds of edging, the squares are easy, fast, and fun to make! So if you want to make a quicky scarf as a last minute Christmas gift, you can just whip up about 12-15 of these squares, add some fringe, and you’re good to go! Or, if you’re looking for a larger gift, you can make a throw or even larger afghan using these squares, as well.
So who’s ready to take a stroll down Candy Cane Lane? I know I am! Let’s go!
Supplies
Size H-8 / 5 mm crochet hook
1 skein of Lion Brand Vanna’s Choice in White (main color)
1 skein of Lion Brand Vanna’s Choice in Scarlet and/or Kelly Green (Contrast Colors)
Yarn Needle
Scissors
Abbreviations
*= indicates the beginning and/or end of a section to be repeated
BLO = back loop only
Dc = double crochet
FLO = front loop only
Hdc = half double crochet
Rnd(s) = round(s)
Sc = single crochet
Sl St = slip stitch
Sp(s) = space(s)
St(s) = stitch(es)
Tr = triple crochet
Gauge
4 double crochet and 2 rounds = about 1 inch
Size
Finished square = about 6 inches square
Notes
You may choose to carry White and Contrast colors as you are making the Peppermint Stripes, so that there are less ends to weave in later. However, some of the colors may show through as you’re working. Otherwise, fasten off each color (White and Contrast) as you change colors while making the Peppermint Stripes.
Instructions
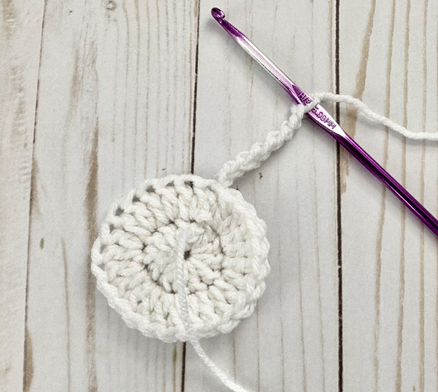
Center of Peppermint
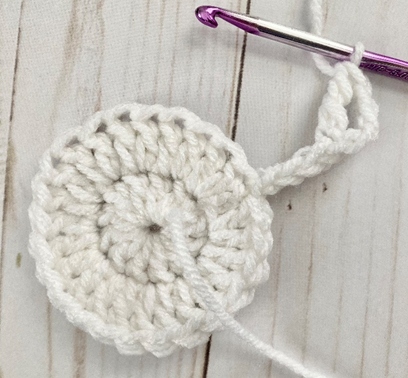
Rnd 1 – with White, make a magic ring. Ch 2, 12 dc in ring. Join with sl st to first dc of rnd. Ch 2 (12 dc)
Rnd 2 – 2 dc in each st around. Join with sl st to first dc of rnd. Do not fasten off (24 sc)
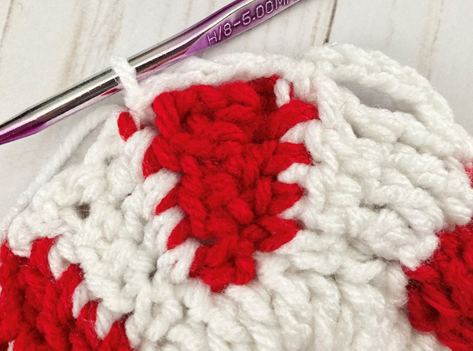
Peppermint Stripes
Row 1 – Ch 7. In 4th ch from hook, *tr. Dc in next st. Hdc in next st. Sc in next st. Join with sl st to next st on Rnd 2. Sl st in next st from Rnd 2. Ch 1, turn (1 tr, 1 dc, 1 hdc, 1 sc)
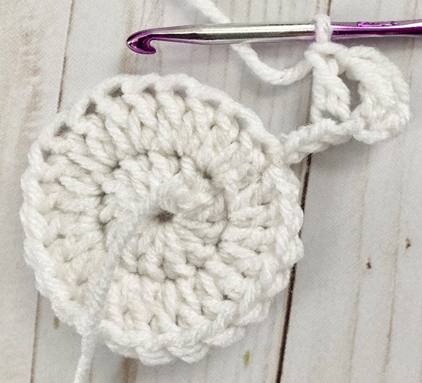
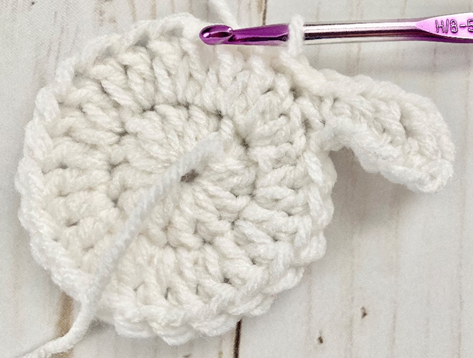
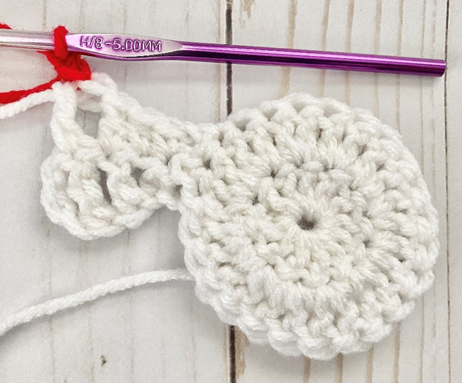
Row 2 – Sc in next st. Hdc in next st. Dc in next st. Tr in next st; join contrast color as you finish this st. Ch 2, turn (1 sc, 1 hdc, 1 dc, 1 tr)
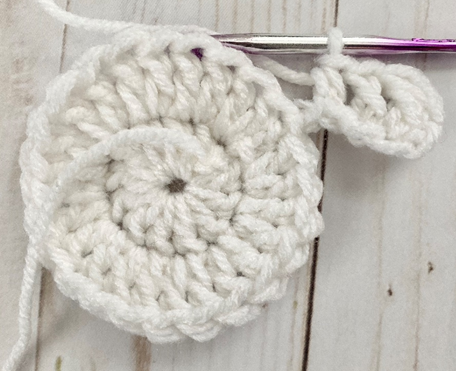
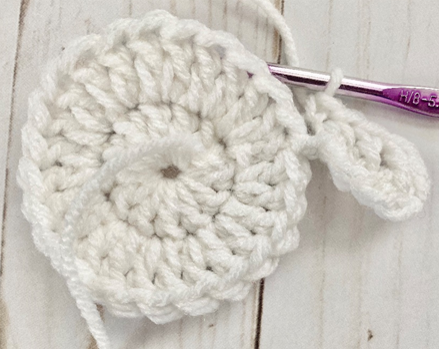
Rep Rows 1 and 2, starting from * of Row 1, five more times. (6 white stripes, 6 contrast color stripes)
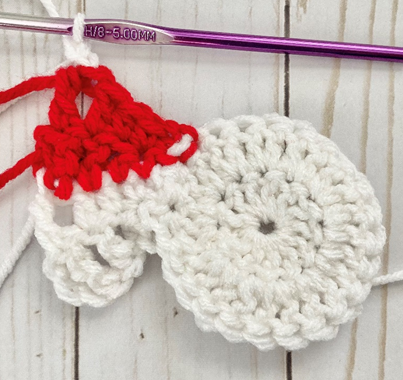
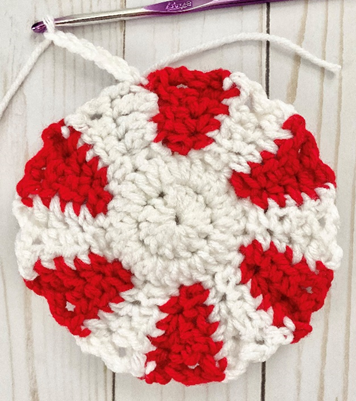
Joining Edges
With wrong side facing you, fold edges of Peppermint together and sl st across to join the edges. Fasten off, weave in all ends.
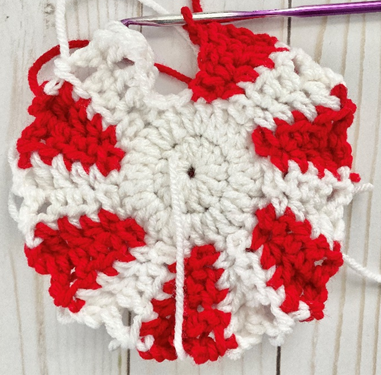
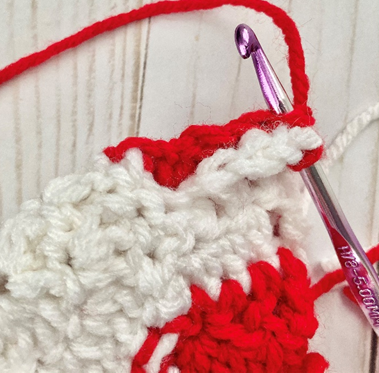
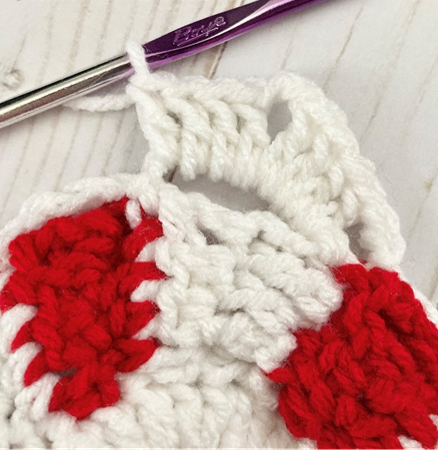
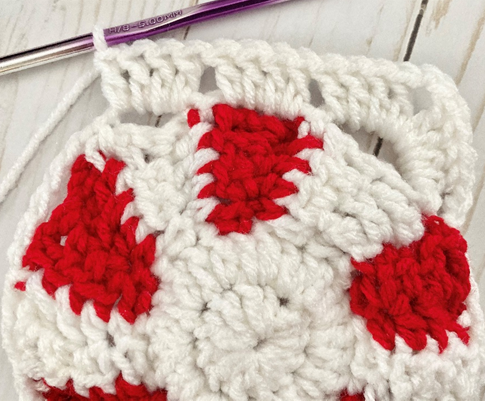
Square Edging
Rnd 1 – Attach white at edge of any stripe on peppermint. *Ch 6, sl st to other edge of stripe. Ch 3, sl st to next edge of stripe. Ch 3, sl st to next edge of stripe.* Rep from * to * 3 more times. (4 ch-6 sps, 8 ch-3 sps)
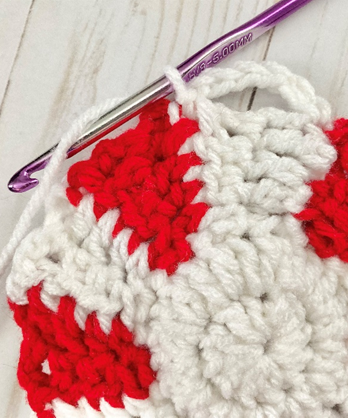
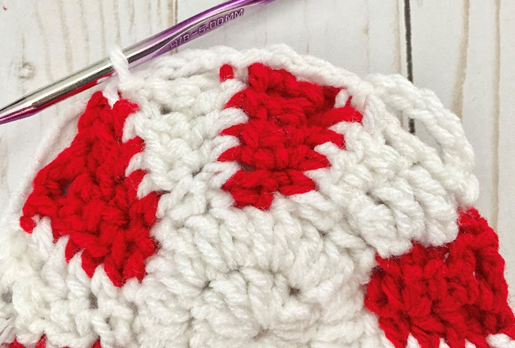
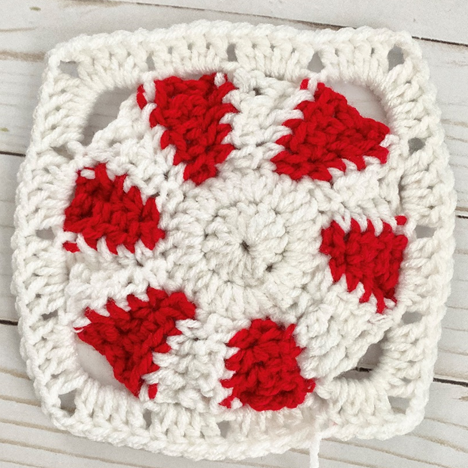
Rnd 2 – Ch 2, *[4 dc, ch 2, 4 dc] in next ch-6 sp, 4 dc in next ch-3 sp, 4 dc in next ch-3 sp.* Rep from * to * 3 more times, join with sl st to first dc of rnd.
Fasten off, weave in all ends.
Joining Squares
To join squares together, place squares together so that right sides are facing each other. Place hook through BLO of square closest to you, and through FLO of square farthest away from you. Join yarn, ch 1. Sc in each st across, continuing to work through loops mentioned previously. More squares can be joined/added this way, working horizontally; and vertical spaces can be crocheted together this way later.
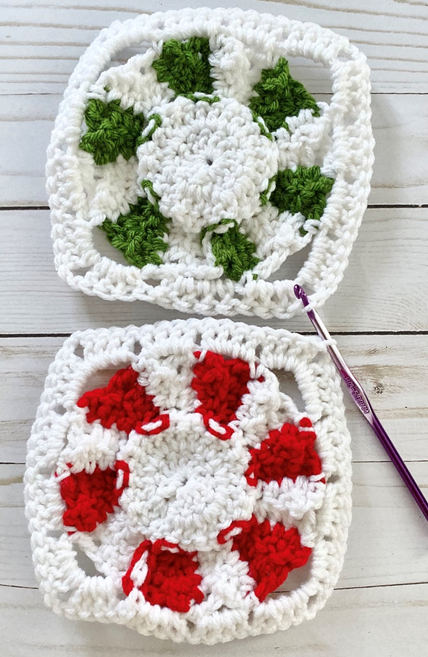
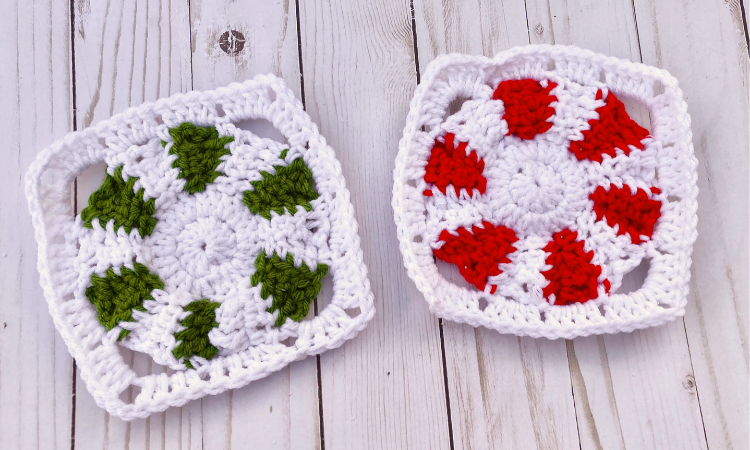
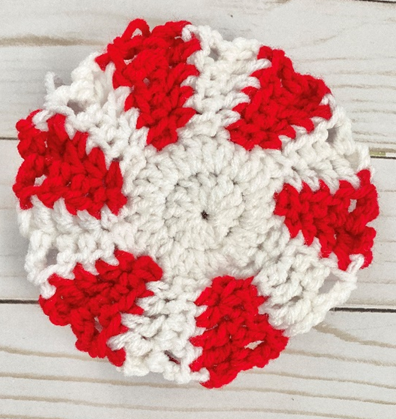
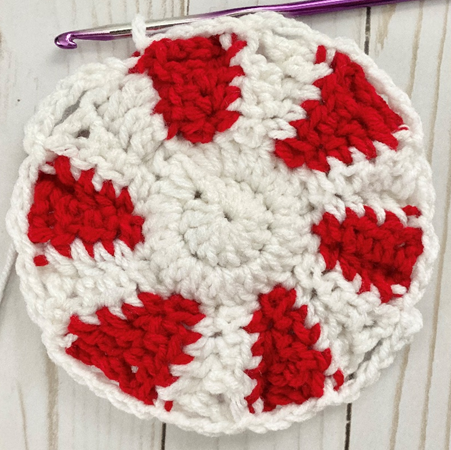
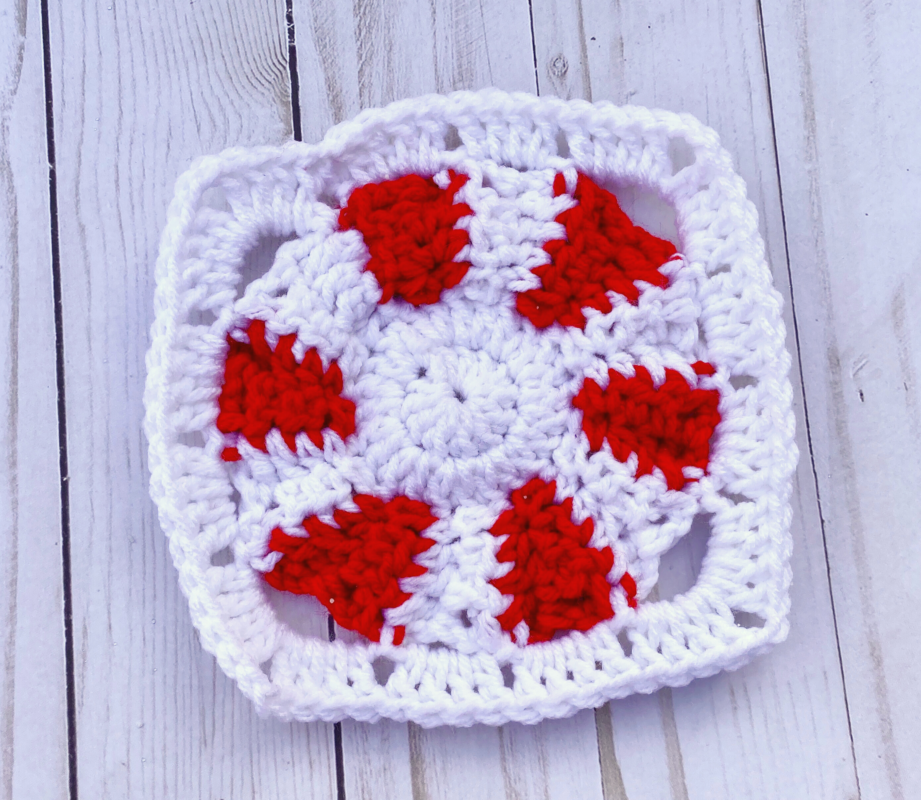
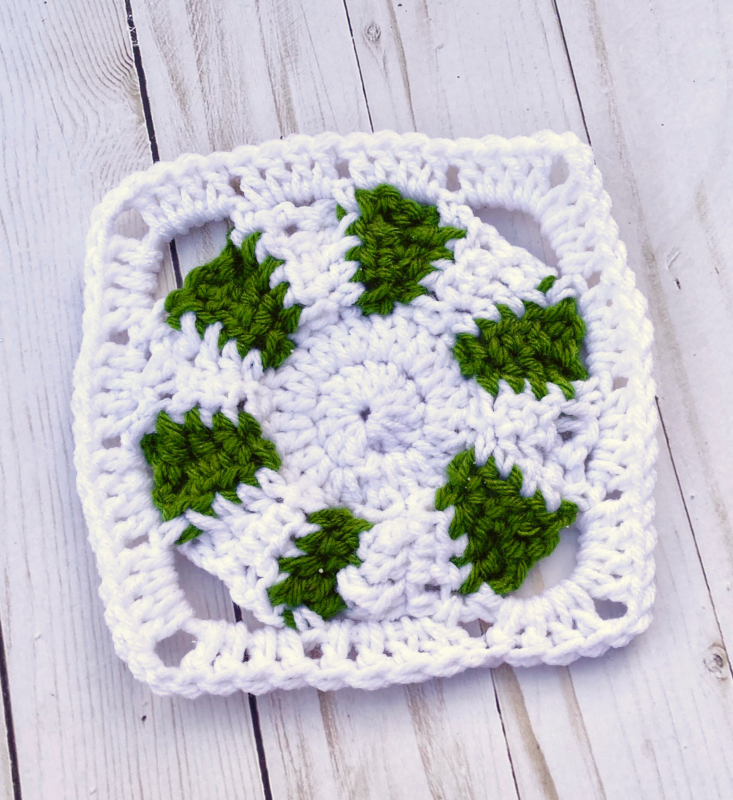
Here are the finished Peppermint Squares!
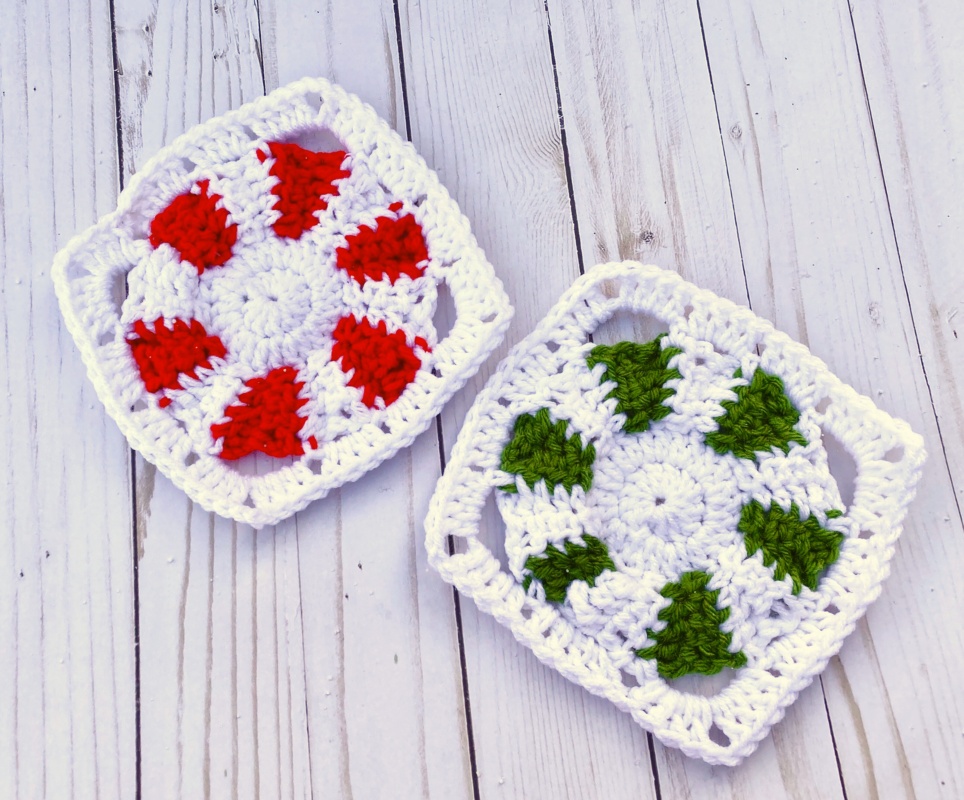
I hope you enjoyed crocheting these Peppermint Granny Squares along with me! If you love fun, free patterns like this one, then please be sure to subscribe to my email list and follow me on social media. I have many more patterns coming soon!
Happy Crocheting!!!
COPYRIGHT: This pattern is owned by Crafty Kitty Crochet (Melissa Moore). Any reselling or distribution of this pattern is prohibited. Sale of items made using this pattern is welcomed, but I do ask that credit/a link be provided back to my site, craftykittycrochet.com.