
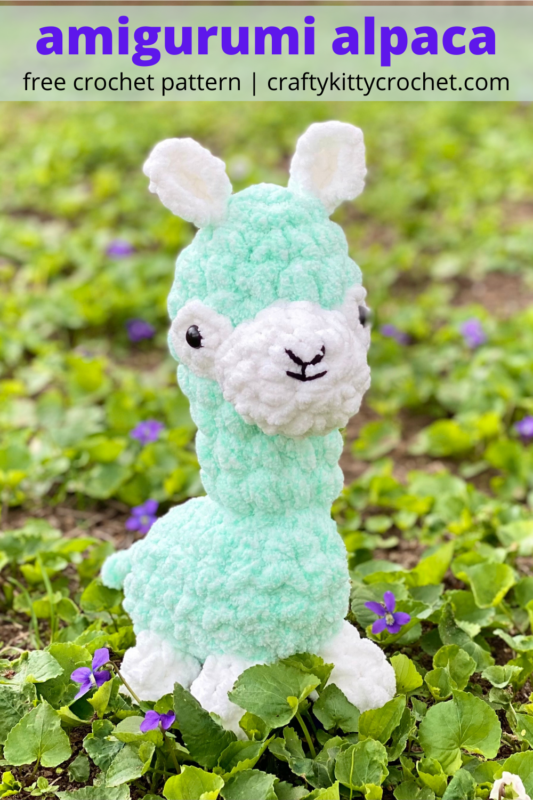
Amigurumi Alpaca – Crochet Pattern
Pin it for later!
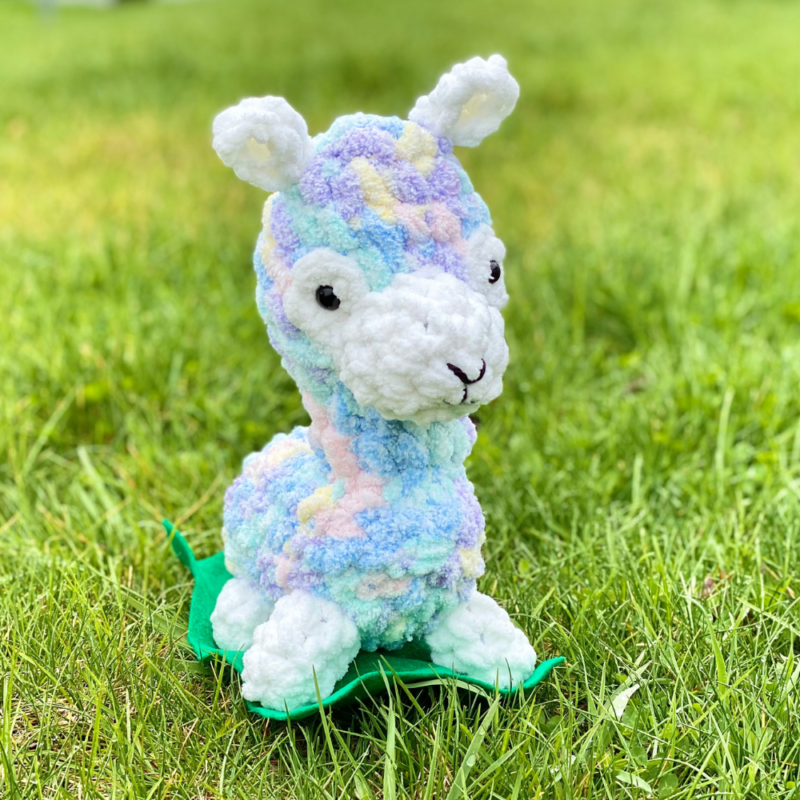
It doesn’t get much cuter than a fluffy, cuddly alpaca! And now you can make your very own with this incredibly easy pattern! Thanks to the super bulky yarn used, each part of this project works up with only a few rows or rounds. So you can make an entire field of your own little alpaca cuties in no time! Alpacas and llamas (there is a difference…I’m just not sure what it is!) are all the rage right now in the world of plushies. Pastel alpacas, rainbow alpacas, and more – the possibilities are endless when it comes to how to customize these fun and adorable critters. They are extra fluffy and soft thanks to the yarn used to make them. I hope you start an entire collection – for yourself, for the kids in your life, and more!!
Amigurumi Alpaca
I’ve been wanting to make an alpaca for a while now. A while back, I drafted a basic design for one, but never got around to finishing it. Fast forward a few years, and I found myself in Wal-Mart’s yarn section staring at the perfect yarn to make a few fluffy friends! If you’re a yarn enthusiast, then you’ve probably heard quite a bit of appreciation from the yarn community for the wool that alpacas produce. And in recent years, alpacas have been popping up everywhere as kawaii plushies – they just seem to get cuter and more popular by the day! Those two reasons combined inspired me to design these cute critters.
The yarn I used to make my alpacas was Wal-Mart’s house brand, Mainstays Chenille. But if you’re looking to purchase yarn online, I think Bernat Blanket Extra is a great substitute! Find some on Amazon:
Looking for the ad-free PDF copy of this pattern? Find one in my shop HERE!
Supplies
Size N/P-15 10 mm crochet hook
1 skein of Mainstays Chenille Heathered Yarn in Multi Pastel or Opaline Green (super bulky; 33 yds)
- Note: If substituting the above yarn, please note that this yarn is classified as Super Bulky but has a similar thickness to Jumbo weight yarn
1 skein of Bernat Blanket in White (about 50 yds used)
Small amount of medium weight black yarn (a few yds for nose and mouth)
Fiberfill stuffing
1 pair of 12 mm safety eyes
Yarn needle with large eye
Scissors
Abbreviations
Ch = chain
Rep = repeat
Rnd(s) = round(s)
Sc = single crochet
Sc2tog = single crochet 2 together
St(s) = stitch(es)
Gauge
Exact gauge is not essential to this project.
Size
About 10-11 inches length
Notes
Pattern calls for Front Legs to be made larger than Back Legs; this is to help distribute the weight of the piece more evenly, preventing it from falling forward due to the weight of the Head/Neck.
How to Make This
Instructions
Head
This piece is worked in continuous rnds; do not join. You may wish to use a stitch marker and move it up at the beg of each rnd.
Rnd 1 – With Mainstays Chenille yarn, make a magic ring. 5 sc in ring. (5 sc)
Rnd 2 – 2 sc in each st around. (10 sc)
Rnd 3 – 2 sc in next st, sc in next st. Rep around (15 sc)
Rnds 4 – 6 – sc in each st around. Begin stuffing. (15 sc per rnd)
Rnd 7 – Sc2tog over next 2 sts, sc in next st; rep around. Finish stuffing. (10 sc)
Rnds 8 – 10 – sc in each st around. (10 sc)
Fasten off, leaving long tail for sewing.
Body
This piece is worked in continuous rnds; do not join. You may wish to use a stitch marker and move it up at the beg of each rnd.
Rnd 1 – With Mainstays Chenille yarn, make a magic ring. 5 sc in ring. (5 sc)
Rnd 2 – 2 sc in each st around. (10 sc)
Rnd 3 – 2 sc in next st, sc in next st. Rep around (15 sc)
Rnds 4 – 11 – Sc in each st around. Begin stuffing. (15 sc)
Rnd 12 – Sc2tog over next 2 sts, sc in next st; rep around. Finish stuffing. (10 sc)
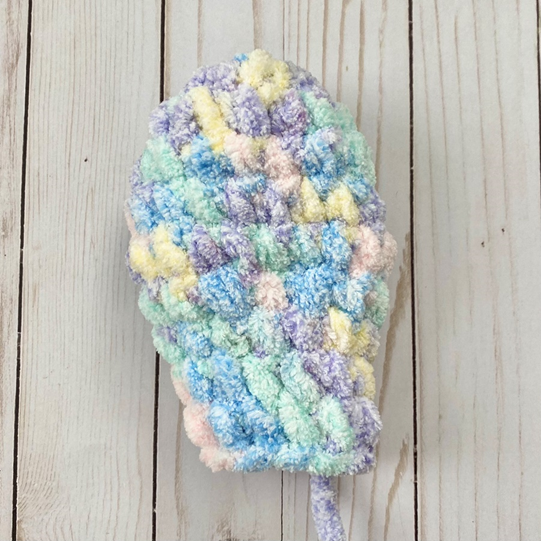
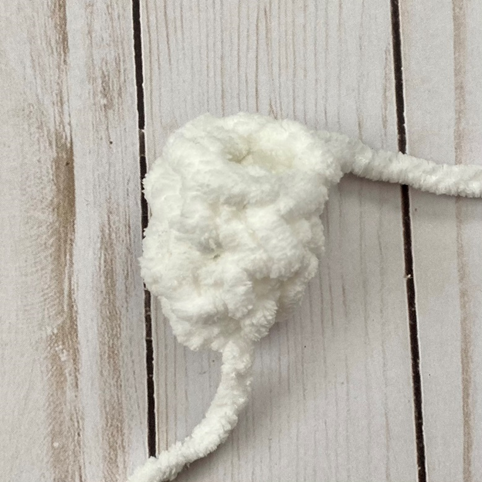
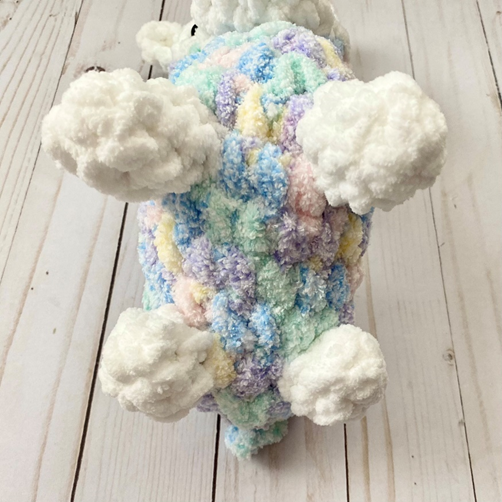
Rnd 13 – Sc2tog in each st around. (First photo below shows piece at this stage.) (5 sc)
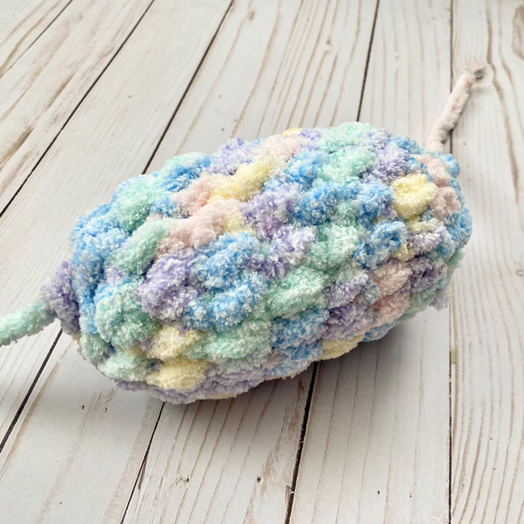
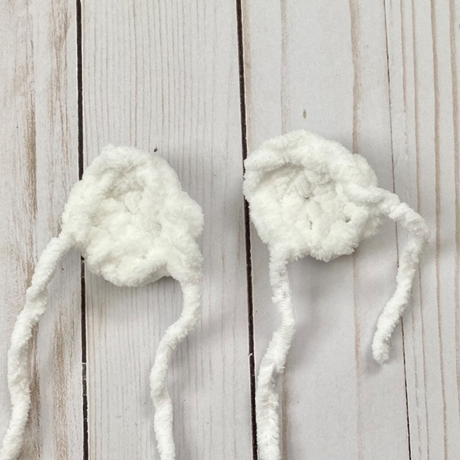
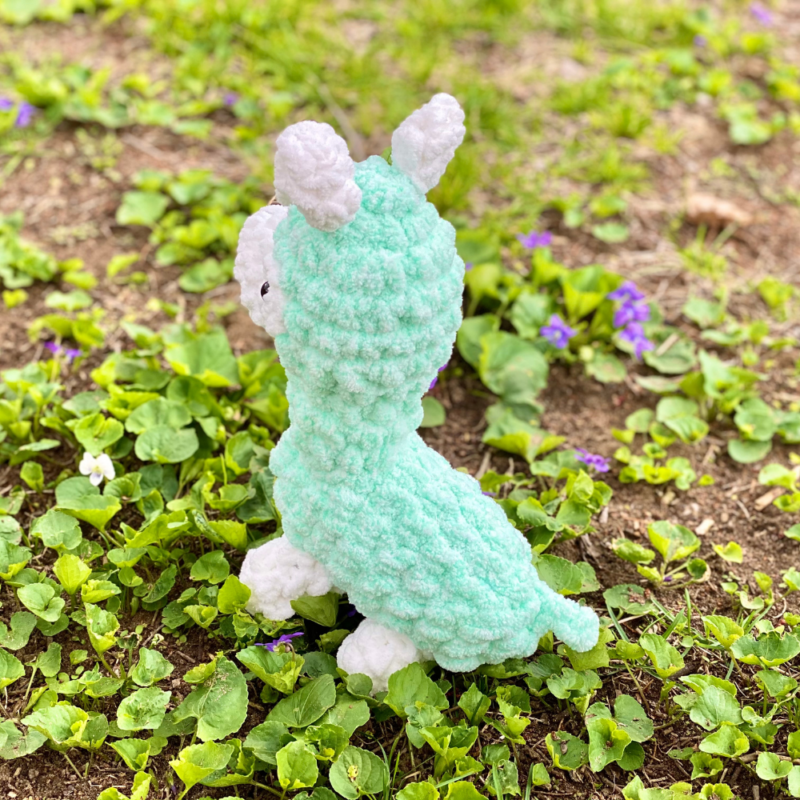
Fasten off, leaving long tail. Use tail to sew rem gap from Rnd 13; when gap is closed, re-attach hook and ch 4 with rem tail to make Tail. Fasten off, weaving end back through ch and into Body to be woven in later. (Second photo below shows Tail.)

Eye Surround (make 2)
This piece is worked in continuous rnds; do not join. You may wish to use a stitch marker and move it up at the beg of each rnd.
Rnd 1 – With Bernat Blanket in White, make a magic ring. 6 in ring. (6 sc)
Fasten off, leaving long tail for sewing.
Snout
This piece is worked in continuous rnds; do not join. You may wish to use a stitch marker and move it up at the beg of each rnd.
Rnd 1 – With Bernat Blanket in White, make a magic ring. 6 in ring. (6 sc)
Rnd 2 – 2 sc in each st around. (12 sc)
Rnd 3 – 2 sc in next st, sc in next st. Rep around (18 sc)
Rnds 4 – 5 – sc in each st around. (18 sc)
Fasten off, leaving long tail for sewing.
Front Leg (make 2)
This piece is worked in continuous rnds; do not join. You may wish to use a stitch marker and move it up at the beg of each rnd.
Rnd 1 – With Bernat Blanket in White, make a magic ring. 6 in ring. (6 sc)
Rnds 2 – 4 – sc in each st around. (6 sc)
Fasten off, leaving long tail for sewing.
Back Leg (make 2)
This piece is worked in continuous rnds; do not join. You may wish to use a stitch marker and move it up at the beg of each rnd.
Rnd 1 – With Bernat Blanket in White, make a magic ring. 6 in ring. (6 sc)
Rnds 2 – 3 – sc in each st around. (6 sc)
Fasten off, leaving long tail for sewing.
Ear (Make 2)
With Bernat Blanket in White, ch 2.
Row 1 – 3 sc in 2nd ch from hook. Ch 1, turn. (3 sc)
Row 2 – sc in each st across. Ch 1, turn (3 sc)
Row 3 – rep Row 2. Do not ch 1 at end of row. (3 sc)
Fasten off, leaving long tail for sewing.
Finishing
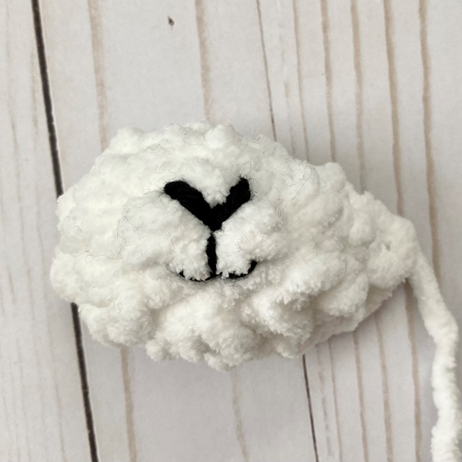
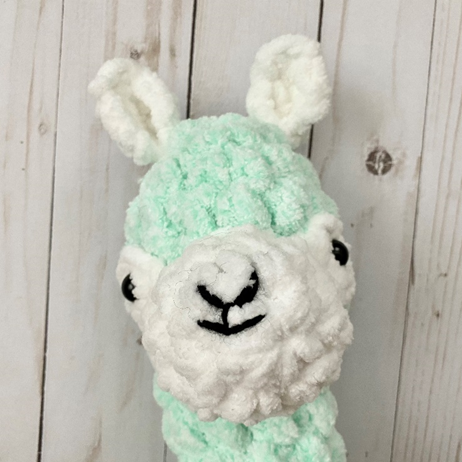
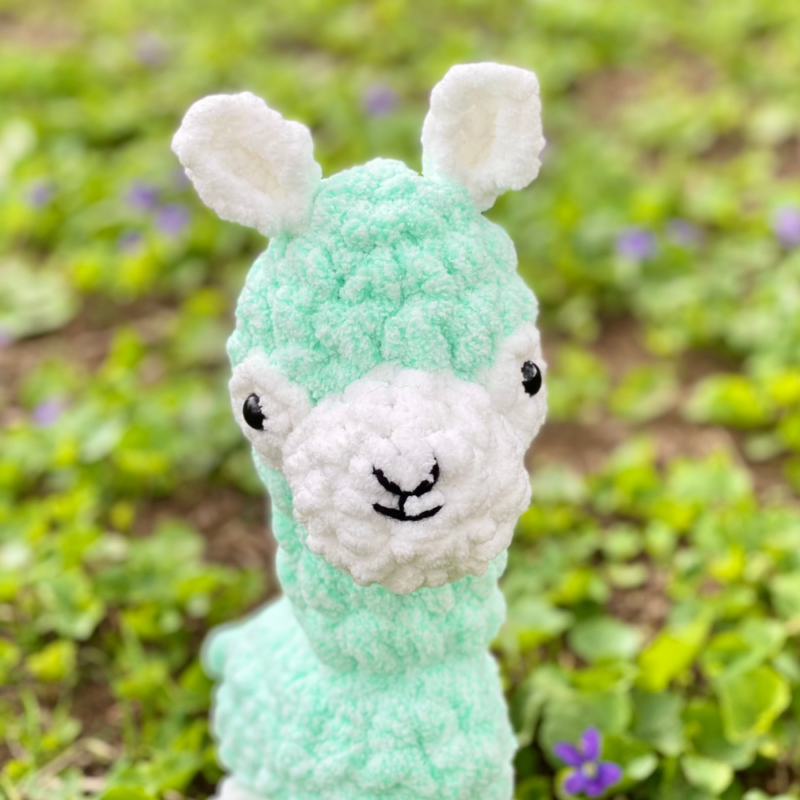
With medium weight Black yarn, sew small v in center of Snout for Nose. Sew a small vertical line underneath. Sew another small v below vertical line for Mouth. Stuff snout and sew to center of Head, pinching top of Snout slightly to make a triangular shape.
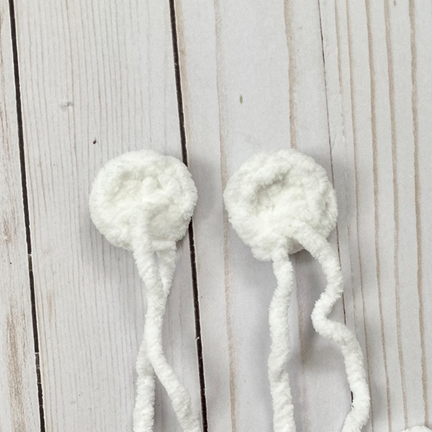
Pinch Ears at bottom and sew each to top of Head (first photo below).
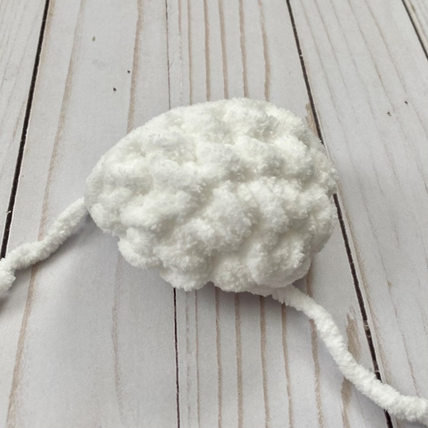
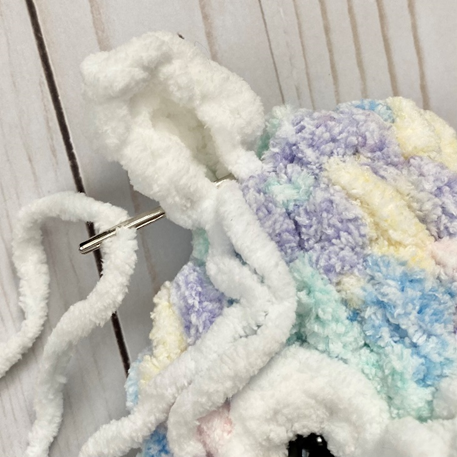
Place safety eyes in center of Eye Surrounds, near where magic ring was started. Secure safety eyes (while placed in Eye Surrounds) in Head, positioning on either side of Snout, and sew down edges of Eye Surrounds. (Second photo below shows finished piece.)
Sew Head to front of Body.
Sew Back and Front Legs to bottom of Body (photo below shows placement).
Weave in all ends.
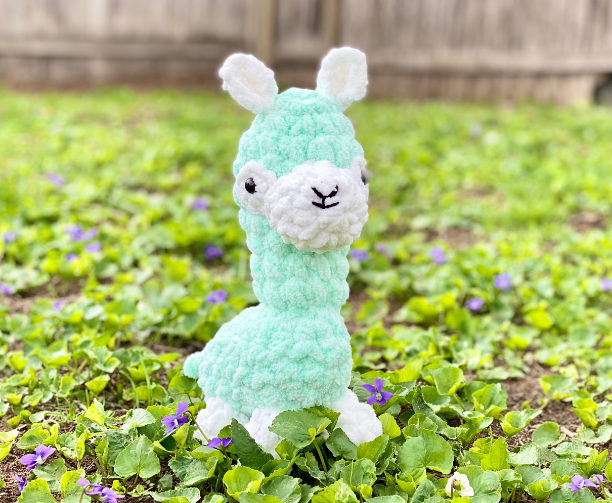
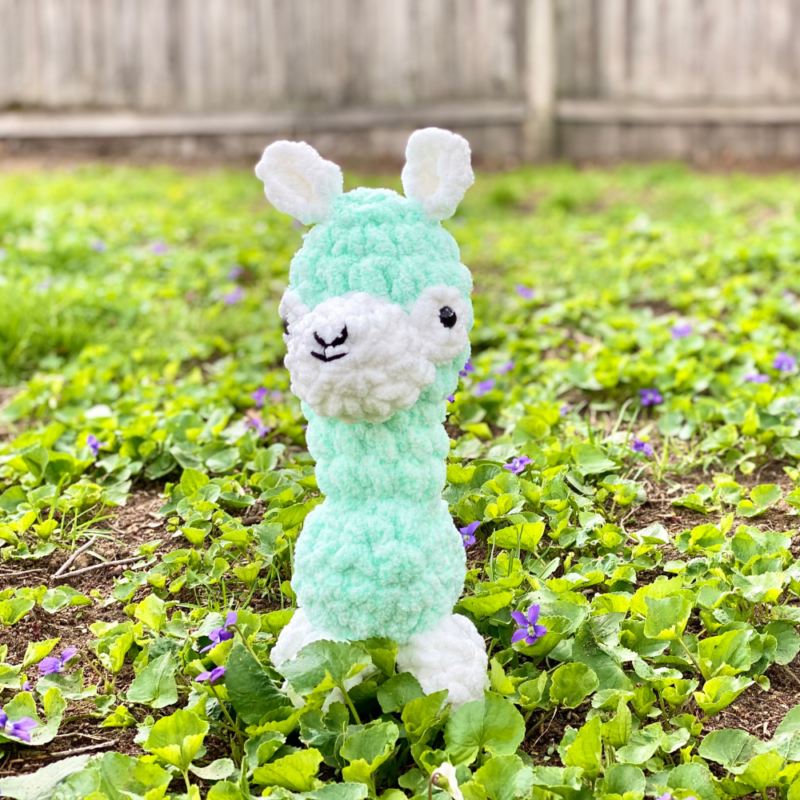
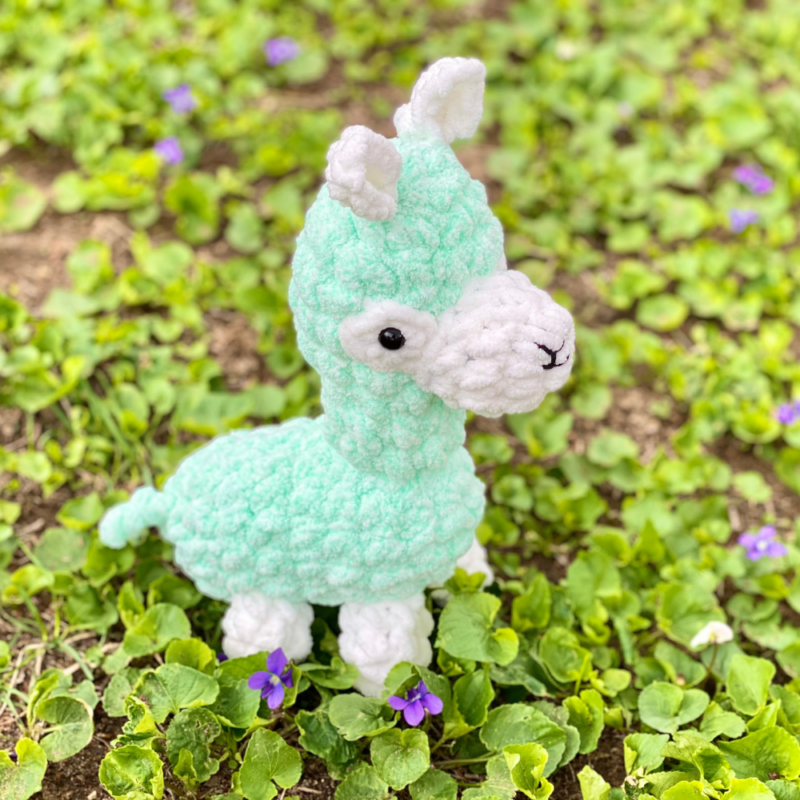
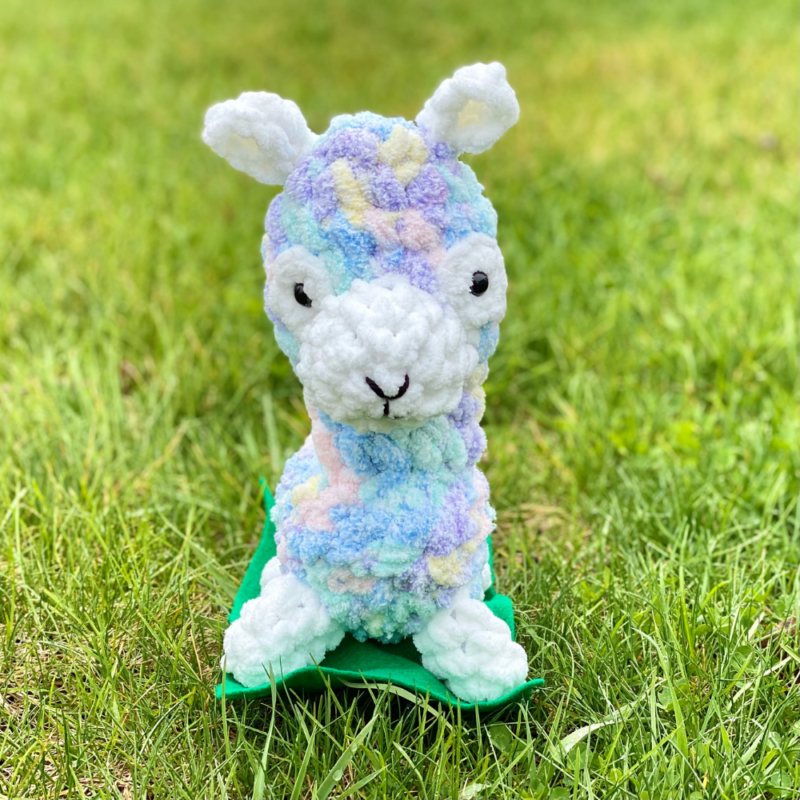
Here is the finished Alpaca!
I hope you enjoyed crocheting this alpaca along with me today. If you love fun, free patterns like this one, then please be sure to sign up for my email list to keep up to date with all my latest designs:
Also, please be sure to follow me on social media, and tag me in photos of your finished projects made from my patterns, so I can see your lovely work!
Don’t forget to pin it for later HERE!
And you can find that ad-free PDF pattern HERE!
Happy Crocheting!
COPYRIGHT:
This pattern is owned by Crafty Kitty Crochet (Melissa Moore). Any reselling or distribution of this pattern is prohibited. Sale of items made using this pattern is welcomed, but I do ask that credit/a link be provided back to my site, craftykittycrochet.com.
Comments (2)
Best Amigurumi Alpaca Free Pattern Ideas – Carolinamontoni.com
January 28, 2022 at 3:39 am
[…] Get Pattern […]
Alpaca or Llama Crochet Pattern Ideas – Pattern Center
May 3, 2023 at 5:58 pm
[…] original free pattern on craftykittycrochet.com or read more about it on […]