Amigurumi Dumpling Turtle – Crochet Pattern
Pin it for later!
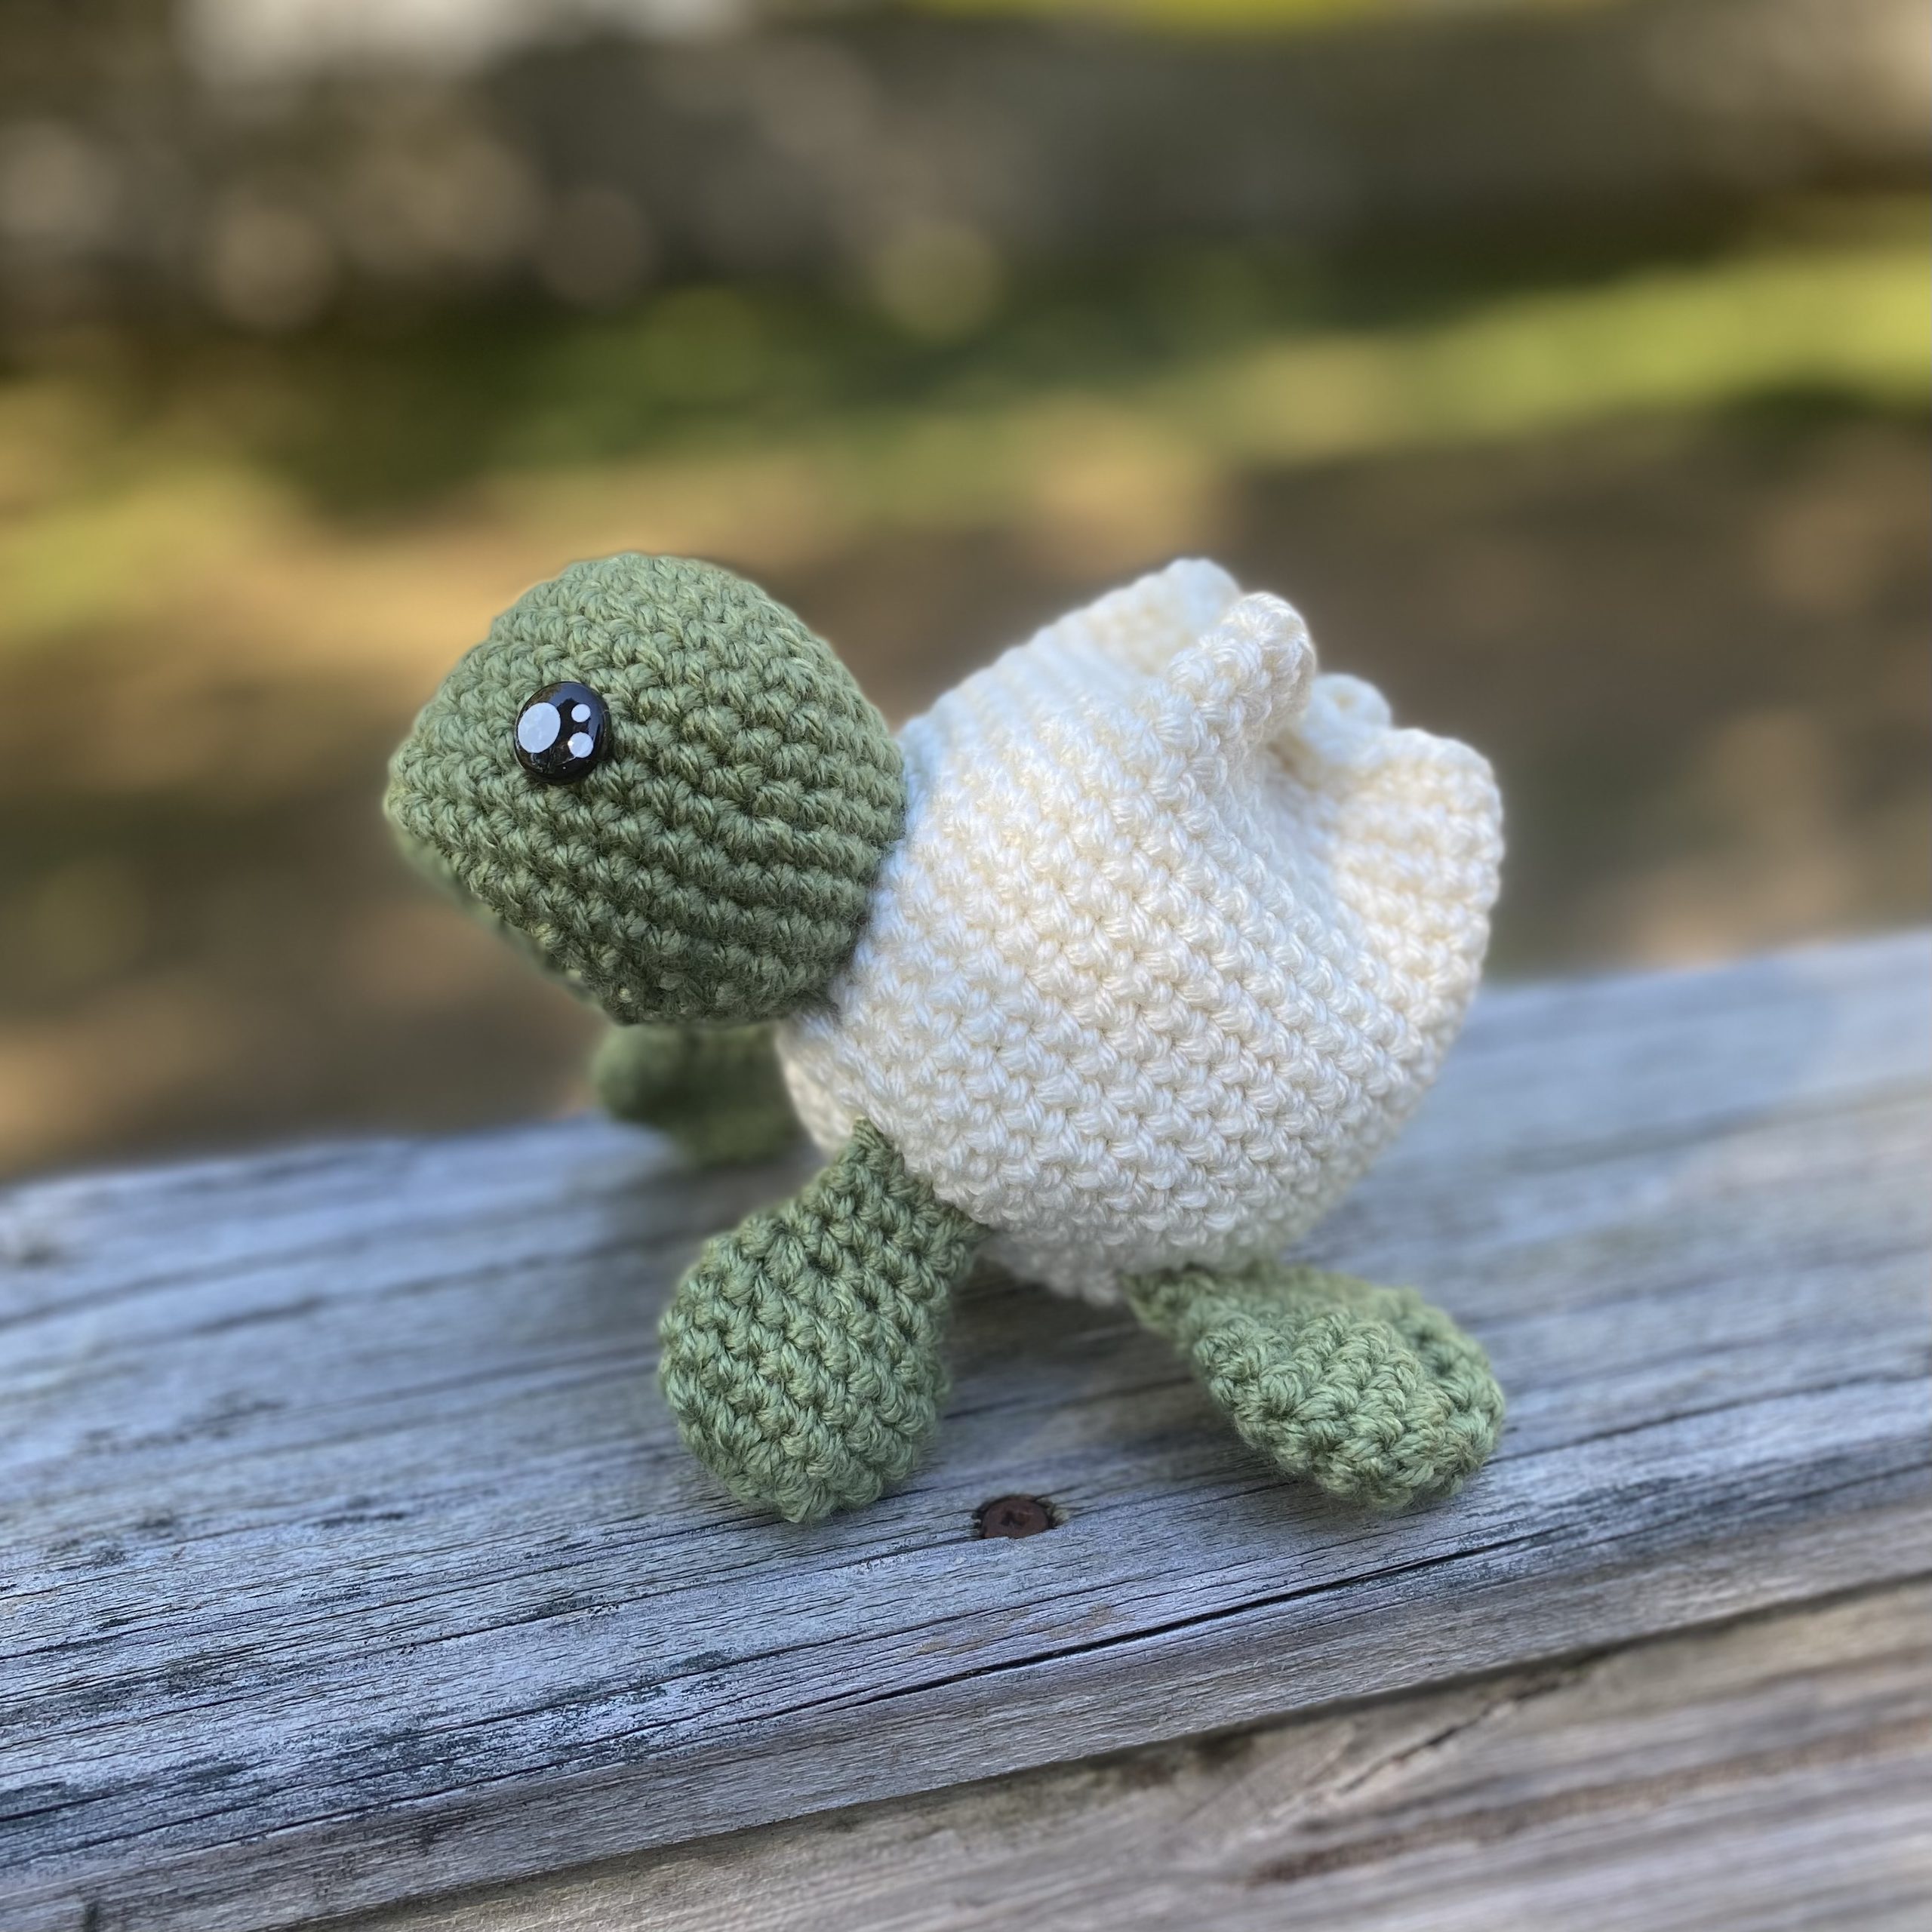
You’ve seen the viral squishy Dumplings in the store – now crochet your very own Dumpling Turtle! This adorable amigurumi is easy, fast and fun to make. These turtles are perfect as holiday gifts, stocking stuffers, craft fair makes, and more!
Meet the Dumpling Turtle — an adorable crocheted animal that blends the kawaii aesthetic of an amigurumi turtle with a play food dumpling! Since the dumpling is the turtle’s “shell”, this sweet little turtle has a unique and tasty look that is sure to please fans of the viral Squishy Dumplings too!
These turtles are made with amazing gifting potential in mind – think stocking stuffers, gifts for turtle lovers, fans of dumplings, and craft fairs and markets! They work up quickly and can be customized easily!
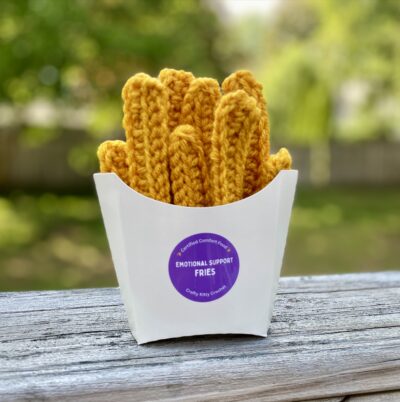
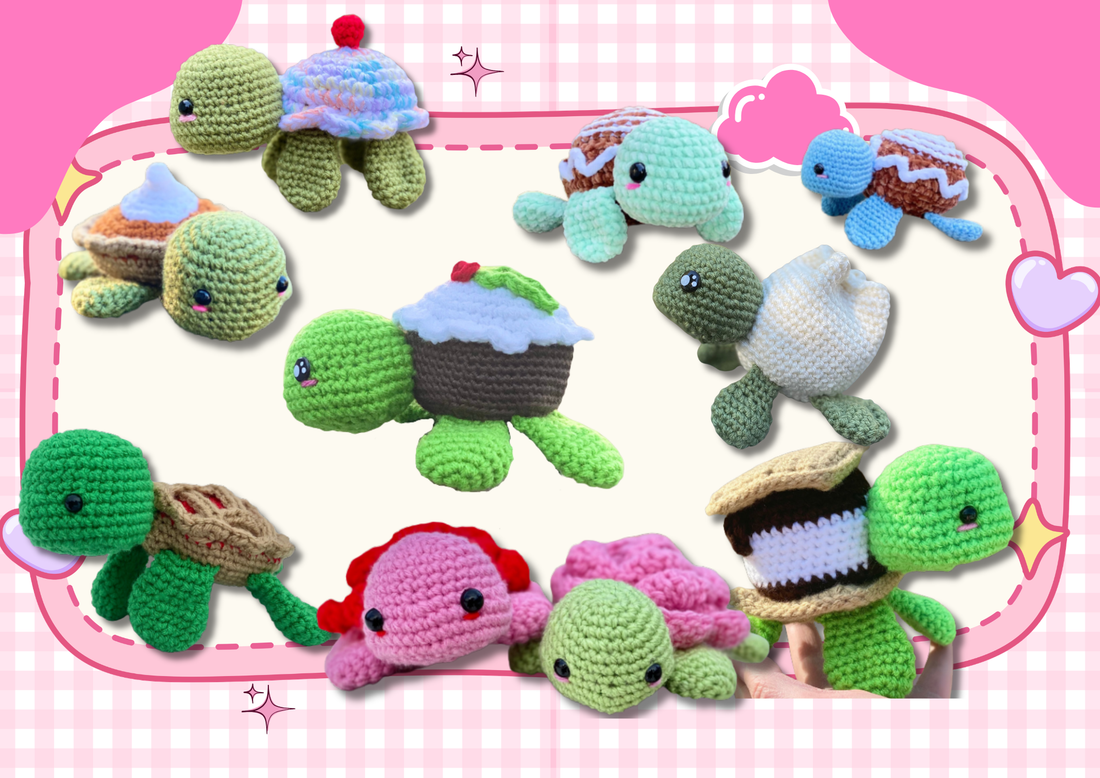
If you love this crocheted turtle, check out my other “food turtle” patterns!
Looking for the ad-free PDF pattern? Find it in my Ravelry store HERE!
About this Pattern
Skill Level: Easy / Advanced Beginner
Finished Size: About 7 inches
Time to Make: Between 1-2 hours
Pattern Type: Amigurumi / Stuffed Plush
Materials
Size D/3 – 3.25 mm crochet hook
Medium weight light beige or off-white yarn – about 100 yds (Red Heart Super Saver in Aran used in photos)
Medium weight green yarn – about 100 yds (Red Heart Super Saver in Tea Leaf used in photos)
1 pair of 10 mm safety eyes
Fiberfill stuffing
Yarn Needle
Scissors
Abbreviations
*= indicates beginning/end of a section to be repeated
Rem = remaining
Rep = repeat
Rnd(s) = round(s)
Sc = single crochet
Sc2tog = single crochet 2 together
St(s) = stitch(es)
Gauge
Exact gauge is not essential to this project.
Measurements
About 7 inches length
Instructions
Head
Instructions
Head
This piece is worked in continuous rnds; do not join. You may wish to use a stitch marker and move it up at the beginning of each new rnd.
Rnd 1 – with green yarn, make a magic ring. 6 sc in ring. (6 sc)
Rnd 2 – 2 sc in each st around. (12 sc)
Rnd 3 – *2 sc in next st, sc in next st.* Rep from * to * around. (18 sc)
Rnd 4 – *2 sc in next st, sc in 2 next sts.* Rep from * to * around. (24 sc)
Rnd 5- *2 sc in next st, sc in 3 next sts.* Rep from * to * around. (30 sc)
Rnds 6 – 8 – sc in each st around. (30 sc)
Rnd 9 – *3 sc in next st. Sc in next 6 sts.* Rep from * to * once more. 3 sc in next st. Sc in last 15 sts. (36 sc)
Rnds 10 – 13 – sc in each st around. Attach safety eyes if making small size, and begin stuffing piece. (36 sc)
Rnd 14 – *sc2tog over next 2 sts.* Rep from * to * around. (18 sc)
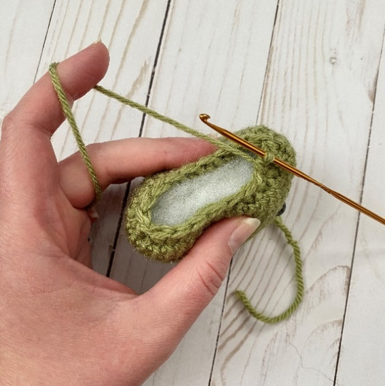
Rnd 15 – *sc2tog over next 2 sts. Sc in next st.* Rep from * to * around. Finishing stuffing. Squeeze piece together while decreasing to help prevent gaps in sts (first photo below). (12 sc)
Rnd 16 – *sc2tog over next 2 sts.* Rep from * to * around. (6 sc)
Rnd 17 – Sc2tog over next 2 sts. Leave rem sts unworked. (5 sc)
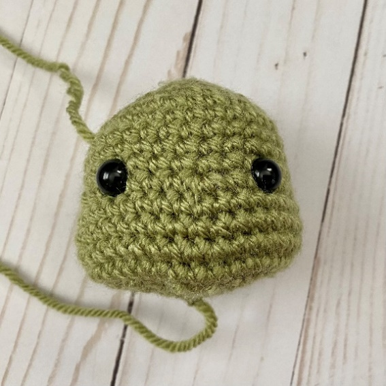
Fasten off, leaving long tail to use for sewing rem gap. (Second photo below shows finished piece.)
Leg (make 4)
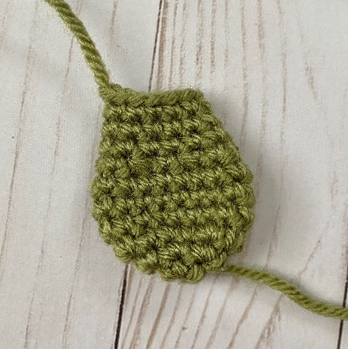
This piece is worked in continuous rnds; do not join. You may wish to use a stitch marker and move it up at the beginning of each new rnd.
Rnd 1 – with green or pink yarn, make a magic ring. 6 sc in ring. (6 sc)
Rnd 2 – 2 sc in each st around. (12 sc)
Rnd 3 – *2 sc in next st, sc in next st.* Rep from * to * around. (18 sc)
Rnds 4 – 6 – sc in each st around. (18 sc)
Rnd 7 – *sc2tog over next 2 sts. Sc in next st.* Rep from * to * around. (12 sc)
Rnds 8 – 10 – sc in each st around. (12 sc)
Fasten off, leaving long tail for sewing.
Dumpling
This piece is worked in continuous rnds; do not join. You may wish to use a stitch marker and move it up at the beginning of each new rnd.
Rnd 1 – with beige yarn, make a magic ring. 6 sc in ring. (6 sc)
Rnd 2 – 2 sc in each st around. (12 sc)
Rnd 3 – *2 sc in next st, sc in next st.* Rep from * to * around. (18 sc)
Rnd 4 – *2 sc in next st, sc in 2 next sts.* Rep from * to * around. (24 sc)
Rnd 5 – *2 sc in next st, sc in 3 next sts.* Rep from * to * around. (30 sc)
Rnd 6 – *2 sc in next st, sc in 4 next sts.* Rep from * to * around. (36 sc)
Rnd 7 – *2 sc in next st, sc in 5 next sts.* Rep from * to * around. (42 sc)
Rnds 8 – 22 – sc in each st around. Begin stuffing (do not overstuff). Fasten off, leaving long tail for sewing. (42 sc per rnd)
Shaping
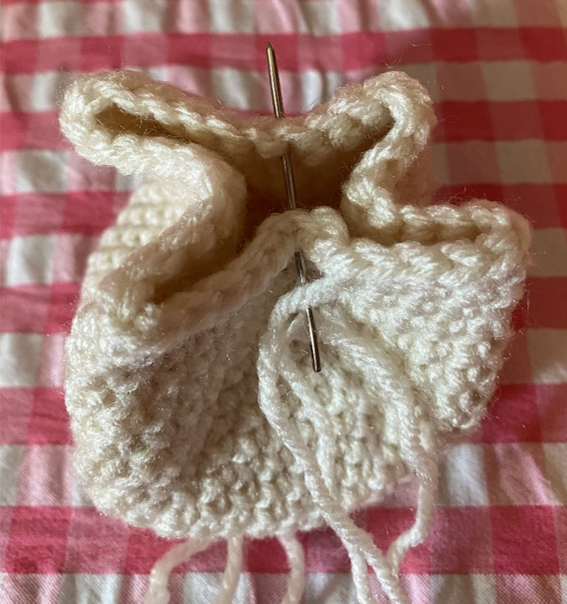
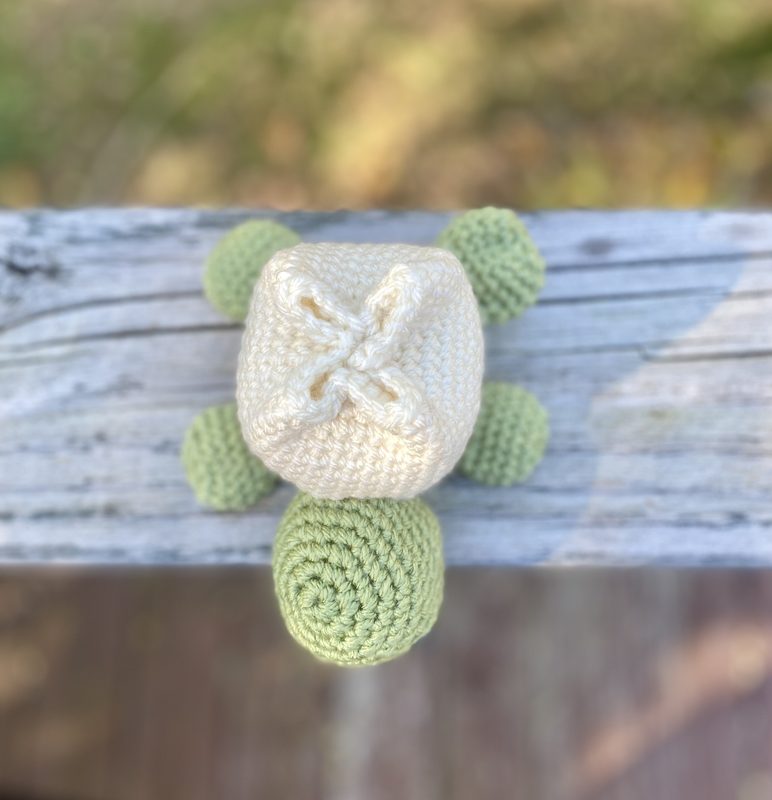
Press top edges of Dumpling from top to bottom and side to side so that they meet in the center; sew through top/bottom and side to side a few times to secure. Sew closed near corners if necessary. Weave in all ends.
Finishing
Sew Legs and Head to Dumpling (place near Rnds 4 and 6 of Dumpling), weave in all ends.
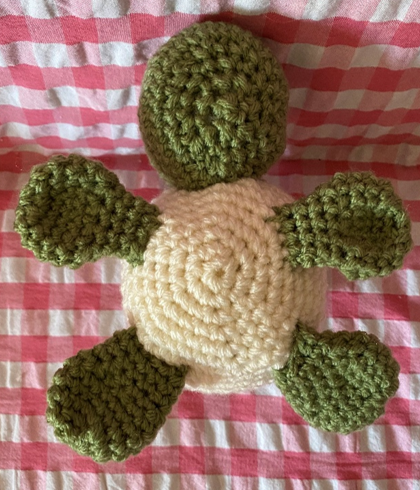
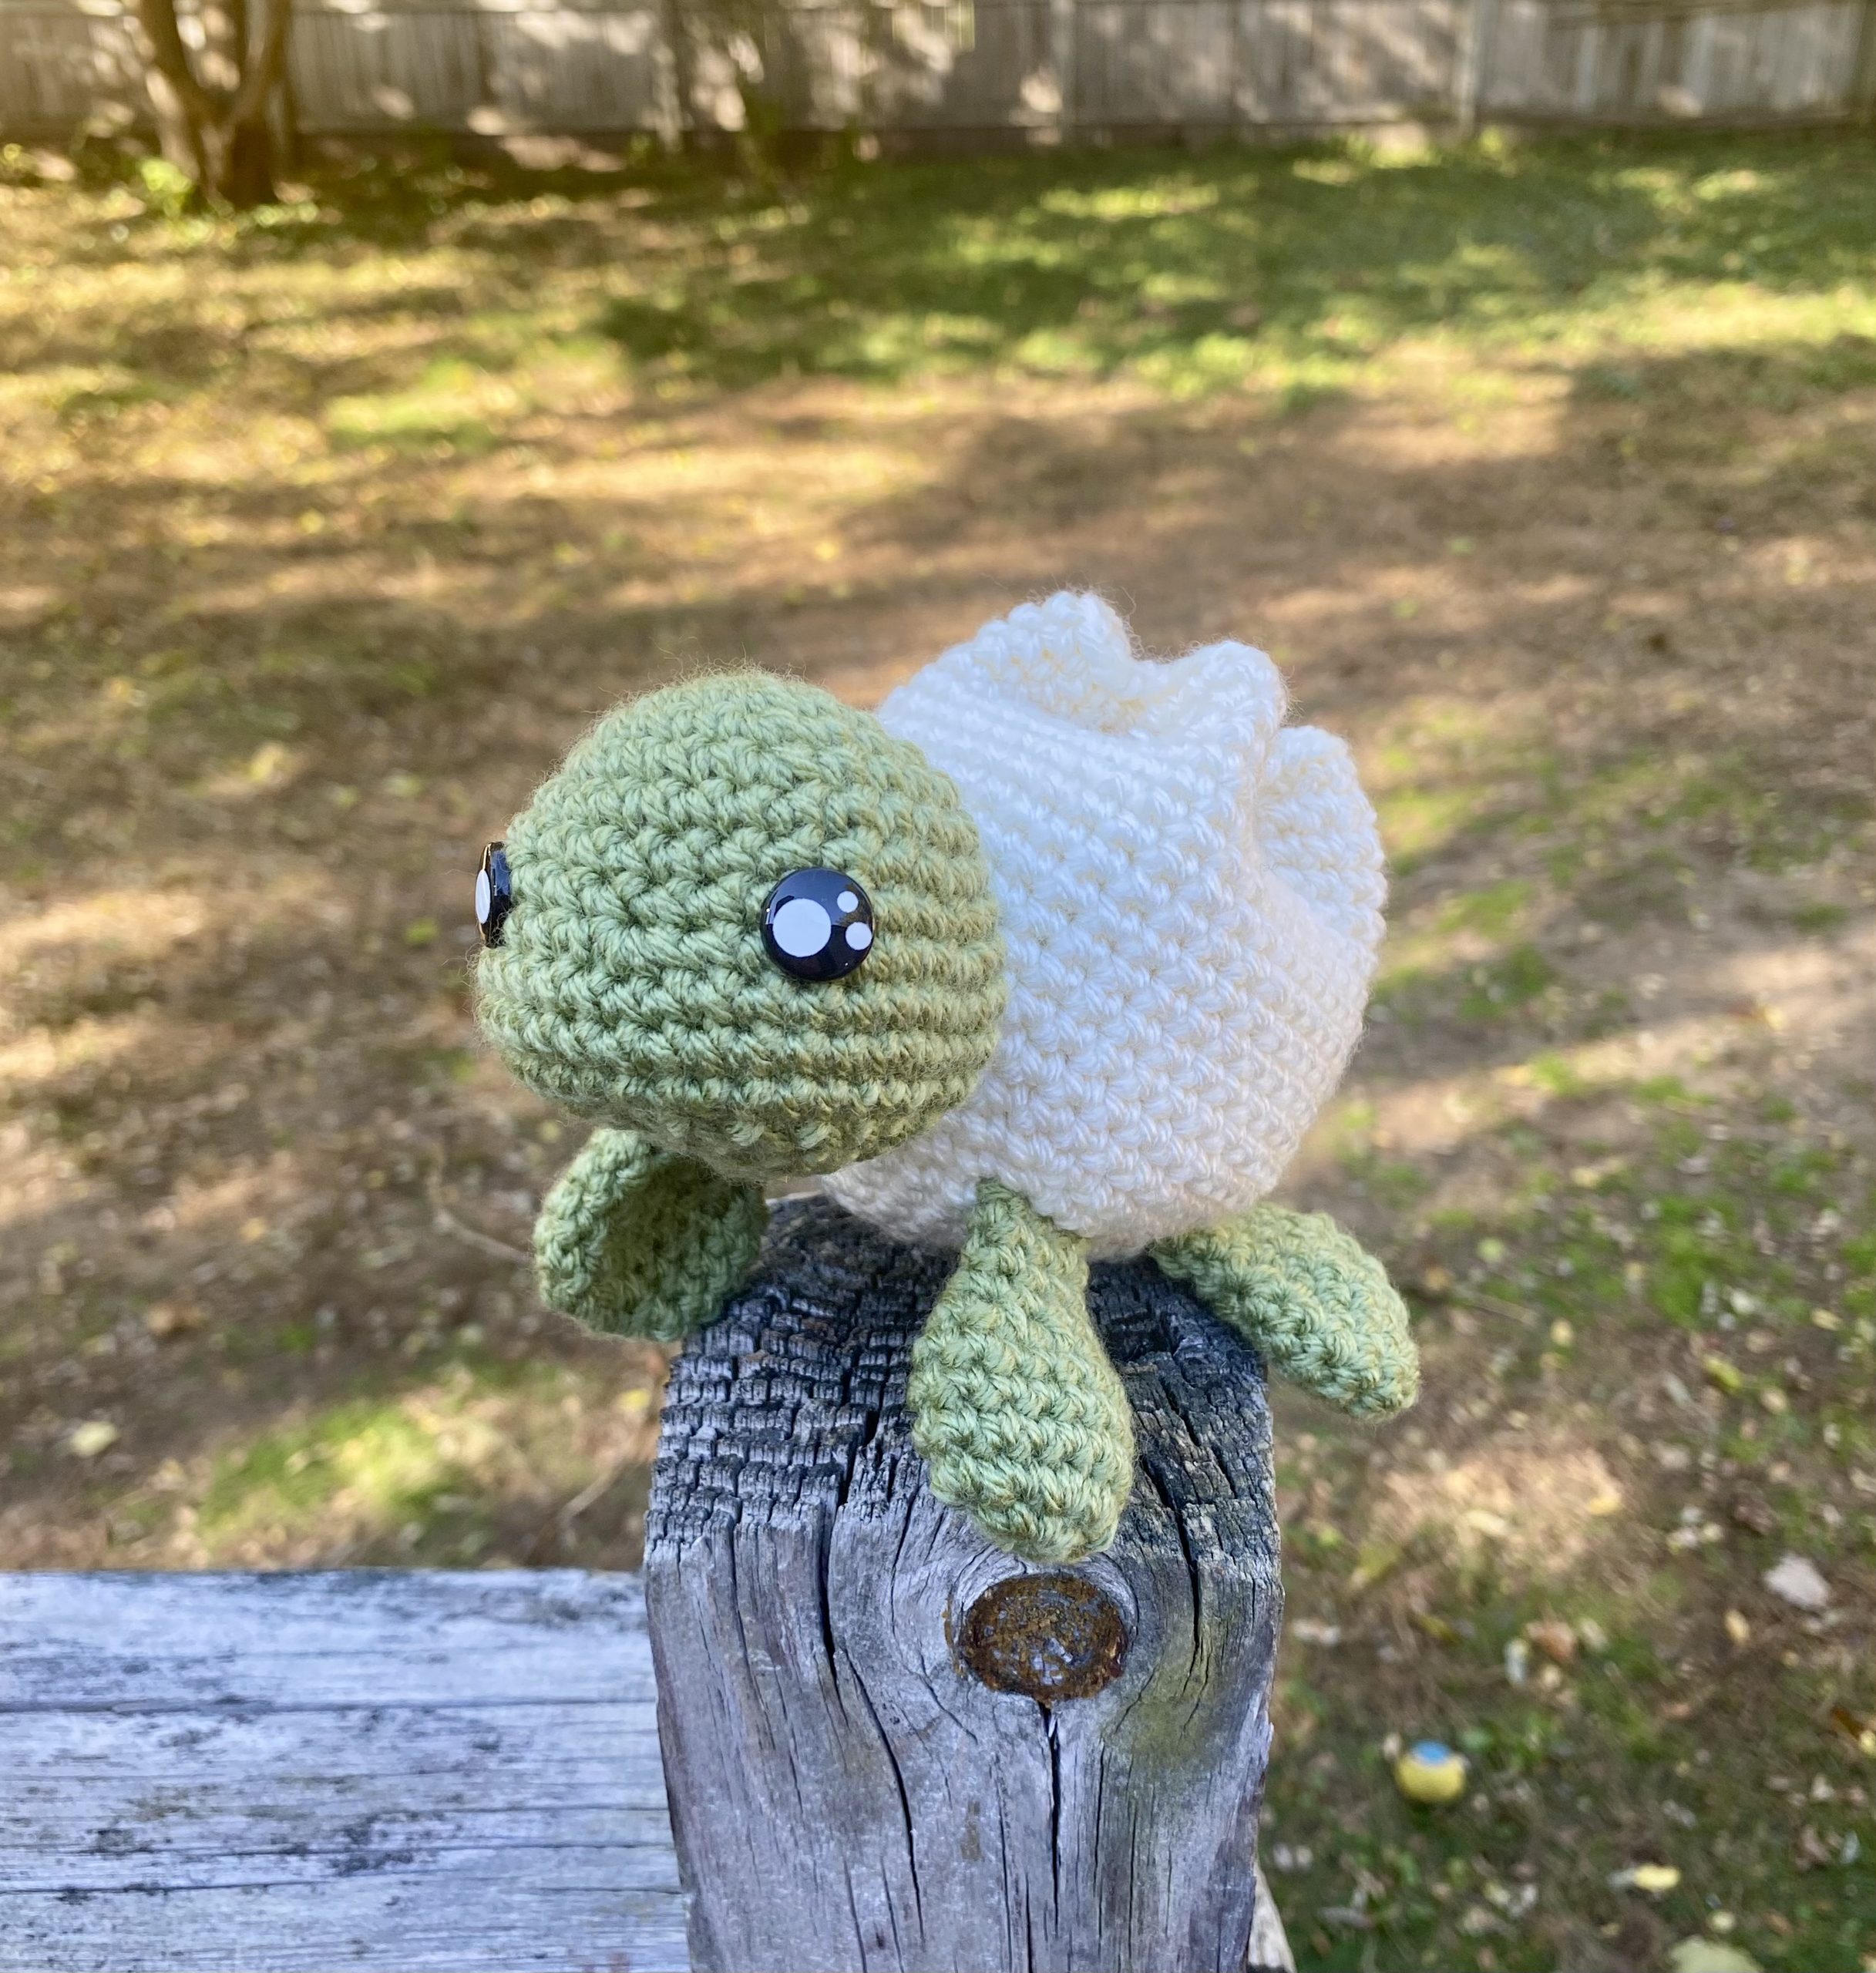
Here is the finished Turtle!!!
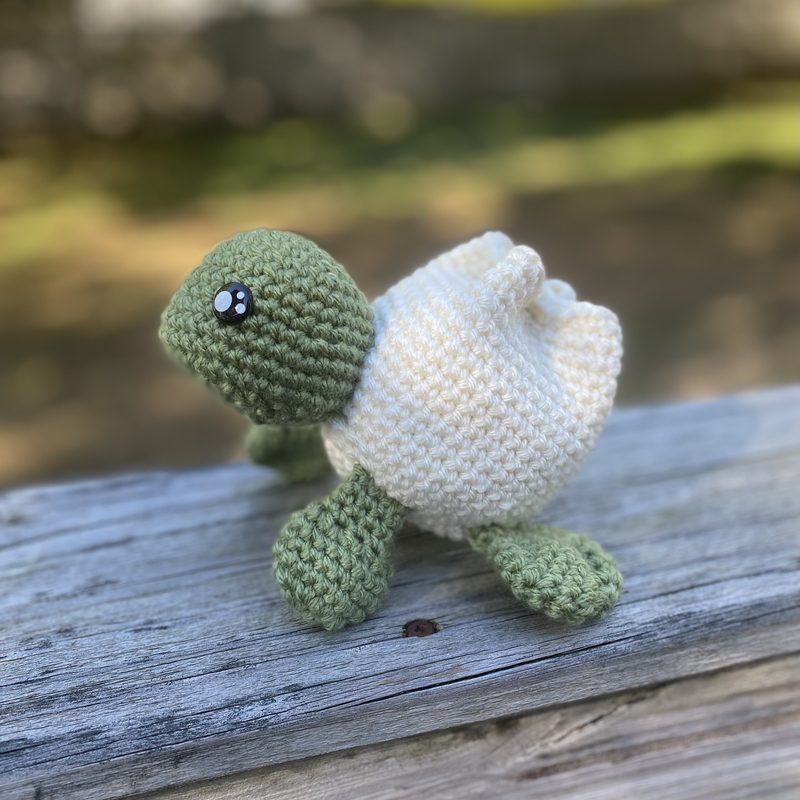
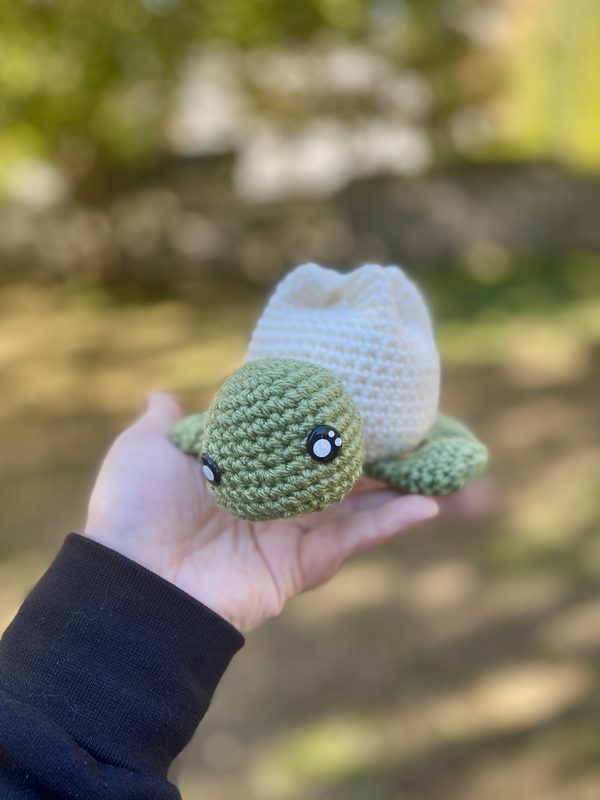
These turtles make fantastic gifts and craft fair makes!
Some fun ways to customize them:
• make both green turtles and blue turtles
• use different kinds of safety eyes – “kawaii” style (seen here), different eye colors, etc.
• add blush for a super kawaii look!
Customers love these cute, positive, aesthetic items!
Just a reminder that you can also get the ad-free PDF pattern in my Ravelry store HERE!
Pin this project for later!
I hope you enjoy making your own turtle!
If you make one, I’d love to see it, so feel free to tag me on Facebook, Instagram or Tiktok (@craftykittycrochet), or leave a comment below!
Happy crocheting!