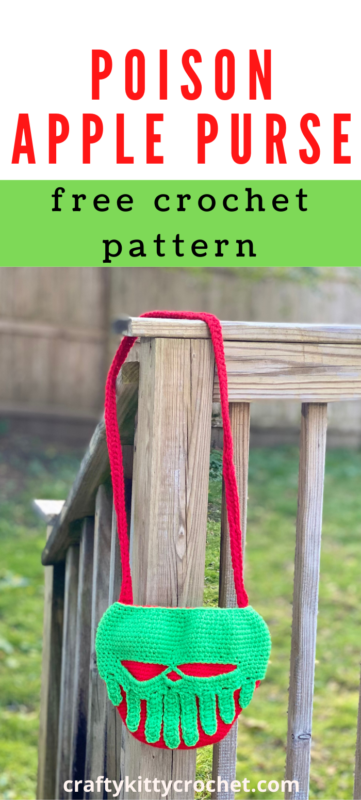
Skull Apple Purse – Crochet Pattern
Pin it for later!
It’s pretty, poison, and practical – meet the Skull Apple Purse Pattern! This easy and fun crochet pattern is perfect for anyone who loves fantasy, fairy tales, and/or accessories and fashion that are eclectic. This would go perfectly with so many different kinds of wardrobes – everyday, kawaii, alternative, etc.! The poisonous skull motif gives a nice edge to the classic apple design. And best of all – the pattern is easy and has photos to guide you! And it can be customized in so many colors – pastels, jewel tones, even holiday color schemes like Halloween and Christmas! The possibilities are endless!!!
Skull Apple Purse
This season, I’m seeing so many amazing poison apple designs in the crochet community! I love this motif since it invokes fairy tale vibes that are both whimsical and creepy cute! So I thought, why let spooky season have all the fun? Let’s crochet a purse that you can wear all year round to show off your love for ill-fated fruit! I’m so excited to experiment with more color schemes for this! I want to make a whole bunch, because guess what? They are made with just a few pieces and don’t take long to make! Holiday gift ideas, perhaps??? That’s a big yes!
I think Red Heart Super Saver works amazingly well here because of its sturdy practicality! Plus, there’s pretty much no color you can’t get in this line of yarn! I used some classic reds and greens, which you can find on Amazon:
Looking for the ad-free PDF copy of this pattern? You can find it in my shop HERE!
Supplies
Size H/8 5 mm crochet hook
Medium weight yarn in main color – about 250 yds (Red Heart Super Saver in Cherry Red used in photos)
Medium weight yarn in contrast color – about 100 yds (Red Heart Super Saver in Spring Green
and Red Heart with Love in Grape Jam used in photos)
Magnetic Purse Snap (“Everything Mary” brand used in photos)
Yarn Needle
Scissors
Straight pins (optional)
Abbreviations
*= indicates beginning/end of a section to be repeated.
Ch = chain
Dc = double crochet
Hdc = half double crochet
Rem = remaining
Rep = repeat
Rnd(s) = round(s)
Sc = single crochet
Sc2tog = single crochet 2 together
Sk = skip
Sl st = slip stitch
Sp = space
St(s) = stitch(es)
Gauge
4 sc and 4 rows = about 1 inch
Size
About 9.5 inches long and 9.5 inches wide at widest point laying flat, without strap; about 28 inches long with strap
How to Make This
Instructions
Apple Purse
This piece is worked in continuous rnds; do not join. You may wish to use a stitch marker and move it up and the beginning of each new rnd.
Rnd 1 – with main color yarn, make a magic ring. 6 sc in ring. (6 sc)
Rnd 2 – 2 sc in each st around. (12 sc)
Rnd 3 – *2 sc in next st, sc in next st*; rep from * to * around. (18 sc)
Rnd 4 – *2 sc in next st, sc in next 2 sts*; rep from * to * around. (24 sc)
Rnd 5 – *2 sc in next st, sc in next 3 sts*; rep from * to * around. (30 sc)
Rnd 6 – *2 sc in next st, sc in next 4 sts*; rep from * to * around. (36 sc)
Rnd 7 – *2 sc in next st, sc in next 5 sts*; rep from * to * around. (42 sc)
Rnd 8 – *2 sc in next st, sc in next 6 sts*; rep from * to * around. (48 sc)
Rnd 9 – *2 sc in next st, sc in next 7 sts*; rep from * to * around. (54 sc)
Rnd 10 – *2 sc in next st, sc in next 8 sts*; rep from * to * around. (60 sc)
Rnds 11 – 20 – sc in each st around. (60 sc)
Rnd 21 – *2 sc in next st, sc in next 9 sts*; rep from * to * around. (66 sc)
Rnd 22 – *2 sc in next st, sc in next 10 sts*; rep from * to * around. (72 sc)
Rnd 23 – *2 sc in next st, sc in next 11 sts*; rep from * to * around. (78 sc)
Rnd 24 – *2 sc in next st, sc in next 12 sts*; rep from * to * around. (84 sc)
Rnd 25 – *2 sc in next st, sc in next 13 sts*; rep from * to * around. (90 sc)
Rnds 26 – 39 – sc in each st around. (90 sc)
Rnd 40 – *sc2tog over next 2 sts*; rep from * to * around. (45 sc)
Rnd 41 – sc in each st around. (45 sc)
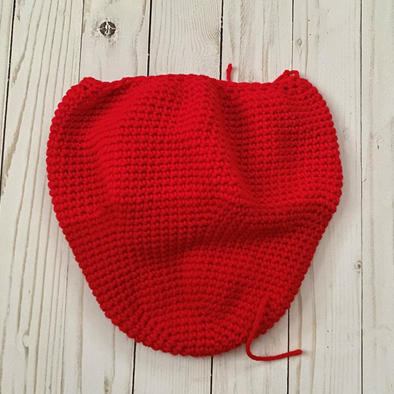
Fasten off.
Skull
With contrast color yarn, ch 51.
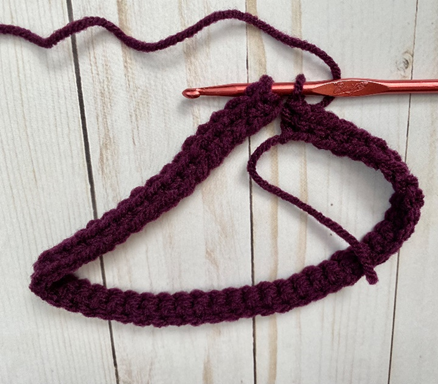
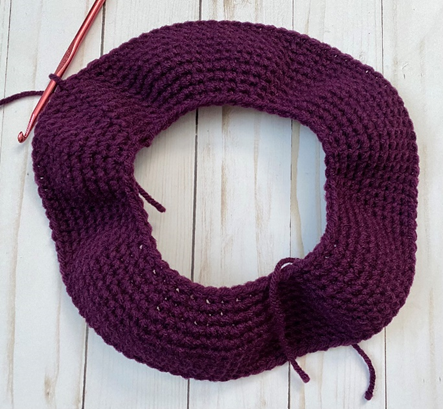
Rnd 1 – sc in 2nd ch from hook and in each st across. Join with sl st to first sc of rnd to form rnd (first photo below). Ch 1. (50 sc)
Rnd 2 – *2 sc in next st, sc in next st.* Rep from * to * around. Join with sl st to first sc of rnd. Ch 1. (75 sc)
Rnd 3 – sc in each st around. Join with sl st to first sc of rnd. Ch 1. (75 sc)
Rnd 4 – *2 sc in next st, sc in next 2 sts.* Rep from * to * around. Join with sl st to first sc of rnd. Ch 1. (100 sc)
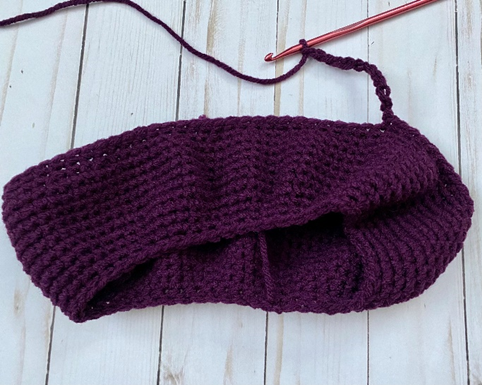
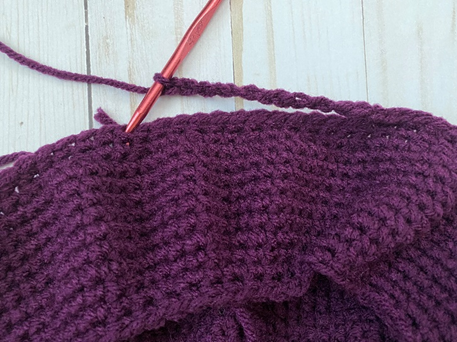
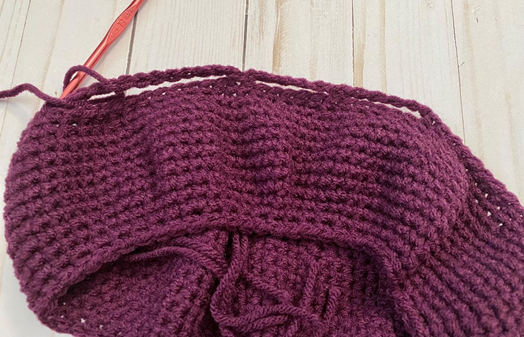
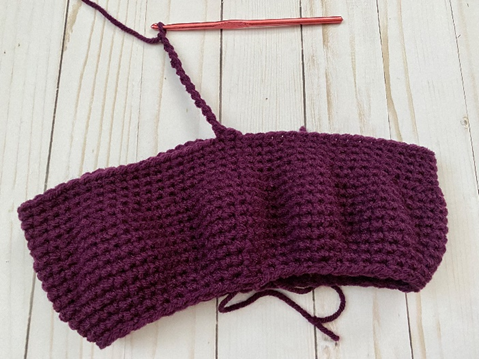
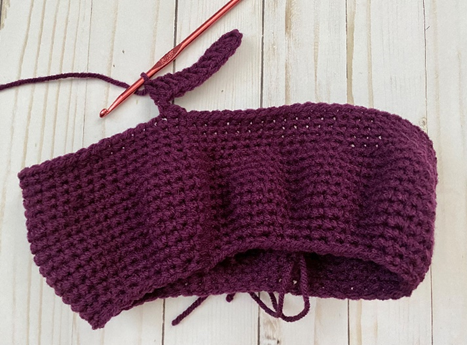
Rnds 5 – 10 – sc in each st around. Join with sl st to first sc of rnd. Ch 1. (second photo below shows piece at this stage.) (100 sc)
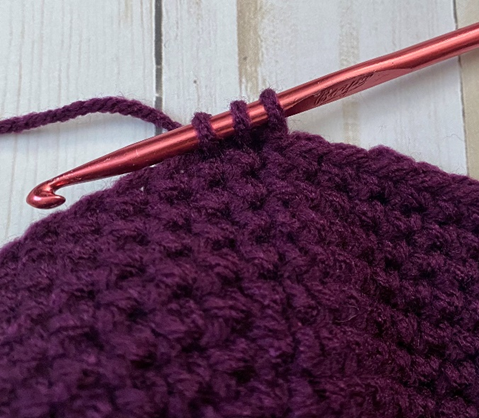
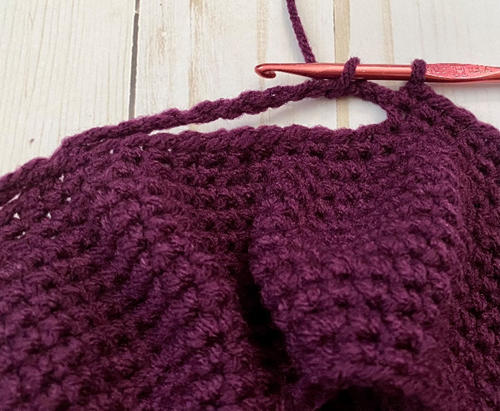
Rnd 11 – *sc2tog (third photo below) over next 2 sts, sc in next 2 sts.* Rep from * to * around. Join with sl st to first sc of rnd. Ch 1. (75 sc)
Rnd 12 – sc in each st around. Join with sl st to first sc of rnd. Ch 1. (75 sc)
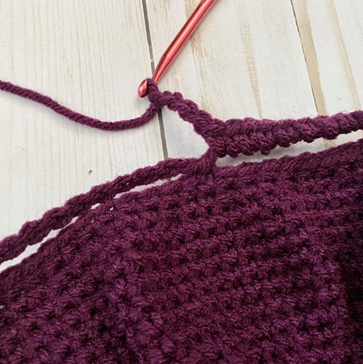
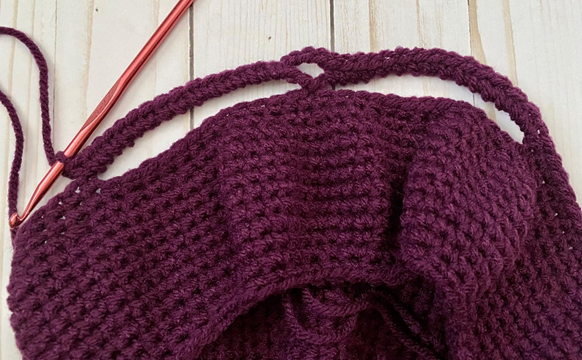
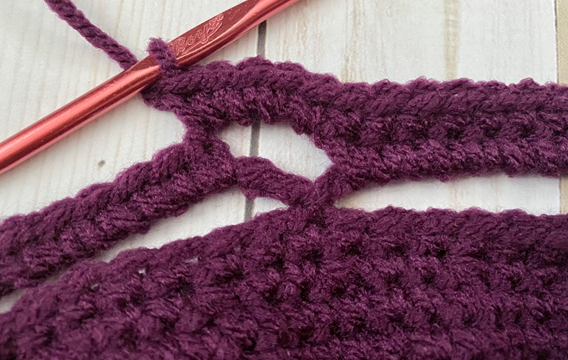
Rnd 13 – sc in next 25 sts. Ch 12, sk next 12 sts, sl st in next st (first eye socket made – first two photos below). Ch 12, sk next 12 sts, sc in next st (second eye socket made). Sc in rem 24 sts. Join with sl st to first sc of rnd. Ch 1. (Third photo below shows piece at this stage.) (50 sc, 1 sl st, 24 chs)
Rnd 14 – sc in next 25 sts. In next ch sp from previous rnd (first photo below), sc 15. Ch 4 (for nose – second photo below). Working in next ch sp, sc 15 (third photo below). Sc in rem 25 sc. Join with sl st to first sc of rnd. Ch 1 (80 sc, 4 chs)
Rnd 15 – Sc in next 40 sts. Working in ch sp made from nose last rnd, sc 5 (photo below). Sc in rem 40 sts. Join with sl st to first sc of rnd. Ch 1; do not fasten off (85 sc)
Poison Drips
Rnd 1 – Sc in next 2 sts. Ch 12 (first photo below); dc in 3rd ch from hook, and in each ch across (10 dc – second photo below). Sk next 2 sts from previous rnd (third photo below), sc in next 5 sts. (First drip made.)

*Ch 8, dc in 3rd ch from hook, and in each ch across (6 dc). Sk next 2 sts from previous rnd, sc in next 5 sts.* Rep from * to * two more times. (3 drips made.)
Ch 10, dc in 3rd ch from hook, and in each ch across (8 dc). Sk next 2 sts from previous rnd, sc in next 3 sts. (1 drip made.)
Ch 12, dc in 3rd ch from hook, and in each ch across (10 dc). Sk next 2 sts from previous rnd, sc in next 3 sts. (1 drip made.)
Ch 14, dc in 3rd ch from hook, and in each ch across (12 dc). Sk next 2 sts from previous rnd, sc in next 2 sts. (1 drip made.)
Ch 14, dc in 3rd ch from hook, and in each ch across (12 dc). Sk next 2 sts from previous rnd, sc in next 3 sts. (1 drip made.)
Ch 12, dc in 3rd ch from hook, and in each ch across (10 dc). Sk next 2 sts from previous rnd, sc in next 3 sts. (1 drip made.)
Ch 10, dc in 3rd ch from hook, and in each ch across (8 dc). Sk next 2 sts from previous rnd, sc in next 5 sts. (1 drip made.)
Ch 8, dc in 3rd ch from hook, and in each ch across (6 dc). Sk next 2 sts from previous rnd, sc in next 10 sts. (1 drip made.)
Ch 8, dc in 3rd ch from hook, and in each ch across (6 dc). Sk next 2 sts from previous rnd, sc in next 10 sts. (1 drip made.)
Join with sl st to first sc of rnd. (12 total drips made)
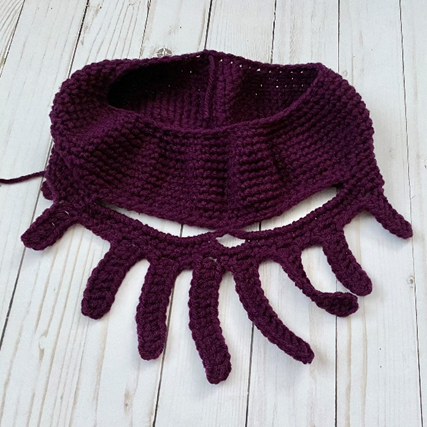
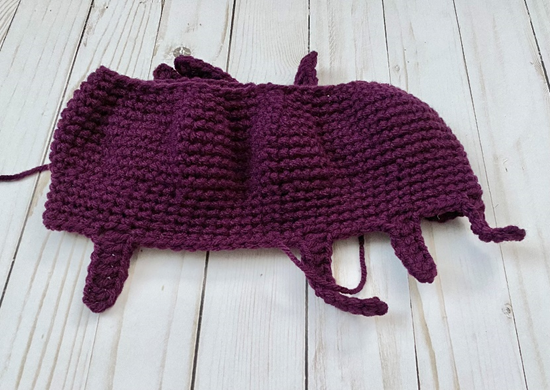
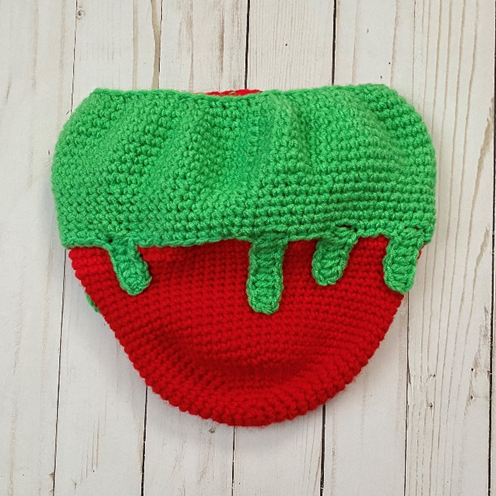
Fasten off, leaving long tail for sewing. (Two photos below show front and back of piece.)
Strap
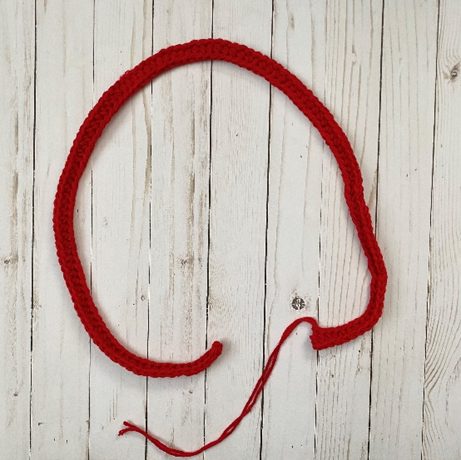
With 2 strands of main color yarn, ch 121.
Row 1 – hdc in 2nd ch from hook, and in each st across. (120 hdc)
Fasten off. (Photo shows finished piece.)
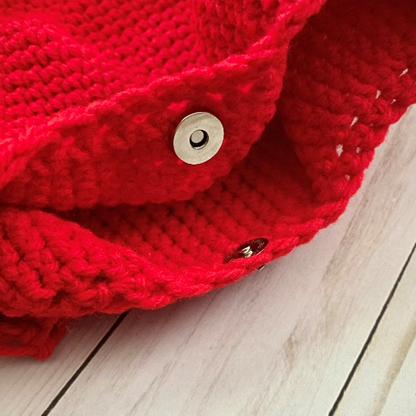
Finishing
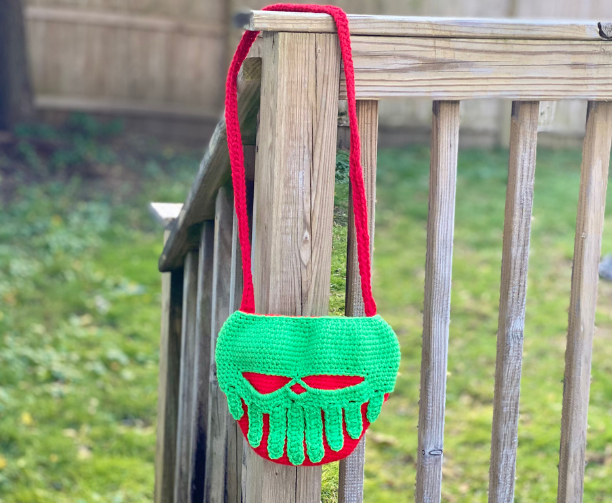
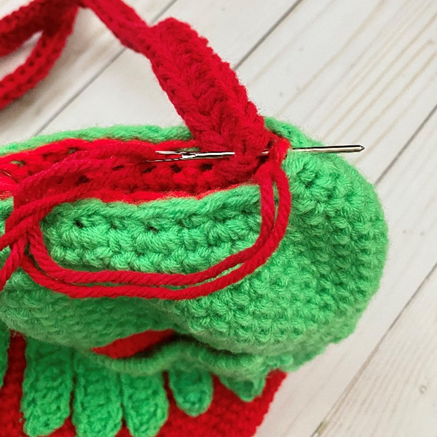
Attach magnetic purse snaps on each side of top inside edge of Purse (first photo below). Align Skull with top opening of Apple Purse; you may wish to use safety pins to hold piece (including Drips) in place. Use long tail from Skull to sew in place, working around entire outer edges of piece, as well as around the opening of the eyes and nose (second and third photos below show front and back after finished sewing). Sew each end of Strap on inside edges of Purse (fourth photo below). Weave in all ends. (Fifth photo shows finished piece.)
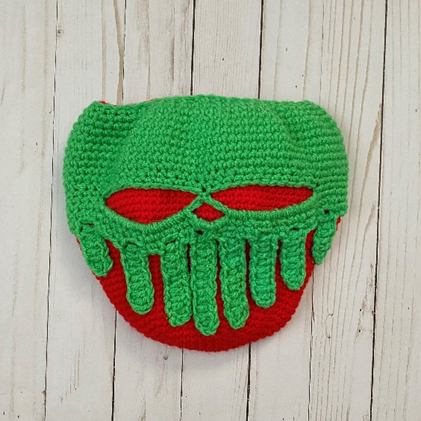
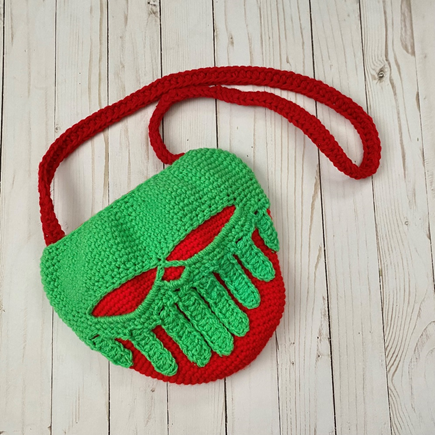
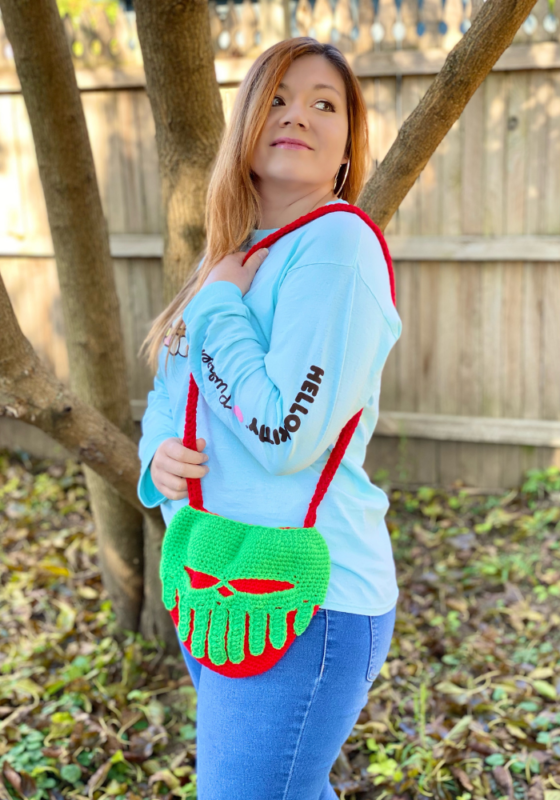
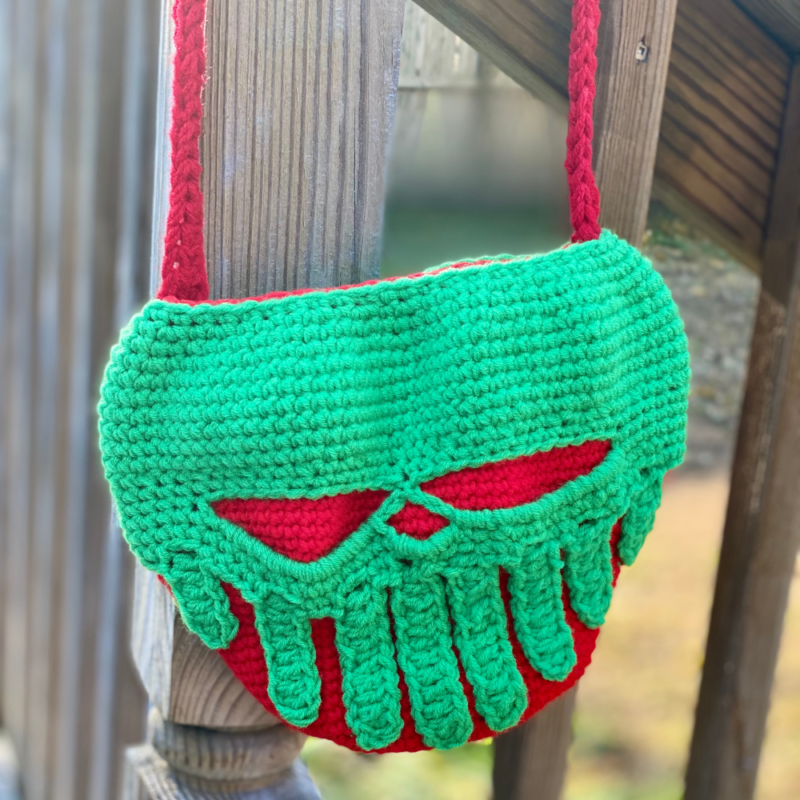
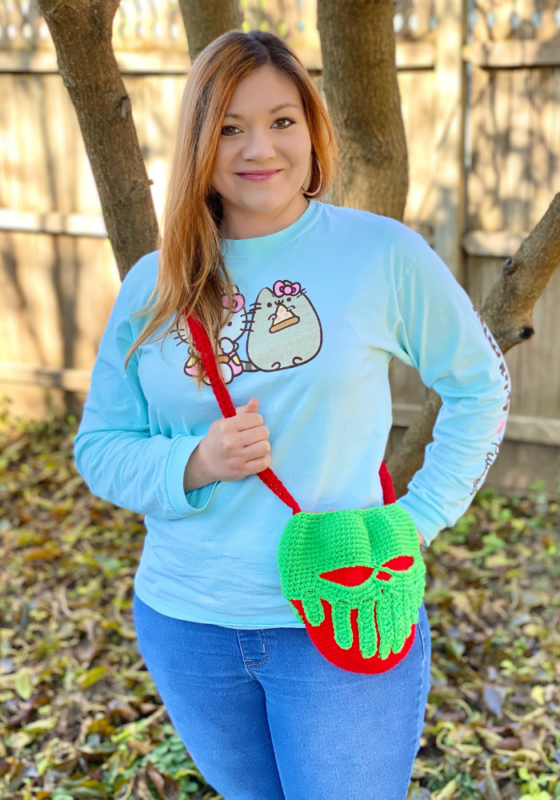
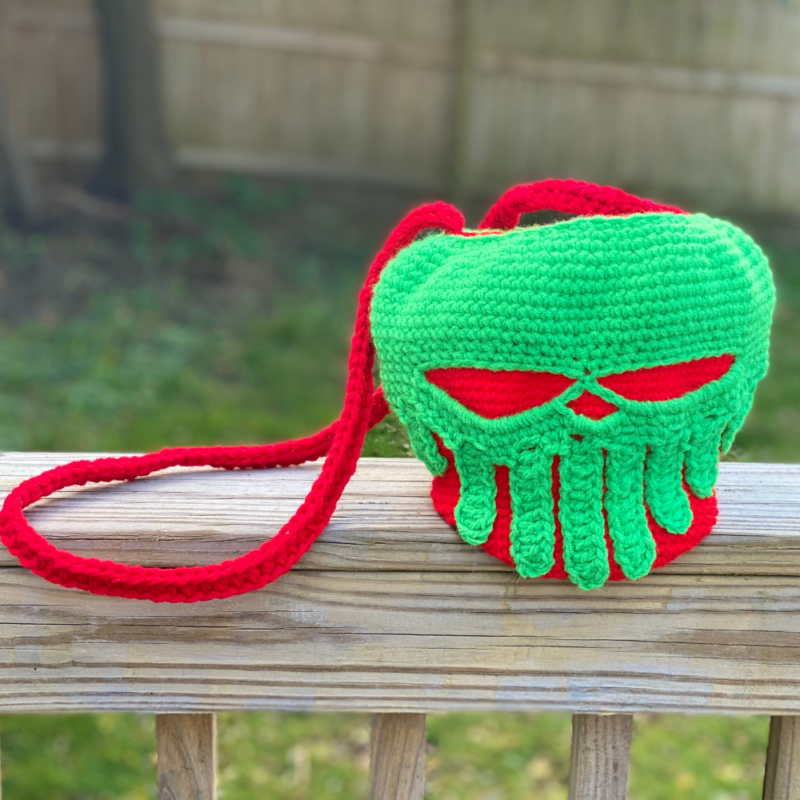
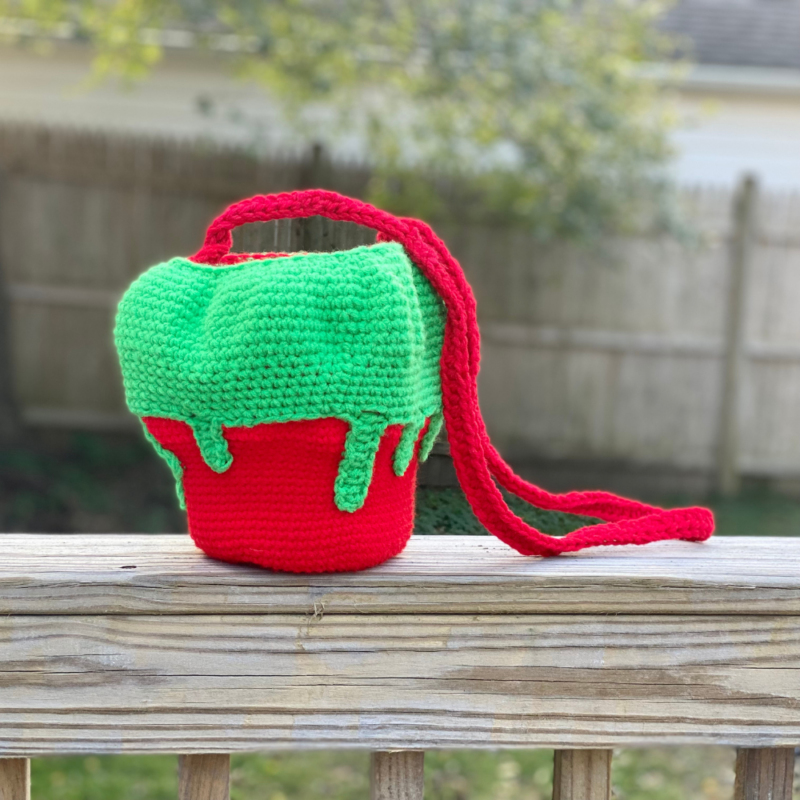
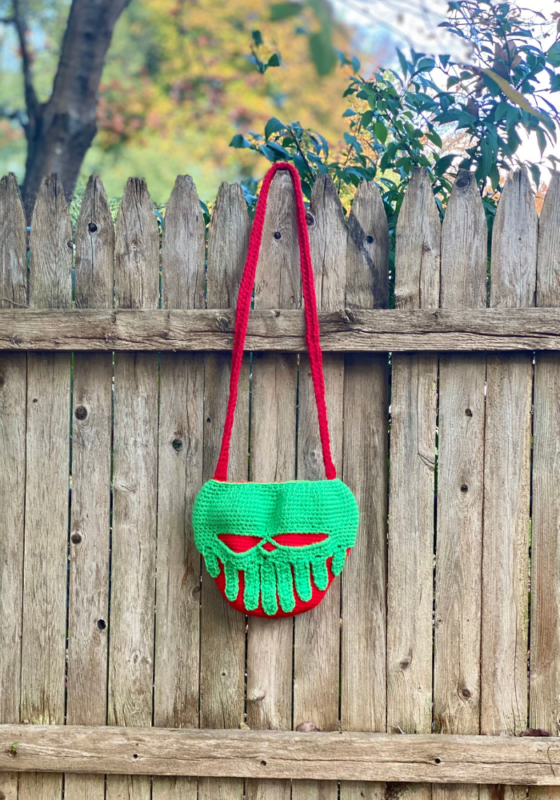
Here is the finished purse!

I hope you enjoyed crocheting this apple purse along with me today. If you love fun, free patterns like this one, then please be sure to sign up for my email list to keep up to date with all my latest designs:
Also, please be sure to follow me on social media, and tag me in photos of your finished projects made from my patterns, so I can see your lovely work!
Don’t forget to pin it for later HERE!
And you can find that ad-free PDF pattern HERE!
Happy Crocheting!
COPYRIGHT:
This pattern is owned by Crafty Kitty Crochet (Melissa Moore). Any reselling or distribution of this pattern is prohibited. Sale of items made using this pattern is welcomed, but I do ask that credit/a link be provided back to my site, craftykittycrochet.com.