

Unicorn Headband – Crochet Pattern
Pin it for later!
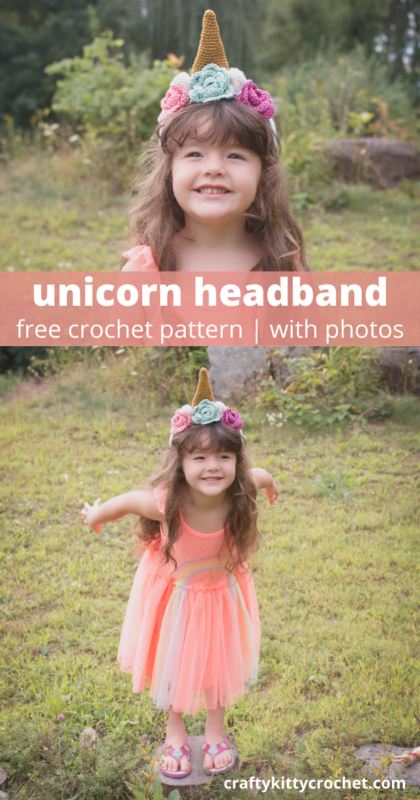
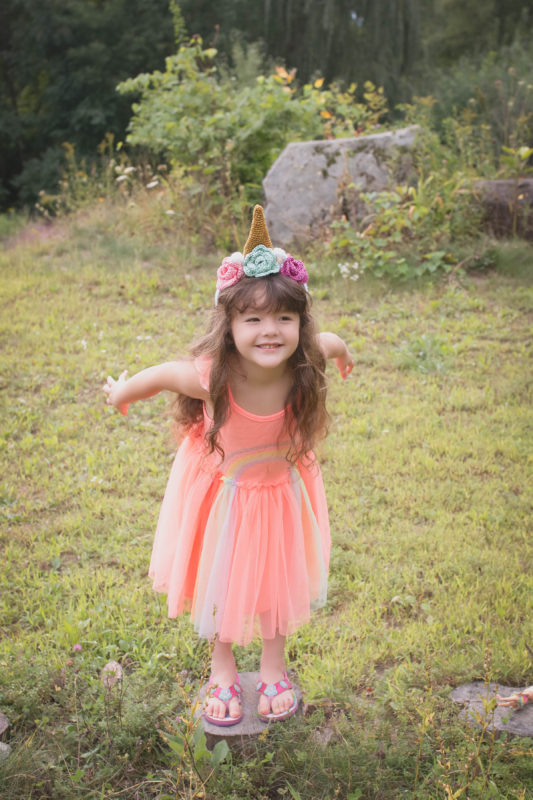
They said I could be anything, so I became a UNICORN! And you can too this Halloween, with this fast, fun, adorable crochet pattern! Make a full headband, including a shiny horn, colorful flowers, and cute little ears with this pattern. It uses very little yarn and has lots of photos to guide you! What a fun costume accessory this would make for both kids and adults! It’s the perfect way to top off a unicorn Halloween costume!
Unicorn Headband
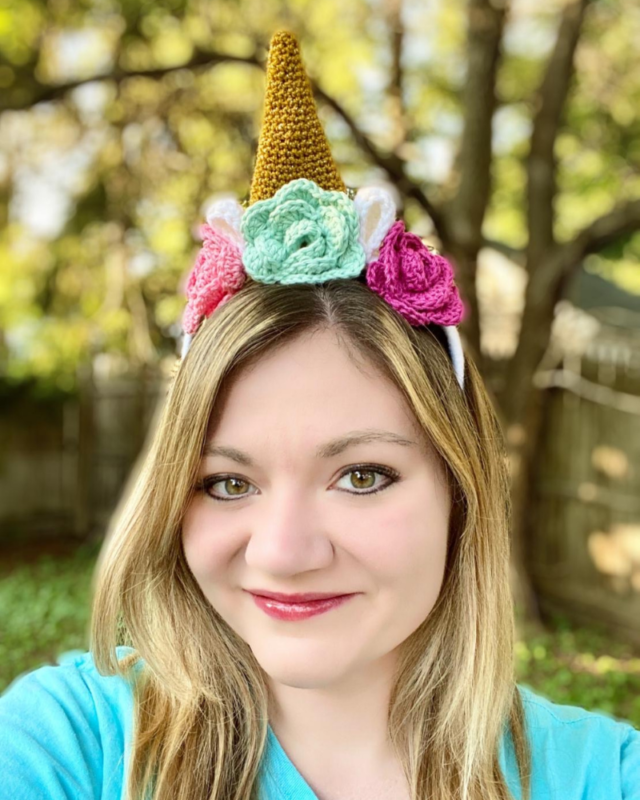
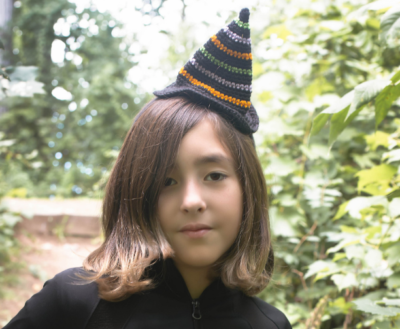
Headbands are a great fun, fast, and easy way to top off a Halloween costume (especially at the last minute)! I’ve already been having some headband fun, as you can see from my Witch Hat Headband pattern, so I thought I’d make one that was full of the beauty and magic of a unicorn! Complete with bright flowers and a glittery horn, this headband is just what you need to complete your unicorn costume! It could also be used for daily dress up and play, and even as an accessory for daily wear if your little one is looking to make a bold and magical fashion statement!
I used cotton yarn to make the flowers for this headband, and I’m so pleased with that choice! Cotton yarn really helps add definition to the roses. The teal yarn is a Wal-Mart house brand, but the pink colors are part of a favorite line of mine, Lion Brand 24/7 Cotton. Find the colors on Amazon – Pink HERE, Rose, HERE
, and Aqua (similar to the color used in this pattern) HERE!
Looking for an ad-free PDF copy of this pattern? You can purchase one in my shop HERE!
Supplies
Size D/3 – 3.25 mm crochet hook
About 30 yds per rose of medium weight cotton yarn (Mainstays Cotton in Opaline Green, Lion Brand 24/7 Cotton in Rose and Pink used in photos)
About 40 yds of medium weight yarn in white for Ears and Headband (Red Heart Super Saver in White used in photos)
Lion Brand Vanna’s Glamour in Gold (about 50 yds needed for Horn)
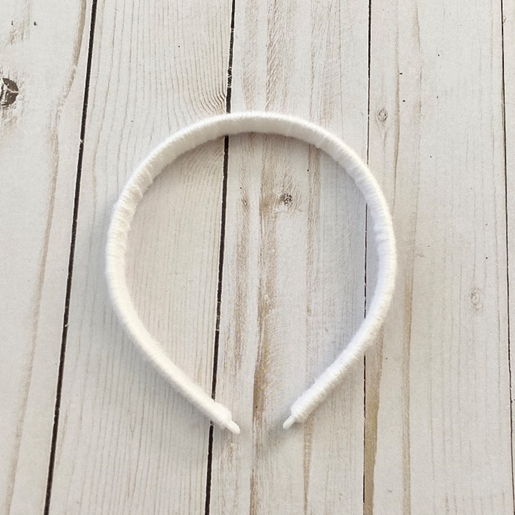
Plastic craft headband
Yarn Needle
Scissors
Abbreviations
*= indicates the beginning/end of a section to be repeated
BLO = back loop only
Ch = chain
Dc = double crochet
FLO = front loop only
Hdc = half double crochet
Rep = repeat
Rnd(s) = round(s)
Sc = single crochet
Sk = skip
Sl St = slip stitch
St(s) = stitch(es)
Gauge
Exact gauge is not essential to this project.
Size
Horn measures about 4 – 4.5 inches in length; Rose measures about 2 – 2.5 inches length
How to Make This
Instructions
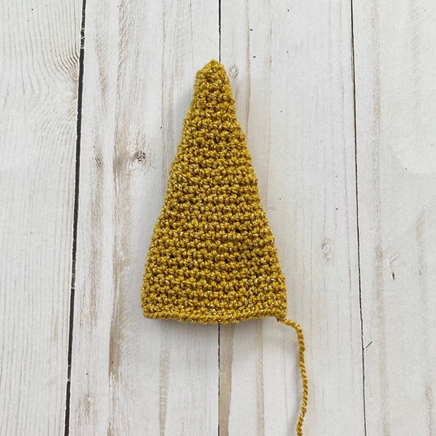
Horn
This piece is worked in continuous rnds; do not join. You may wish to use a stitch marker and move it up at the beginning of each new rnd.
Rnd 1 – With Gold, make a magic ring. 6 sc in ring. (6 sc)
Rnds 2 – 3 – sc in each st around. (6 sc per rnd)
Rnd 4 – 2 sc in next st, sc in next st; rep around. (9 sc)
Rnds 5 – 6 – sc in each st around. (9 sc per rnd)
Rnd 7 – 2 sc in next st, sc in next 2 sts; rep around (12 sc)
Rnds 8 – 9 – sc in each st around. (12 sc per rnd)
Rnd 10 – 2 sc in next st, sc in next 3 sts; rep around (15 sc)
Rnds 11 – 12 – sc in each st around. (15 sc per rnd)
Rnd 13 – 2 sc in next st, sc in next 4 sts; rep around (18 sc)
Rnds 14 – 15 – sc in each st around. (18 sc per rnd)
Rnd 16 – 2 sc in next st, sc in next 5 sts; rep around. (21 sc)
Rnds 17 – 18 – sc in each st around. (21 sc per rnd)
Rnd 19 – 2 sc in next st, sc in next 6 sts; rep around. (24 sc)
Rnds 20 – 21 – sc in each st around. (24 sc per rnd)
Rnd 22 – 2 sc in next st, sc in next 6 sts; rep around. (27 sc)
Rnds 23 – 24 – sc in each st around. (27 sc per rnd)
Rnd 25 – 2 sc in next st, sc in next 6 sts; rep around. (30 sc)
Rnds 26 – 27 – sc in each st around. (30 sc per rnd)
Rose
Rnd 1 – With Pink, Rose or Opaline Green, make a magic ring. 12 sc in ring. Join with sl st to first sc of rnd. Ch 1 (12 sc)
Rnd 2 – Working in BLO, 2 sc in each st around. Join with sl st to first sc of rnd. Ch 1 (24 sc)
Rnd 3 – Working in BLO, sc in next st, 2 sc in next st; rep around. Join with sl st to first sc of rnd. Ch 2. Photo below shows piece after this rnd. (36 sc)

Petals
(Direction is now working from Rnd 3 inward towards center of piece. See photos and diagram below.)
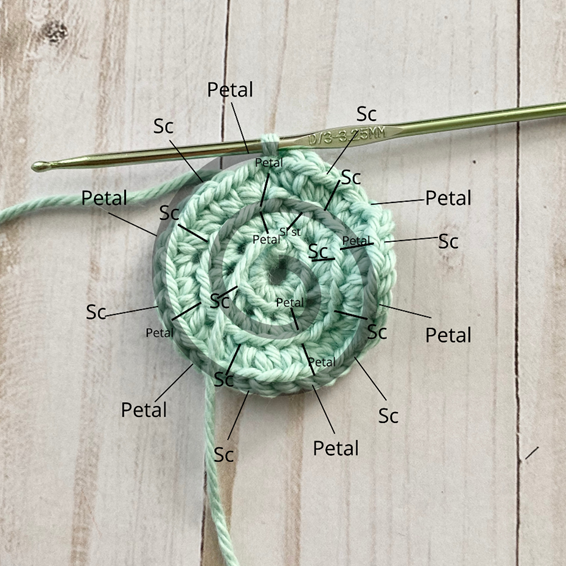
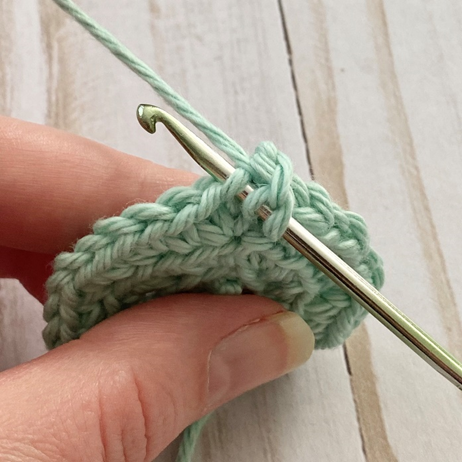
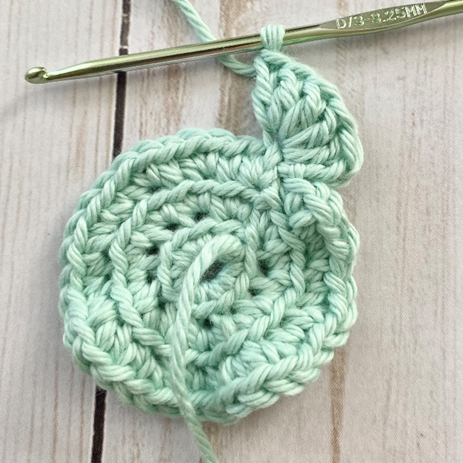
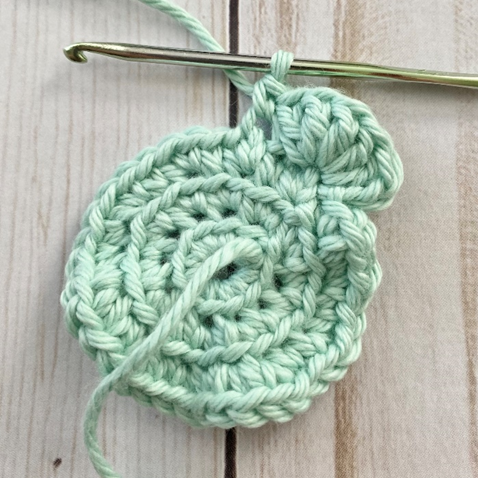
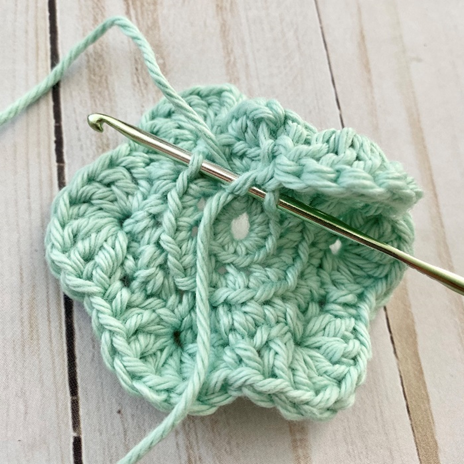
Working in FLO on sts of Rnd 3 (see first photo below), and working in rem front loops from Rnds 2 and 1, 5 dc in next st (first petal made – second photo below). Sk 2 sts, sc in next (third photo below). *Sk next 2 sts, 6 dc in next st. Sk next 2 sts, sc in next st.* Rep from * to * 10 more times (6 petals on Rnd 3, 4 petals on Rnd 2, 2 petals on Rnd 1). (See fourth photo below to see how to begin working into a rnd below.)
Sk 1 st, sl st into last rem front loop of Rnd 1.
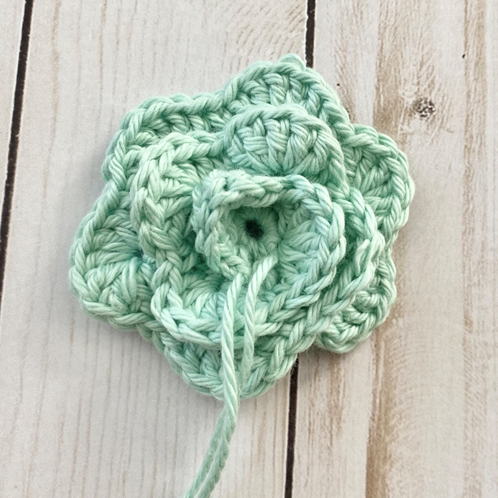
Fasten off. (Fifth photo below shows finished Rose.)
Ear (make 2)
With White, ch 6.
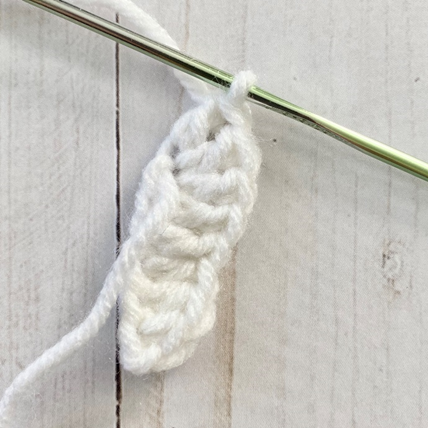
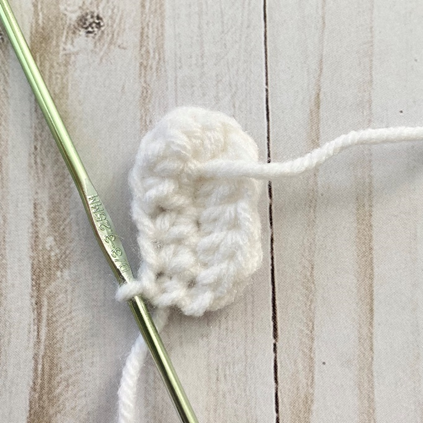
Row 1 – sc in 2nd ch from hook. Hdc in next 2 sts, dc in next st. Make 4 dc in next st. (First photo below shows piece at this point.) Working around other side of ch, dc in next st, hdc in next 2 sts. Leave last st unworked. Ch 1, turn. (Second photo below.) (1 sc, 4 hdc, 6 dc)
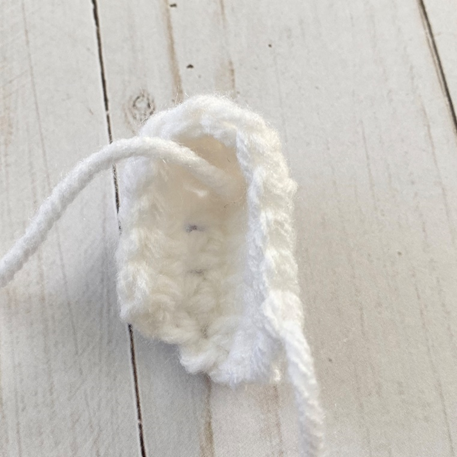
Row 2 – working around entire piece, hdc in each st around. (11 hdc)
Fasten off, leaving long tail for sewing. (Third photo below shows finished piece.)
Headband
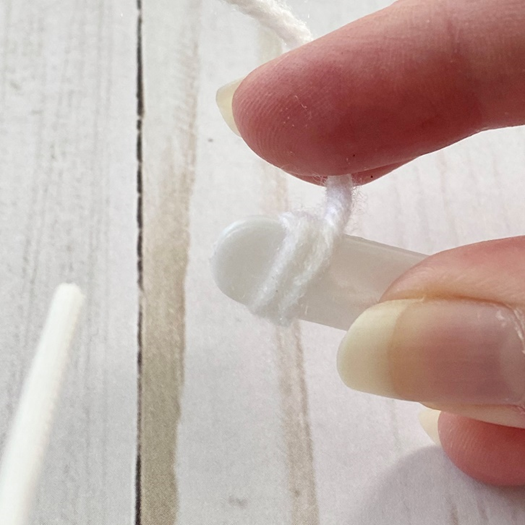
Starting at one end of plastic crafts headband, place a small section of desired yarn color on inside of headband.
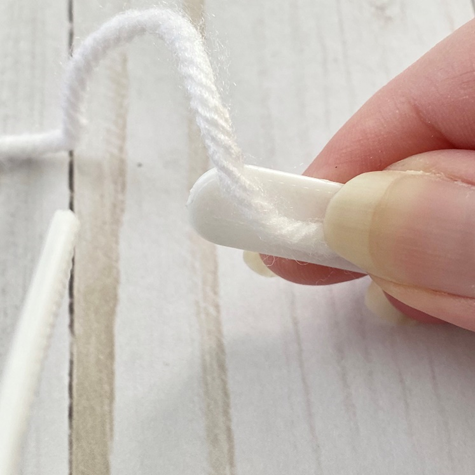
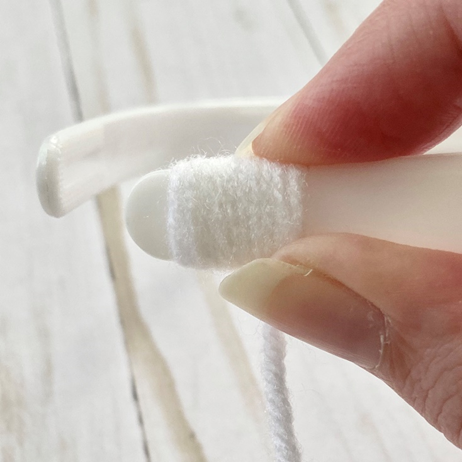
Begin wrapping around this section, and continue wrapping around rest of headband. Wrap tightly, pushing yarn down occasionally to keep work tight.
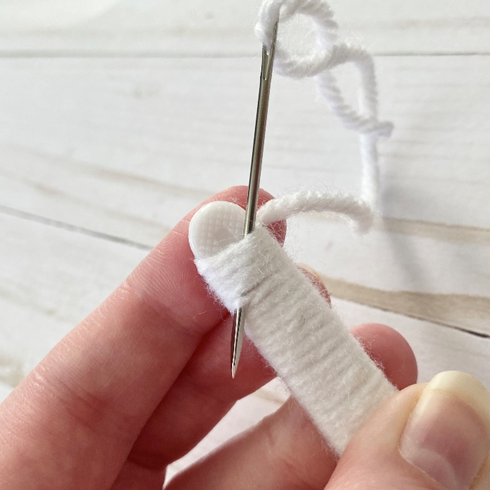
When only about a half a centimeter of the headband remains on the other end, fasten off, leaving a long tail. Holding wrapped yarn in place, thread needle with tail and weave it through 1-2 centimeters of wrapped yarn at the edge of the headband.
Finishing
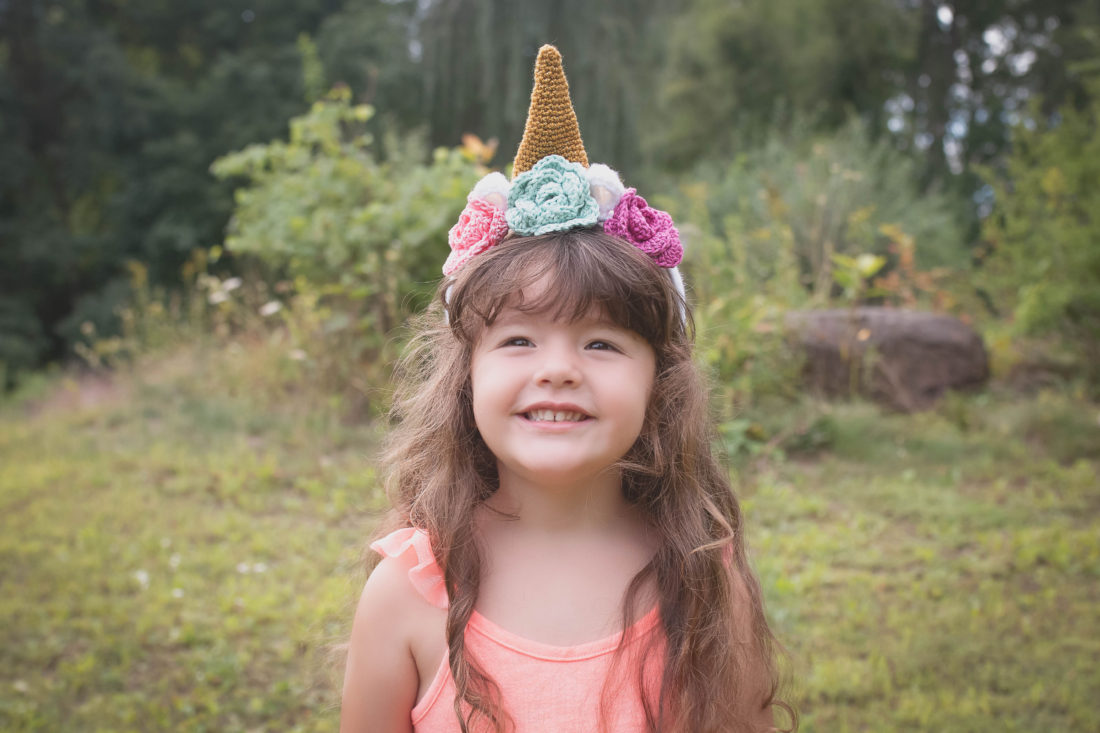
Arrange Ears, Roses, and Horn as seen in photo, and use long tails to sew down to Headband. Weave in all ends.

Here is the finished headband!
I hope you enjoyed crocheting this unicorn headband along with me! If you love fun, free patterns like this one, then please be sure to subscribe to my email list:
Also, please be sure to follow me on social media and tag me in your photos of items made from my patterns, so that I can see your lovely work!
Don’t forget to pin it for later HERE!
And you can find that ad-free PDF copy of the pattern HERE!
Happy Crocheting!
COPYRIGHT: This pattern is owned by Crafty Kitty Crochet (Melissa Moore). Any reselling or distribution of this pattern is prohibited. Sale of items made using this pattern is welcomed, but I do ask that credit/a link be provided back to my site, craftykittycrochet.com.
Comments (2)
Fox & Cat Ear Headbands – Crochet Pattern ~ Crafty Kitty Crochet
September 18, 2020 at 7:08 pm
[…] idea to make cute little animal headbands. (I’ve also made other Halloween headbands, like my Unicorn Headband and Witch Hat […]
25 Magical, Whimsy, and Free Crochet Unicorn Patterns – love. life. yarn.
November 1, 2023 at 7:18 pm
[…] Designer: Crafty Kitty CrochetYarn: Red Heart Super Saver (Aran Weight #4)Click here for the free crochet pattern!_______________________ […]