
Pumpkin Placemats – Crochet Pattern
Pin it for later!
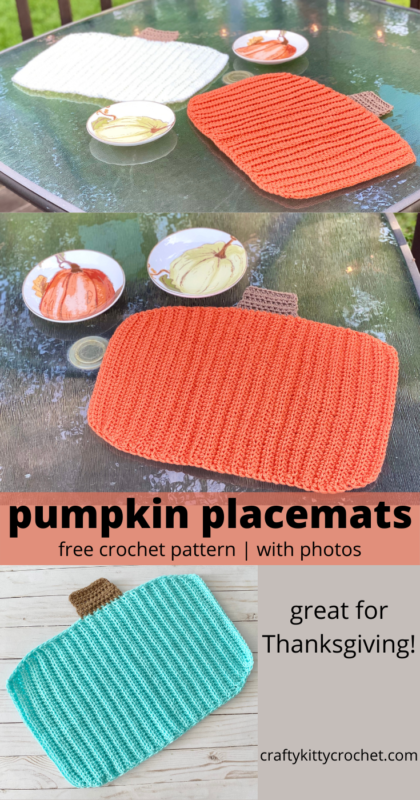
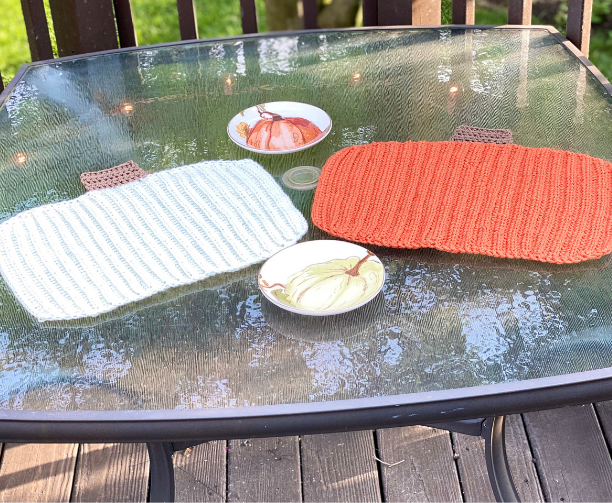
Looking for a fun, fall-tastic way to dress up your table this season? Then you will love these easy to make Pumpkin Placemats! They are beginner-friendly, can be customized in different colors, and are sure to add a unique flare to your Thanksgiving table settings this year! They are functional and look great in colors like classic orange, rustic white, or modern teal! The possibilities are endless!
Pumpkin Placemats
You might already know that I’m crazy for fall and pumpkins by some of the other patterns I’ve released, such as my Pumpkin Messy Bun Beanie, Pumpkin Spice Latte Amigurumi, and Easy Peasy Pumpkins! But what if you want to incorporate pumpkins into your dining decor, as well? That’s where these Pumpkin Placemats come in. They are functional as placemats, festive due to their pumpkin shape, and incredibly easy to make! The pattern only uses a handful of basic stitches, so this is a great pattern for both beginners and seasoned crocheters alike. These would look so pretty on the table this Thanksgiving!
The pattern calls for medium weight yarn (you can use cotton yarn if you’re planning on putting something especially hot on these!), and I would highly recommending a slightly thicker medium weight yarn like Red Heart With Love, Lion Brand Pound of Love, or Joann’s house yarn, Big Twist. The colorway of Red Heart with Love I used is sadly discontinued, but there’s another colorway called “Tigerlily” that would be a great substitute! Find some on Amazon:
Looking for an ad-free PDF copy of this pattern? You can purchase one in my shop HERE!
Supplies
Size H/8 5.0 mm crochet hook
180 yds of medium weight yarn (per placemat) in Main Color (Big Twist in Aqua, Red Heart with Love in Mango, and Lion Brand Pound of Love in Antique White used in photos)
30 yds of medium weight yarn in Contrast Color (Red Heart Super Saver in Café Latte used in photos)
Yarn Needle
Scissors
Abbreviations
BLO = back loop only
Ch = chain
Hdc = half double crochet
Hdc2tog = half double crochet 2 together
Sc = single crochet
Sl St = slip stitch
St(s) = stitch(es)
Gauge
3 hdc and 2 rows = about 1 inch
Size
About 19 inches width by 11 inches length (not including stem)
How to Make This
Instructions
Pumpkin
(All rows after Row 1 are worked in BLO)
With main color, ch 31.
Row 1 – hdc in 2nd ch from hook, and in each st across. Ch 1, turn (30 hdc)
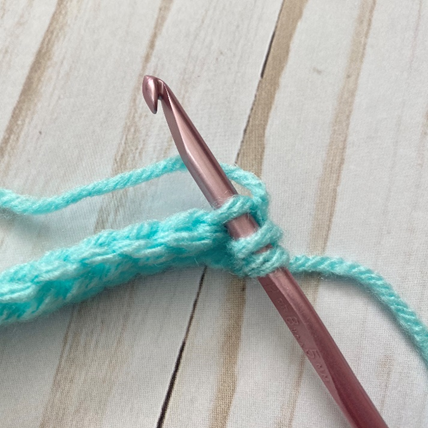
Row 2 – 2 hdc in first st (see photo below to see how this st is worked in BLO), hdc in next 28 sts, 2 hdc in last st. Ch 1, turn (32 hdc)
Row 3 – 2 hdc in first st, hdc in next 30 sts, 2 hdc in last st. Ch 1, turn (34 hdc)
Row 4 – 2 hdc in first st, hdc in next 32 sts, 2 hdc in last st. Ch 1, turn (36 hdc)
Row 5 – 2 hdc in first st, hdc in next 34 sts, 2 hdc in last st. Ch 1, turn (38 hdc)
Row 6 – 2 hdc in first st, hdc in next 36 sts, 2 hdc in last st. Ch 1, turn (40 hdc)
Rows 7 – 36 – hdc in each st across. Ch 1, turn (40 hdc)
Row 37 – hdc2tog over first 2 sts (see photo below), hdc in next 36 sts, hdc2tog over last 2 sts. Ch 1, turn (38 hdc)
Row 38 – hdc2tog over first 2 sts, hdc in next 34 sts, hdc2tog over last 2 sts. Ch 1, turn (36 hdc)
Row 39 – hdc2tog over first 2 sts, hdc in next 32 sts, hdc2tog over last 2 sts. Ch 1, turn (34 hdc)
Row 40 – hdc2tog over first 2 sts, hdc in next 30 sts, hdc2tog over last 2 sts. Ch 1, turn (32 hdc)
Row 41 – hdc2tog over first 2 sts, hdc in next 28 sts, hdc2tog over last 2 sts. Ch 1 (30 hdc)
Edging
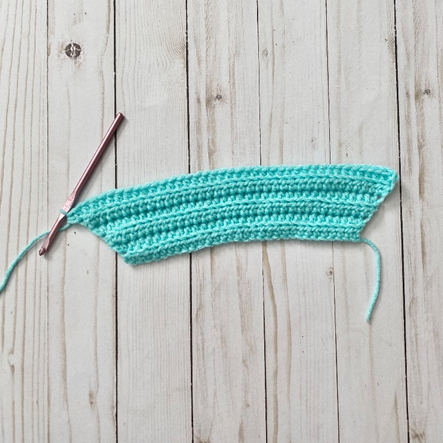
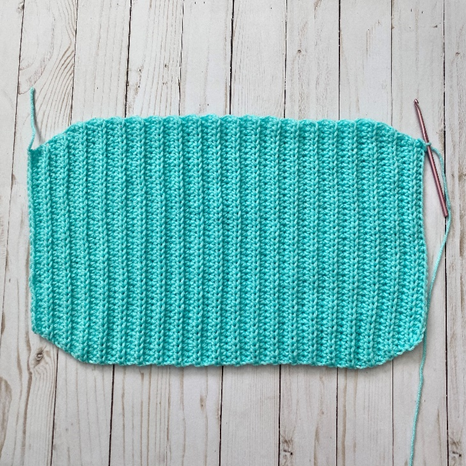
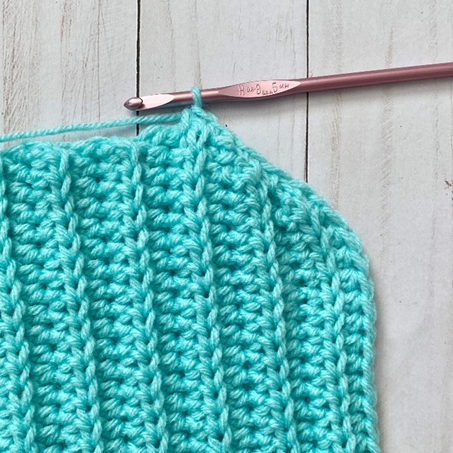
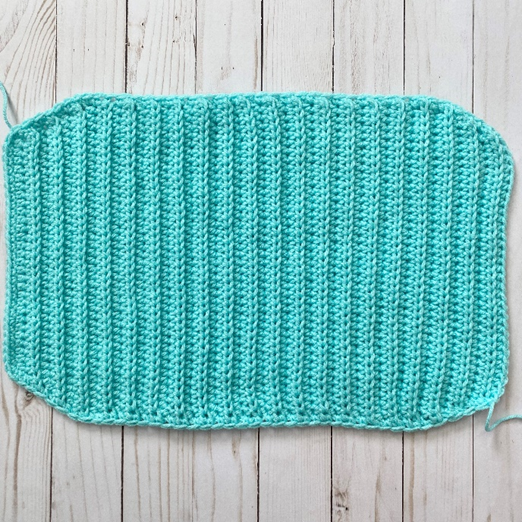
Sc around entire piece, making about 5 sts on each angled corner section (first photo below), 30 on top, and 30 on bottom. Join with sl st to first sc. Fasten off. (Second photo below shows finished piece.) (80 sc)
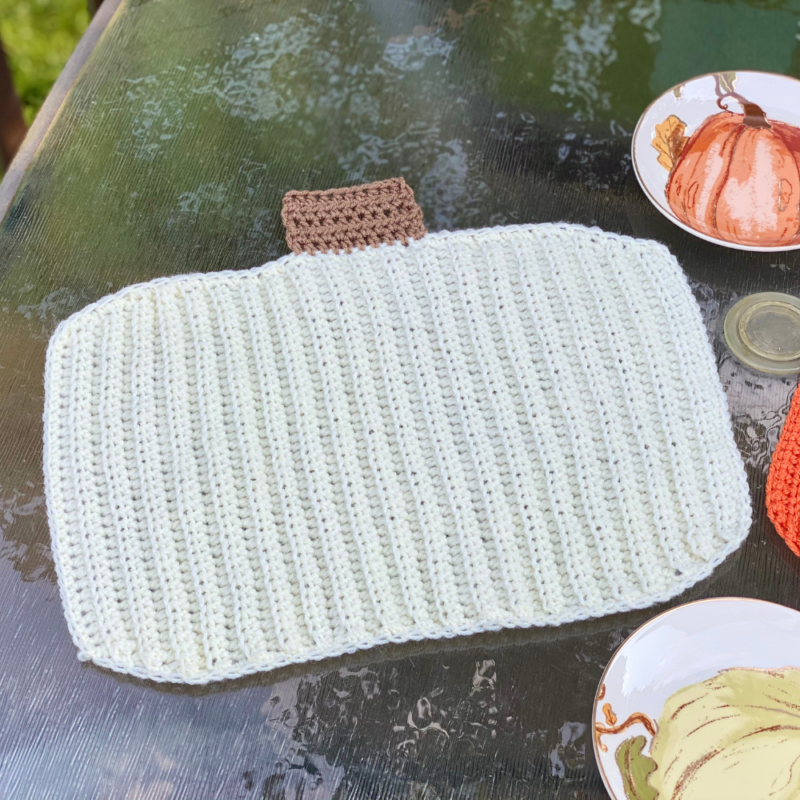
Stem
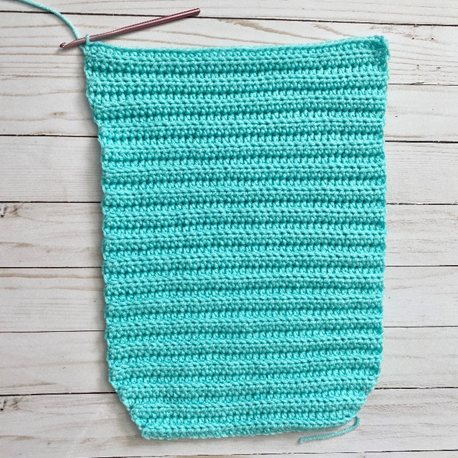
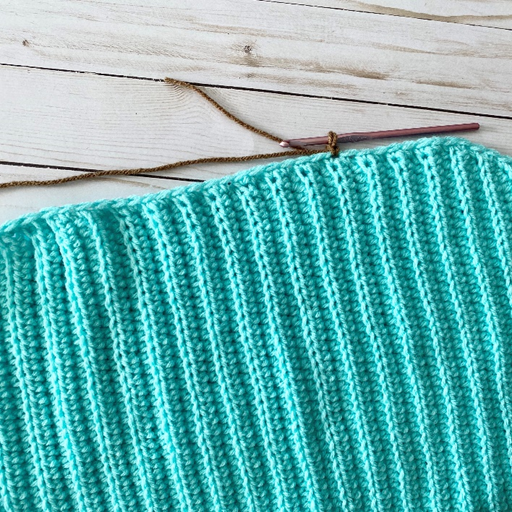
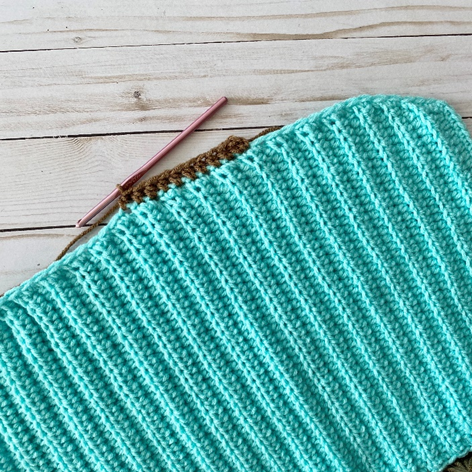
Attach contrast color on top-center of piece, about 15 sts inward from either edge of piece (first photo below).
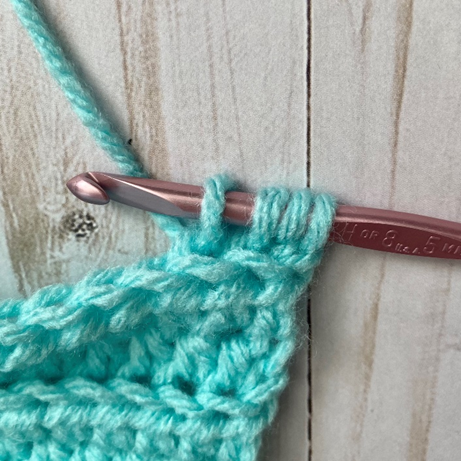
Row 1 – Ch 1, hdc in next 10 sts (second photo below). Ch 1, turn. (10 hdc)
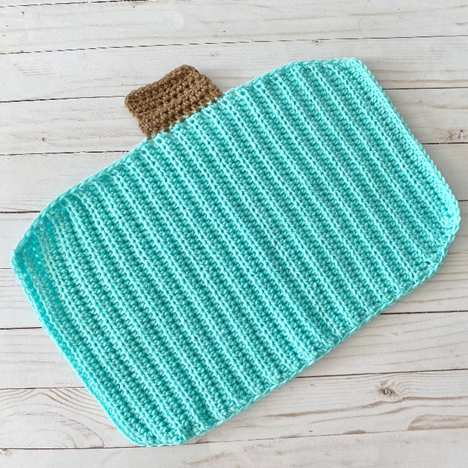
Rows 2 – 5 – hdc in each st across, ch 1, turn (do not ch 1 at end of Row 5). (Third photo below shows finished piece.) (10 hdc)
Fasten off, weave in all ends.
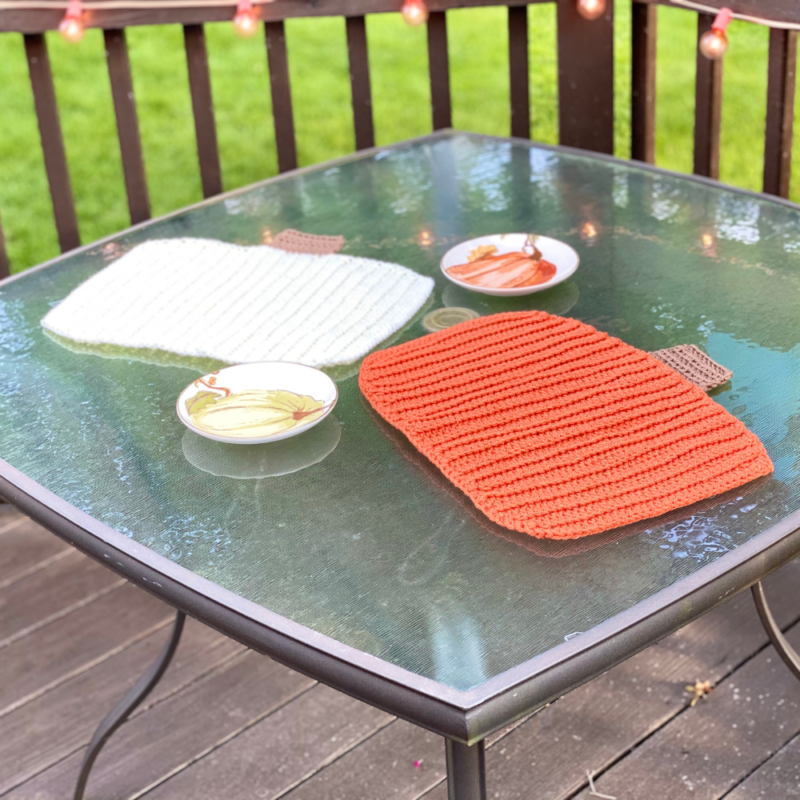
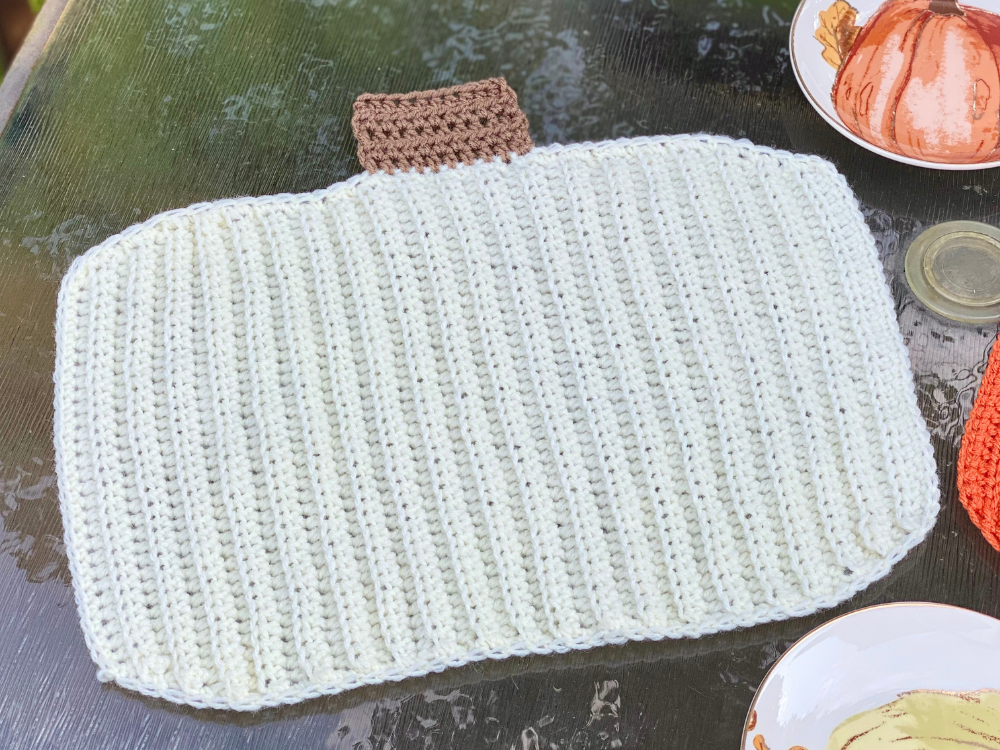
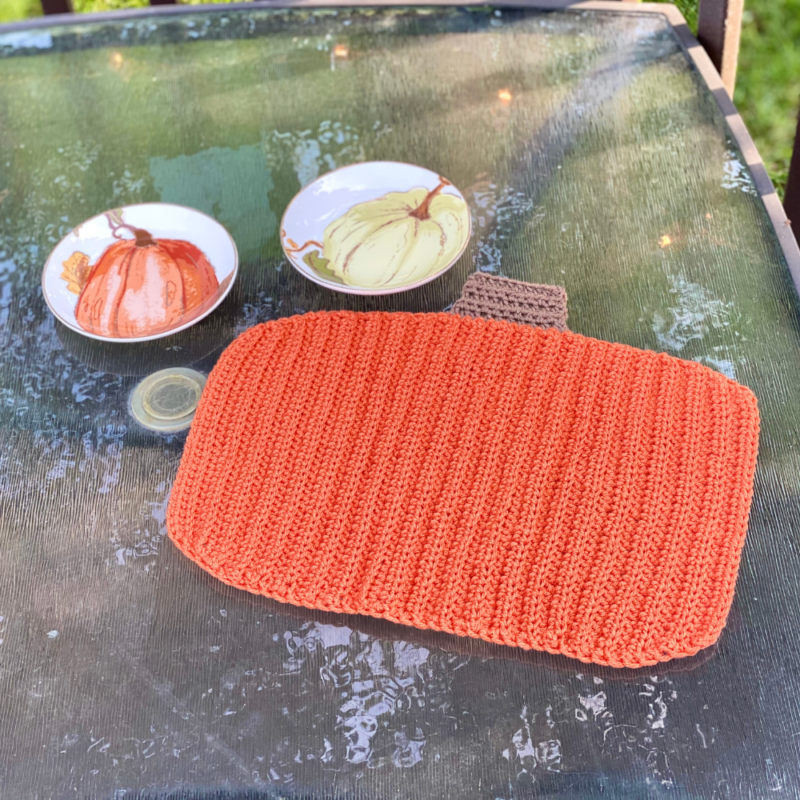
Here are the finished placemats!
I hope you enjoyed crocheting these placemats along with me today! If you love fun, free patterns like this one, then please be sure to subscribe to my email list:
Also, please be sure to follow me on social media, and tag me in photos of your finished projects, so I can see your lovely work!
Don’t forget to pin it for later HERE!
And you can find that ad-free PDF pattern HERE!
COPYRIGHT: This pattern is owned by Crafty Kitty Crochet (Melissa Moore). Any reselling or distribution of this pattern is prohibited. Sale of items made using this pattern is welcomed, but I do ask that credit/a link be provided back to my site, craftykittycrochet.com.

Comments (1)
23 Amazing Autumn Crochet Patterns • Green Fox Farms Designs
November 17, 2022 at 7:51 pm
[…] Find the pattern here! […]