
Cornzilla the Candy Corn Dinosaur – Crochet Pattern
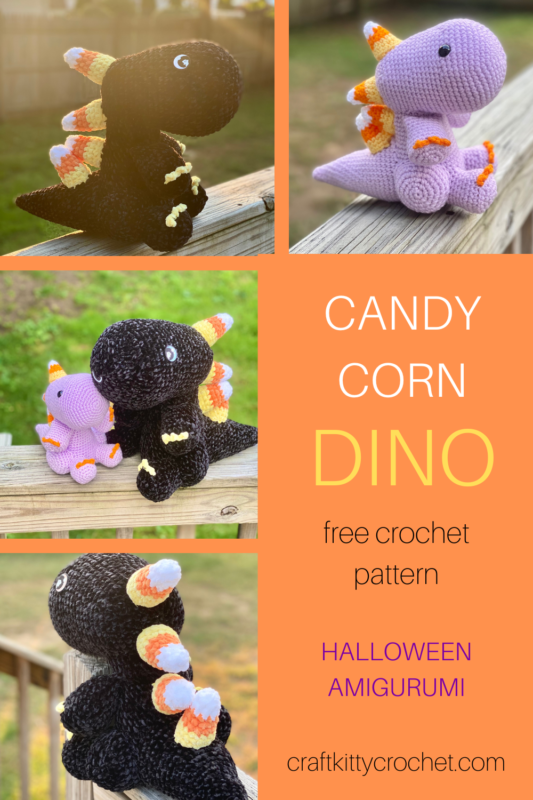
Pin it for later!
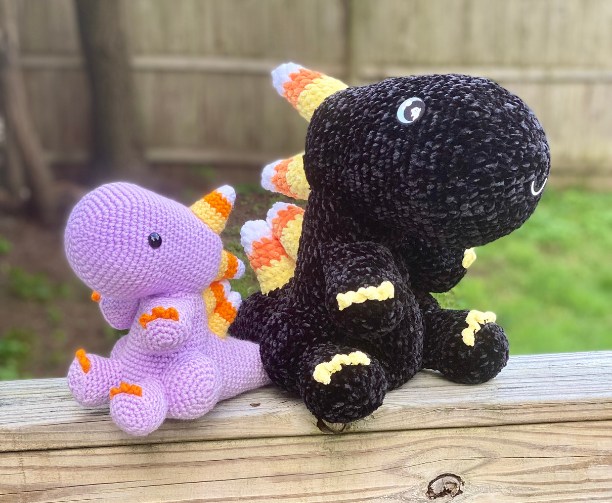
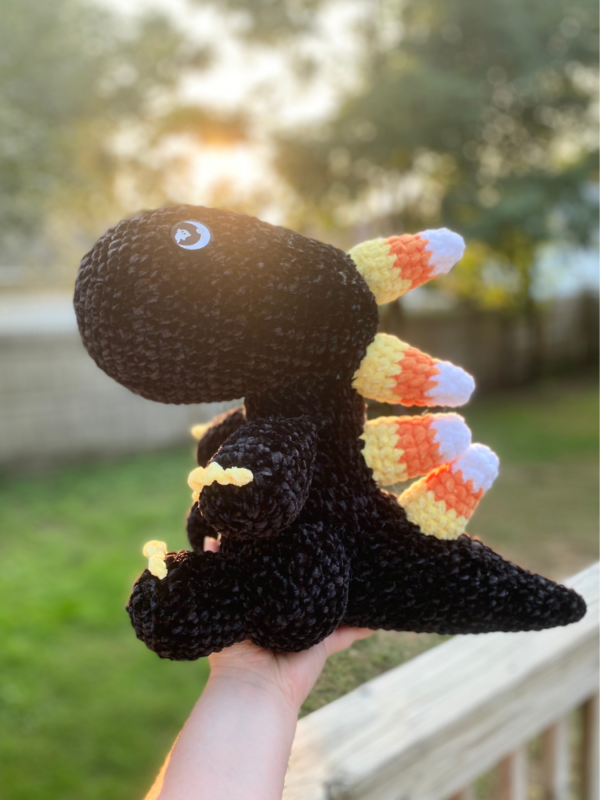
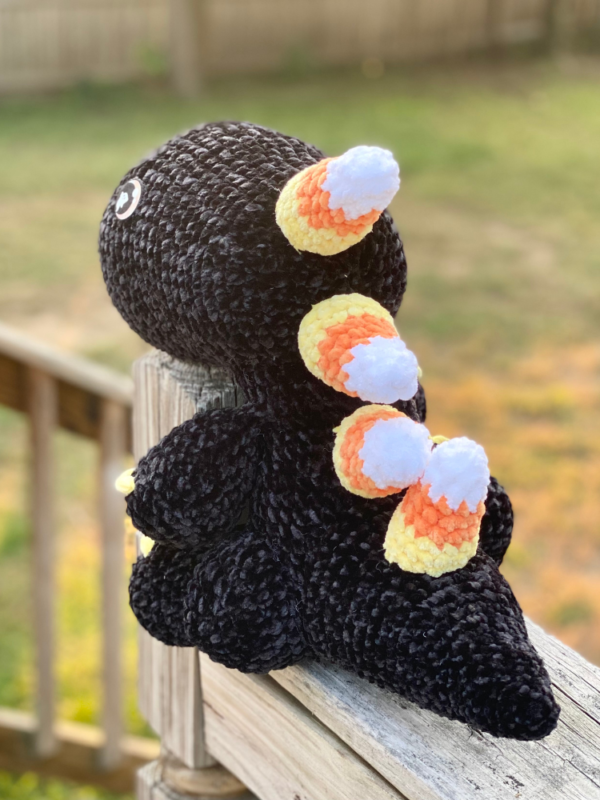
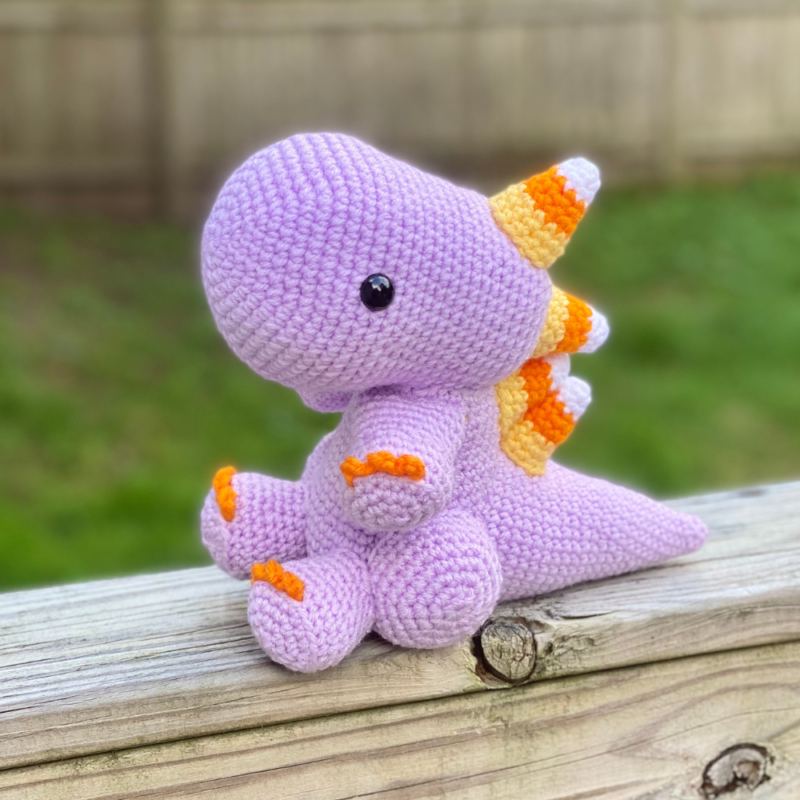
It’s a dinosaur, but with candy corn spikes – it doesn’t get more spooky cute for Halloween than this! This kawaii, chubby, soft plushie can be made in two sizes and is the perfect stuffed animal for the Fall season. At first glance, it’s a regular chibi dinosaur – but turn this critter around and you’ll see the most festive of Halloween candy: candy corns! What a great addition this would be for a plushie collection, Halloween decor, or as a keepsake toy! Kids of all ages will love this adorable dino stuffie – from children to Disney adults / fans of Squishmallows! Plus, it’s great to make for fall craft fairs and markets! The possibilities are endless!
Cornzilla the Candy Corn Dino
As you may know from my other patterns – like my Pumpkin Pie Turtle, Gingerbread Jellyfish, and Hearty Bats – I’m a big fan of combining two cute elements into one. Sometimes it’s food, sometimes it’s shapes – but one thing’s for sure, I LOVE putting a seasonal twist on it! So when I was trying to come up with ideas for literally anything that I could adorn with candy corns – which I happen to love to eat, but like even better for their bright but spooky aesthetic – candy corn spikes on a dinosaur really made a light bulb go off in my head! I’m so happy with the results and can’t decide if I like the jumbo or mini Cornzilla best. Why not make them both if you’re like me and can’t decide?
Looking for the ad-free PDF pattern? You can find it in my shop HERE!
Supplies
Large Size:
Size 7 / 4.5 mm crochet hook
Super bulky yarn in main color – about 150 yds (Bernat Velvet in Blackbird used in photos)
Super bulky yarn in white – about 20 yds (Premier Just Chenille in White used in photos)
Super bulky yarn in orange – about 25 yds (Premier Parfait Chunky in Tangerine used in photos)
Super bulky yarn in yellow – about 35 yds (Premier Just Chenille in Lemon used in photos)
1 pair of 1.5 inch felt eyes or plastic safety eyes in similar size (about 30-35 mm)
Small Size:
Size D / 3.25 mm crochet hook
Medium weight yarn in main color – about 80 yds (Big Twist Value in Soft Purple used in photos)
Medium weight yarn in white – about 15 yds (Red Heart Super Saver in White used in photos)
Medium weight yarn in orange – about 20 yds (Red Heart Super Saver in Pumpkin used in photos)
Medium weight yarn in yellow – about 25 yds (Red Heart Super Saver in Lemon used in photos)
1 pair of ¾ inch felt eyes or plastic safety eyes in similar size (about 15 mm)
Both sizes:
Craft glue (if using felt eyes)
1 felt smile (optional)
Fiberfill stuffing
Yarn needle with large eye
Scissors
Abbreviations
*= indicates beginning / end of a section to be repeated
BLO = back loop only
Ch = chain
Rem = remaining
Rep = repeat
Rnd(s) = round(s)
Sc = single crochet
Sc2tog = single crochet 2 together
Sc3tog = single crochet 3 together
St(s) = stitch(es)
Sl St = slip stitch
Gauge
Exact gauge is not essential to this project
Size
Small Size: about 9 inches length
Large Size: about 12 inches length
How to Make This
Instructions
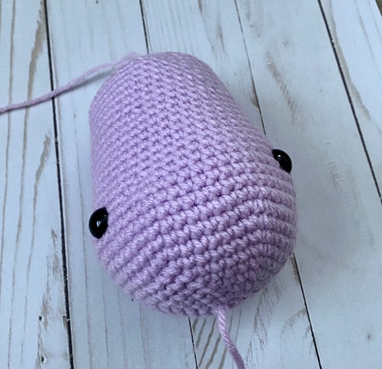
Head
This piece is worked in continuous rnds; do not join. You may wish to use a stitch marker and move it up and the beginning of each new rnd.
Rnd 1 – with main color yarn, make a magic ring. 6 sc in ring. (6 sc)
Rnd 2 – 2 sc in each st around. (12 sc)
Rnd 3 – *2 sc in next st, sc in next st;* rep from * to * around. (18 sc)
Rnd 4 – *2 sc in next st, sc in next 2 sts;* rep from * to * around. (24 sc)
Rnd 5 – *2 sc in next st, sc in next 3 sts;* rep from * to * around. (30 sc)
Rnd 6 – *2 sc in next st, sc in next 4 sts;* rep from * to * around. (36 sc)
Rnd 7 – *2 sc in next st, sc in next 5 sts;* rep from * to * around. (42 sc)
Rnd 8 – *2 sc in next st, sc in next 6 sts;* rep from * to * around. (48 sc)
Rnd 9 – *2 sc in next st, sc in next 7 sts;* rep from * to * around. (54 sc)
Rnds 10 – 15 – sc in each st around. Begin stuffing. Attach safety eyes between rnds 13 and 14, about 16 sts apart (or attach felt eyes later). (54 sc)
Rnd 16 – *sc2tog over next 2 sts, sc in next 7 sts;* rep from * to * around. (48 sc)
Rnds 17 – 22 – sc in each st around. (48 sc)
Rnd 23 – *sc2tog over next 2 sts, sc in next 6 sts;* rep from * to * around. (42 sc)
Rnds 24 – 29 – sc in each st around. (42 sc)
Rnd 30 – *sc2tog over next 2 sts, sc in next 5 sts;* rep from * to * around. (36 sc)
Rnd 31 – *sc2tog over next 2 sts, sc in next 4 sts;* rep from * to * around. (30 sc)
Rnd 32 – *sc2tog over next 2 sts, sc in next 3 sts;* rep from * to * around. (24 sc)
Rnd 33 – *sc2tog over next 2 sts, sc in next 2 sts;* rep from * to * around. Finish stuffing. (18 sc)
Rnd 34 – *sc2tog over next 2 sts, sc in next st;* rep from * to * around. (12 sc)
Rnd 35 – sc2tog in each st around. (6 sc)
Rnd 36 – sc2tog over next 2 sts; leave rem sts unworked. (5 sc)
Fasten off, leaving long tail for sewing.
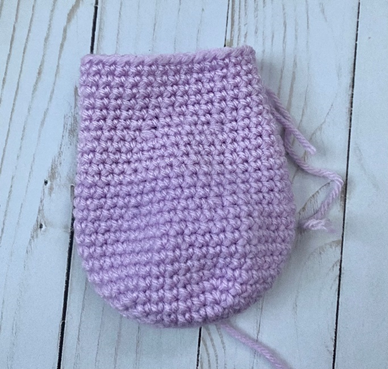
Body
This piece is worked in continuous rnds; do not join. You may wish to use a stitch marker and move it up and the beginning of each new rnd.
Rnd 1 – with main color yarn, make a magic ring. 6 sc in ring. (6 sc)
Rnd 2 – 2 sc in each st around. (12 sc)
Rnd 3 – 2 sc in next st, sc in next st; rep from * to * around. (18 sc)
Rnd 4 – 2 sc in next st, sc in next 2 sts; rep from * to * around. (24 sc)
Rnd 5 – 2 sc in next st, sc in next 3 sts; rep from * to * around. (30 sc)
Rnd 6 – 2 sc in next st, sc in next 4 sts; rep from * to * around. (36 sc)
Rnd 7 – 2 sc in next st, sc in next 5 sts; rep from * to * around. (42 sc)
Rnds 8 – 13 – sc in each st around. (42 sc)
Rnd 14 – sc2tog over next 2 sts, sc in next 5 sts; rep from * to * around. (36 sc)
Rnds 15 – 20 – sc in each st around. (36 sc)
Rnd 21 – sc2tog over next 2 sts, sc in next 4 sts; rep from * to * around. (30 sc)
Rnds 22 – 27 – sc in each st around. (30 sc)
Fasten off, leaving long tail for sewing.
Leg (make 2)
This piece is worked in continuous rnds; do not join. You may wish to use a stitch marker and move it up and the beginning of each new rnd.
Rnd 1 – with main color yarn, make a magic ring. 6 sc in ring. (6 sc)
Rnd 2 – 2 sc in each st around. (12 sc)
Rnd 3 – 2 sc in next st, sc in next st; rep from * to * around. (18 sc)
Rnd 4 – 2 sc in next st, sc in next 2 sts; rep from * to * around. (24 sc)
Rnd 5 – working in BLO, sc in each st around. (24 sc)
Rnds 6 – 7 – sc in each st around. (24 sc)
Rnd 8 – sc2tog over next 2 sts, sc in next 2 sts; rep from * to * around. (18 sc)
Rnds 9 – 11 – sc in each st around. (18 sc)
Fasten off, leaving long tail for sewing.
Arm (make 2)
Rep instructions for Leg; do not fasten off after Rnd 11.
Rnds 12 – 13 – sc in each st around. (18 sc)
Fasten off, leaving long tail for sewing.
Claws
Attach claw color around a sc st of Rnd 5 on Leg or Arm. *Ch 3, sl st in next st. Sl st in st.* Rep from * to * two more times; on last rep, only sl st once. Fasten off. (3 claws)
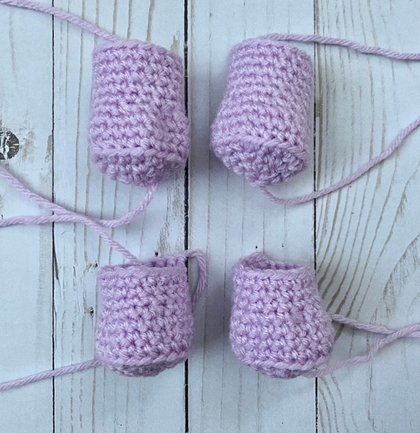


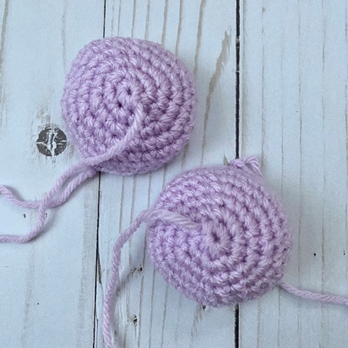
Thigh (make 2)
This piece is worked in continuous rnds; do not join. You may wish to use a stitch marker and move it up and the beginning of each new rnd.
Rnd 1 – with main color yarn, make a magic ring. 6 sc in ring. (6 sc)
Rnd 2 – 2 sc in each st around. (12 sc)
Rnd 3 – *2 sc in next st, sc in next st;* rep from * to * around. (18 sc)
Rnd 4 – *2 sc in next st, sc in next 2 sts;* rep from * to * around. (24 sc)
Rnd 5 – *2 sc in next st, sc in next 3 sts;* rep from * to * around. (30 sc)
Rnds 6 – 8 – sc in each st around. (30 sc)
Fasten off, leaving long tail for sewing.
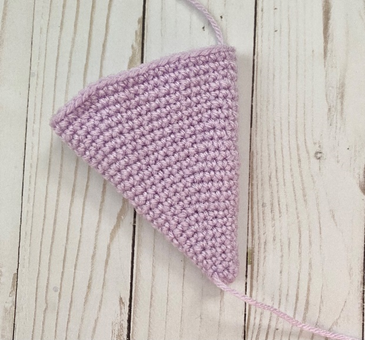
Tail
This piece is worked in continuous rnds; do not join. You may wish to use a stitch marker and move it up and the beginning of each new rnd.
Rnd 1 – with main color yarn, make a magic ring. 6 sc in ring. (6 sc)
Rnd 2 – sc in each st around. (6 sc)
Rnd 3 – 2 sc in next st, sc in next st. Rep from * to * around. (9 sc)
Rnd 4 – sc in each st around. (9 sc)
Rnd 5 – 2 sc in next st, sc in next 2 sts. Rep from * to * around. (12 sc)
Rnd 6 – sc in each st around. (12 sc)
Rnd 7 – 2 sc in next st, sc in next 3 sts. Rep from * to * around. (15 sc)
Rnd 8 – sc in each st around. (15 sc)
Rnd 9 – 2 sc in next st, sc in next 4 sts. Rep from * to * around. (18 sc)
Rnd 10 – sc in each st around. (18 sc)
Rnd 11 – 2 sc in next st, sc in next 5 sts. Rep from * to * around. (21 sc)
Rnd 12 – sc in each st around. (21 sc)
Rnd 13 – 2 sc in next st, sc in next 6 sts. Rep from * to * around. (24 sc)
Rnd 14 – sc in each st around. (24 sc)
Rnd 15 – 2 sc in next st, sc in next 7 sts. Rep from * to * around. (27 sc)
Rnd 16 – sc in each st around. (27 sc)
Rnd 17 – 2 sc in next st, sc in next 8 sts. Rep from * to * around. (30 sc)
Rnd 18 – sc in each st around. (30 sc)
Rnd 19 – 2 sc in next st, sc in next 9 sts. Rep from * to * around. (33 sc)
Rnd 20 – sc in each st around. (33 sc)
Rnd 21 – 2 sc in next st, sc in next 10 sts. Rep from * to * around. (36 sc)
Rnds 22 – 23 – sc in each st around. (36 sc)
Fasten off, leaving long tail for sewing.
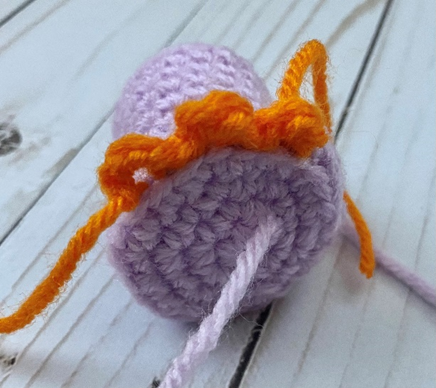
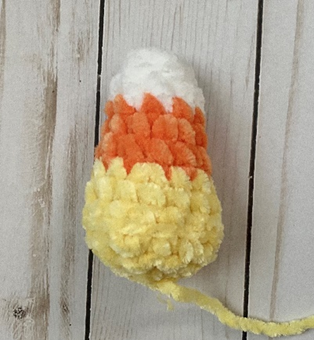
Candy Corn Spike (make 4)
This piece is worked in continuous rnds; do not join. You may wish to use a stitch marker and move it up and the beginning of each new rnd.
Rnd 1 – With white yarn, make a magic ring. 6 sc in ring. (6 sc)
Rnd 2 – Sc in each st around. (6 sc)
Rnd 3 – *Sc in next st, 2 sc in next st.* Rep from * to * around. Change to orange yarn in last st. (9 sc)
Rnd 4 – sc in each st around. (9 sc)
Rnd 5 – *Sc in next 2 sts, 2 sc in next st.* Rep from * to * around. (12 sc)
Rnd 6 – sc in each st around. Change to yellow yarn in last st. (12 sc)
Rnd 7 – *Sc in next 3 st, 2 sc in next st.* Rep from * to * around. (15 sc)
Rnds 8 – 9 – Sc in each st around. Stuff piece. (15 sc)
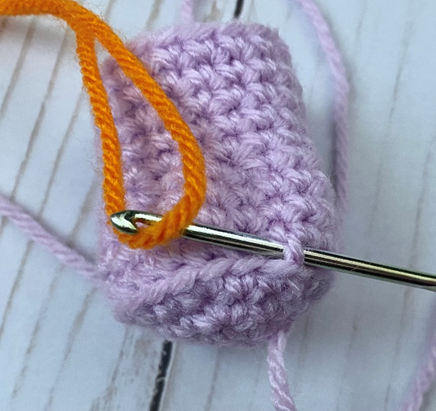
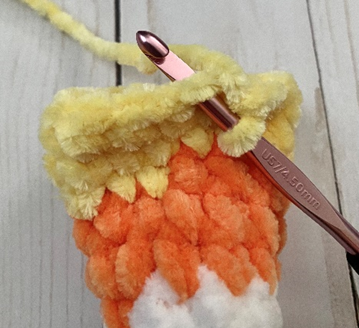
Rnd 10 – working in BLO (first photo below), *sc2tog over next 2 sts, sc in next 3 sts.* Rep from * to * around. Use yarn ends or stuffing to stuff piece. (12 sc)
Rnd 11 – *sc2tog over next 2 sts, sc in next 2 sts.* Rep from * to * around. (9 sc)
Rnd 12 – [Sc3tog over next 3 sts] three times. (3 sc)
Fasten off, leaving long tail for sewing.
Finishing
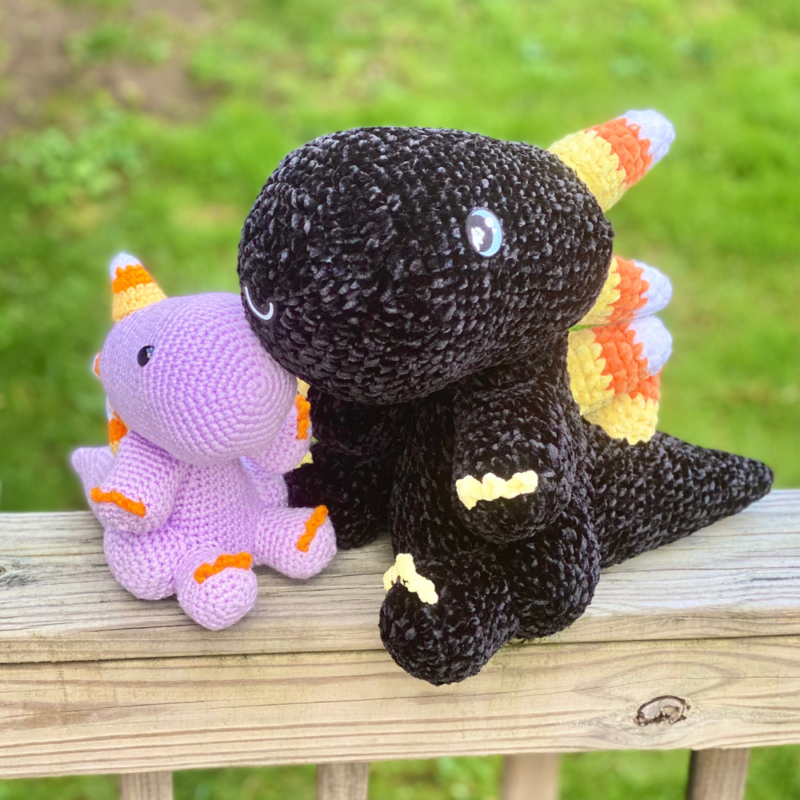
Arrange pieces as seen in photos below. Stuff Body and sew Head to Body. Stuff Tail and sew Tail to bottom-back of Body. Arrange Candy Corns from Top of head to base of Tail and sew in place. Stuff Thighs and sew to bottom-sides of Body. Stuff and sew Legs in front of Thighs. Stuff and sew Arms above Thighs / Legs, arrange slightly towards front of Body. Weave in all ends and / or tie off ends and hide knots inside sts.
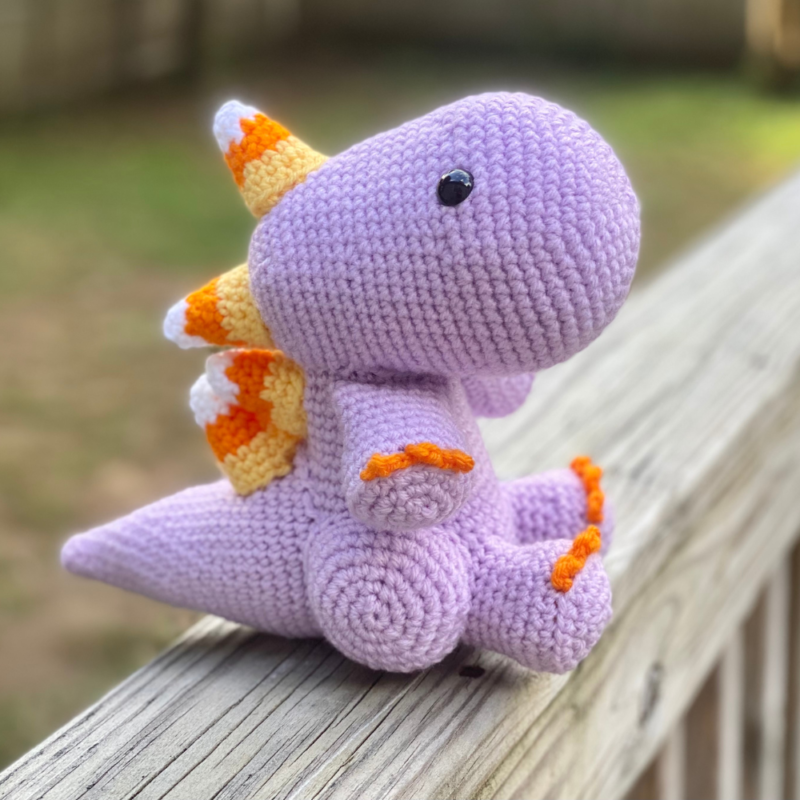
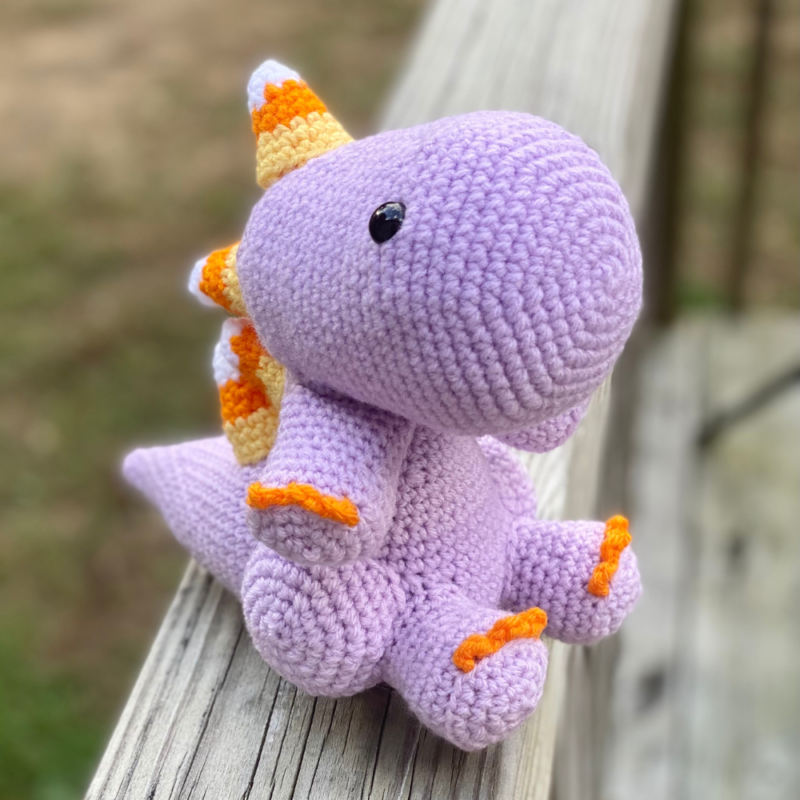
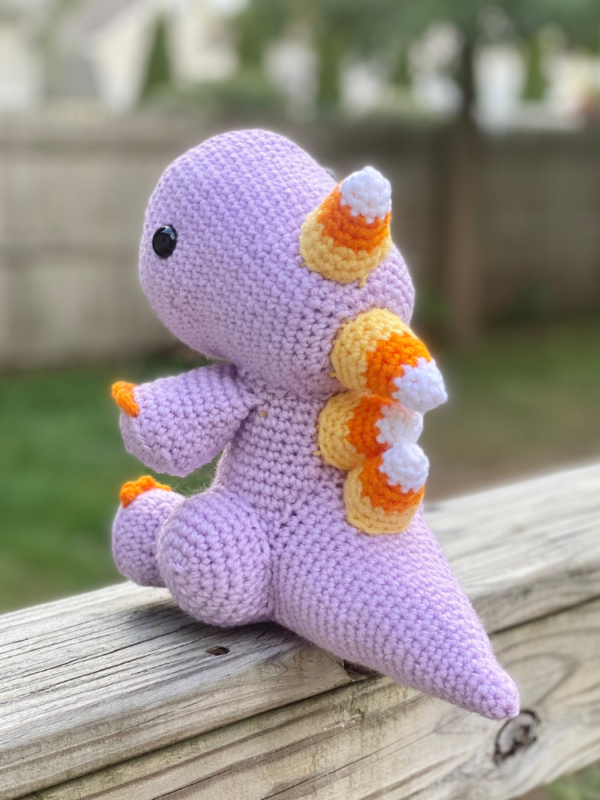
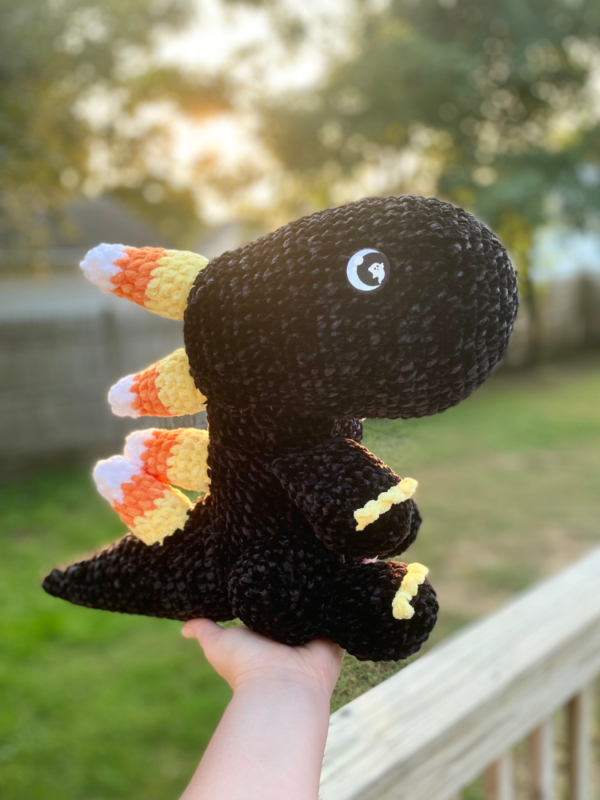
Here are the finished dinos!

I hope you enjoyed crocheting this dinosaur along with me today. If you love fun, free patterns like this one, then please be sure to sign up for my email list to keep up to date with all my latest designs:
Also, please be sure to follow me on social media, and tag me in photos of your finished projects made from my patterns, so I can see your lovely work!
Don’t forget to pin it for later HERE!
And you can find that ad-free PDF pattern HERE!
Happy Crocheting!
COPYRIGHT:
This pattern is owned by Crafty Kitty Crochet (Melissa Moore). Any reselling or distribution of this pattern is prohibited. Sale of items made using this pattern is welcomed, but I do ask that credit/a link be provided back to my site, craftykittycrochet.com.
Comments (5)
40 Free Crochet Dinosaur Patterns (Amigurumi Pattern)
March 16, 2023 at 10:56 am
[…] Bring out your inner crocheter this Halloween with crochet cornzilla, the candy corn dinosaur crochet pattern! Create two sizes of this kawaii plushie, using either super bulky yarn and a size 7/4.5 mm hook for the large version or medium weight yarn and a size d/3.25 mm hook for the small one. Complete it with felt eyes, fiberfill stuffing, and a yarn needle to give your creation that spooky-cute look! craftykittycrochet […]
17 Crochet Dinosaur Patterns For Playing, Cozy & Practical Items!
October 3, 2023 at 8:31 am
[…] craftykittycrochet […]
8 Free Crochet Dinosaur Patterns To Bring Prehistoric Vibe – DIY Make To
October 26, 2023 at 2:18 pm
[…] Click Here […]
10 Free Crochet Dinosaurs Patterns For Kids To Play With – The Newlywed
November 22, 2023 at 2:30 am
[…] Click Here […]
12 Free Crochet Candy Corn Patterns – Underground Crafter
October 26, 2024 at 11:37 pm
[…] Cornzilla Candy Corn Dino by Crafty Kitty Crochet: This adorable dinosaur has candy corn spikes. The pattern is available in small and large sizes. […]