
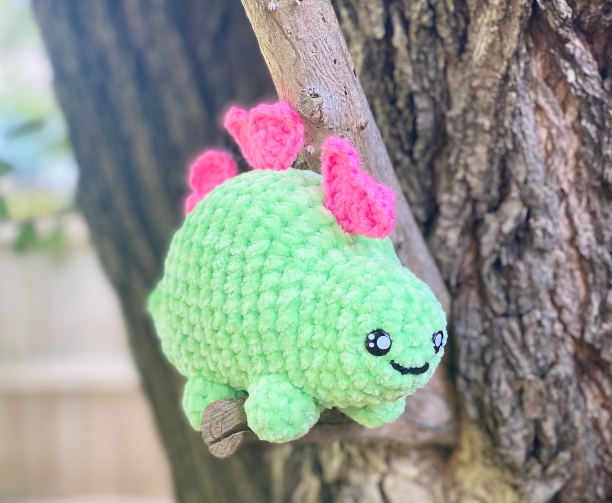
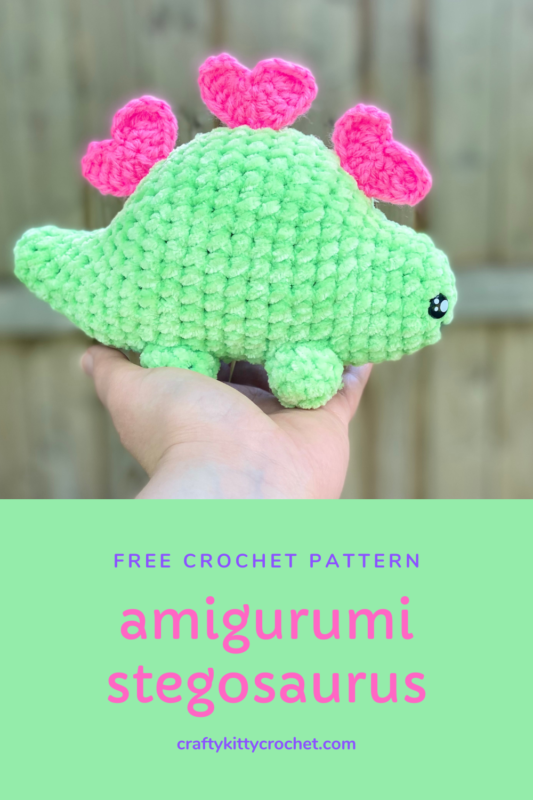
Sweetheart Stegosaurus – Amigurumi Crochet Pattern
Pin it for later!
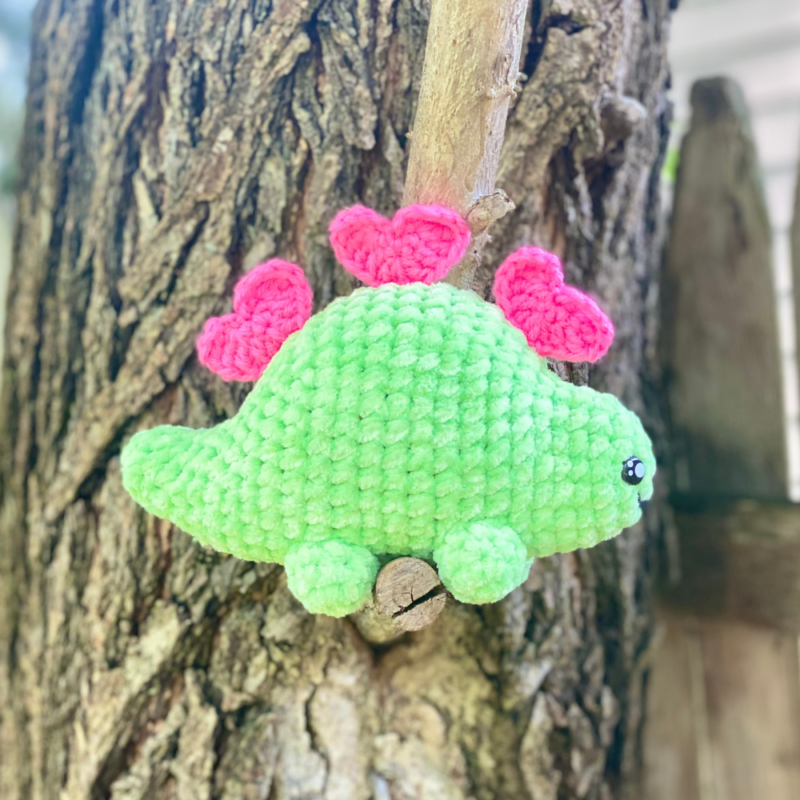
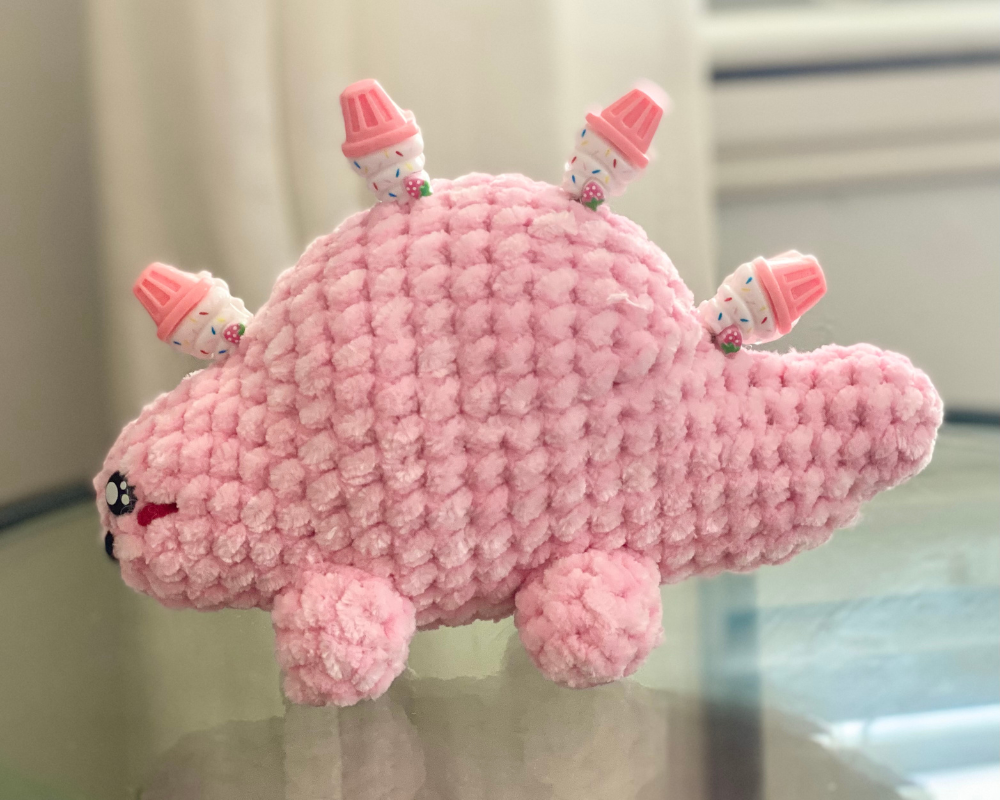
This cute dinosaur is the perfect stuffed animal for kids of all ages! It’s also a perfect craft fair make, since it’s fast, easy, and can be customized. You can also use it as the perfect kawaii plushie for room decor! Add hearts or adorable charms as spikes and you’ve got a unique piece that can be gifted for holidays and occasions all year round! The possibilities are endless!
Sweetheart Stegosaurus Amigurumi
Lately I’ve been all about super soft (made with chenille) plushie patterns – preferably quick, easy ones that are great craft fair makes! My Amigurumi Cinnamon Roll and Friendship Frogs are great examples. So I really wanted to hop on the dinosaur trend and make a cute, easy, chibi steggo that was highly customizable and had some kind of cute “quirk” like fancy spikes! I’m really happy with how this sweet dino baby came out, and I hope you are too!
The adorable kawaii safety eyes I used for this pattern really bring out the cuteness in my opinion! You can find them on Amazon HERE!
Looking for the ad-free PDF pattern? You can find it in my shop HERE!
Supplies
Size 7 / 4.5 mm crochet hook
Size D / 3.25 mm crochet hook
Premier Just Chenille (super bulky weight, about 50 yds; colors used here are Lime and Pink)
Red Heart Super Saver (medium weight, about 45 – 60 yds; color used is Pretty in Pink)
Or
About ½ inch resin charms in style of your choice (about 4 – 8 charms needed)
Craft or hot glue if using charms
Red Heart Super Saver (medium weight, <1yd; color used here is Black)
9 mm safety eyes
Fiberfill stuffing
Yarn needle with large eye
Scissors
Abbreviations
Beg = beginning
Ch = chain
Dc = double crochet
Rnd = round
Sc = single crochet
Sc2tog = single crochet 2 together
Sk = skip
Sl st = slip stitch
St = stitch
Tr = triple crochet
Gauge
Exact gauge is not essential to this project
Size
About 8 inches length from head to tail, and 5 inches length from top of back to bottom of feet (not including spikes)
Notes
Please note that Premier Just Chenille is labeled as a super bulky yarn, but works up more like a bulky yarn. An alternative is Premier Parfait, which is thicker than Just Chenille but thinner than other super bulky chenille yarns like Bernat Blanket.
When using resin charms, you may wish to glue 2 charms together (wrong sides facing) to make a double-sided charm.
How to Make This
Instructions
Body
This piece is worked in continuous rnds; do not join. You may wish to use a stitch marker and move it up at the beginning of each new rnd.
Rnd 1 – with bulky yarn and 4.5 mm hook, make a magic ring. 6 sc in ring (6 sc)
Rnd 2 – 2 sc in each st around. (12 sc)
Rnd 3 – *2 sc in next st, sc in next st.* Rep from * to * around. (18 sc)
Rnds 4 – 6 – sc in each st around. (18 sc)
Rnd 7 – 2 sc in each of the next 4 sts. Sc in rem 14 sts. (22 sc)
Rnd 8 – *2 sc in next st, sc in next st.* Rep from * to * 3 more times. Sc in rem 14 sts. (26 sc)
Rnd 9 – *2 sc in next st, sc in next 2 sts.* Rep from * to * 3 more times. Sc in rem 14 sts. (30 sc)
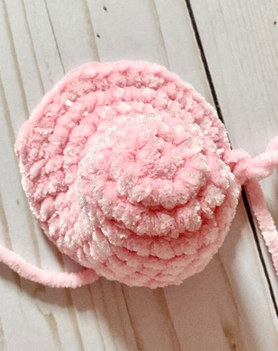
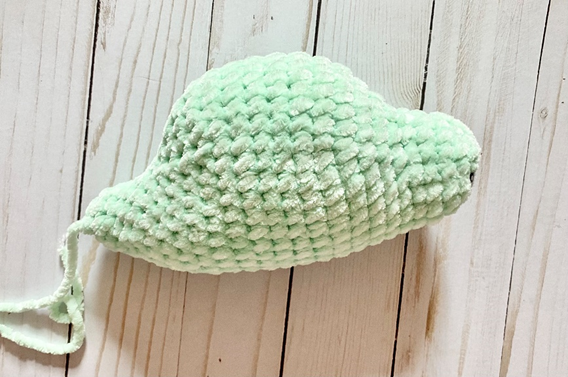
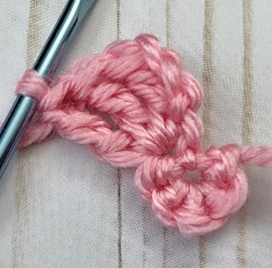
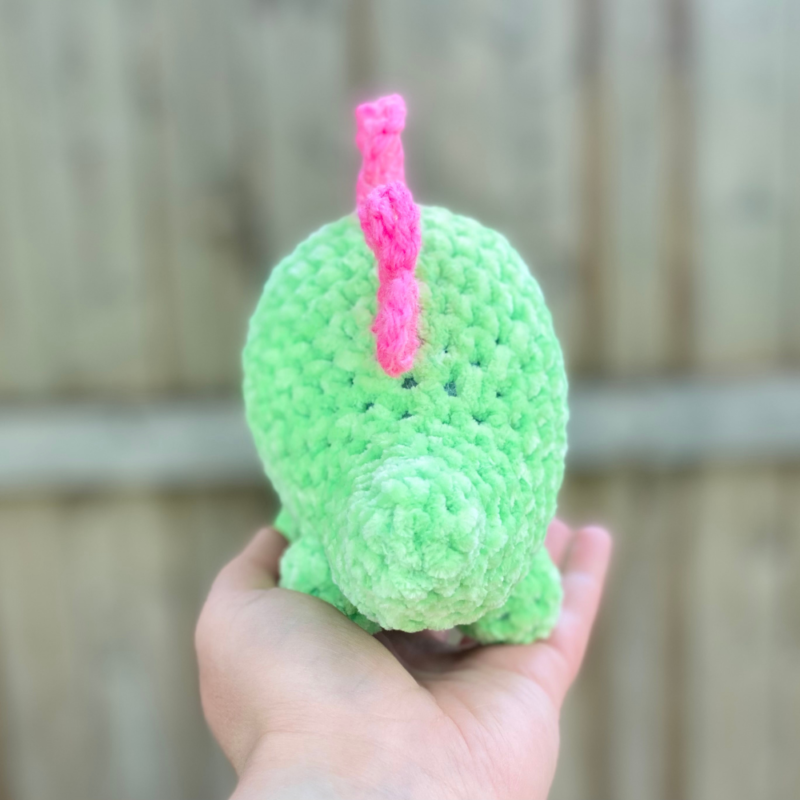
Rnd 10 – *2 sc in next st, sc in next 3 sts.* Rep from * to * 3 more times. Sc in rem 14 sts. See first photo below (34 sc)
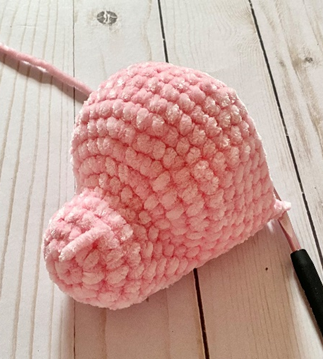
Rnds 11 – 16 – sc in each st around (see second photo below). Attach safety eyes between Rnds 2 and 3, about 3 sts apart; begin stuffing. (34 sc)
Rnd 17 – *sc2tog over next 2 sts, sc in next 3 sts.* Rep from * to * 3 more times. Sc in rem 14 sts (30 sc)
Rnd 18 – *sc2tog over next 2 sts, sc in next 2 sts.* Rep from * to * 3 more times. Sc in rem 14 sts (26 sc)
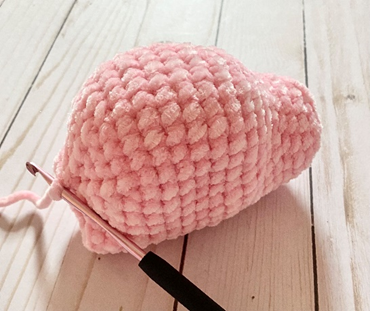
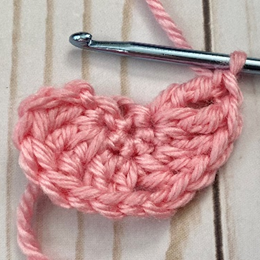
Rnd 19 – *sc2tog over next 2 sts, sc in next st.* Rep from * to * 3 more times. Sc in rem 14 sts (see third photo below) (22 sc)
Rnd 20 – [sc2tog over next 2 sts] 4 times. Sc in rem 14 sts (18 sc)
Rnd 21 – [sc2tog over next 2 sts] 2 times. Sc in rem 14 sts (16 sc)
Rnd 22 – *sc2tog over next 2 sts, sc in next 3 sts.* Rep from * to * 2 more times. Sc in last st. Continue stuffing (13 sc)
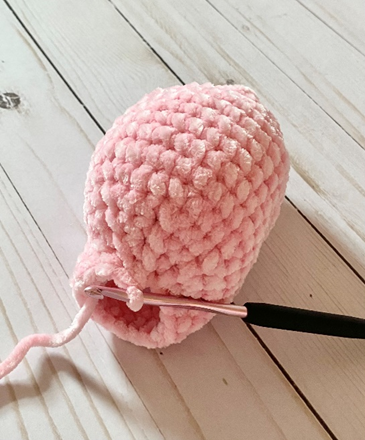
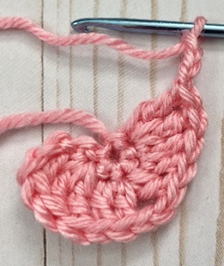
Rnd 23 – *sc2tog over next 2 sts, sc in next 2 sts.* Rep from * to * 2 more times. Sc in last st. (see fourth photo below) (10 sc)
Rnds 24 – 25 – sc in each st around. (10 sc)
Rnd 26 – *sc2tog over next 2 sts, sc in next st.* Rep from * to * 2 more times. Sc in last st. Finish stuffing (7 sc)
Rnd 27 – [sc2tog over next 2 sts] 2 times. Leave rem sts unworked. (5 sc)
Fasten off, leaving long tail for sewing closed rem gap from Rnd 27. Fifth photo below shows piece at this stage.
Leg (make 4)
This piece is worked in continuous rnds; do not join. You may wish to use a stitch marker and move it up at the beginning of each new rnd.
Rnd 1 – with bulky yarn and 4.5 mm hook, make a magic ring. 4 sc in ring (4 sc)
Rnd 2 – 2 sc in each st around. (8 sc)
Rnds 3 – 4 – sc in each st around. (8 sc)
Fasten off, leaving long tail for sewing.
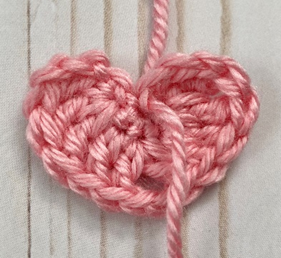
Heart Spike (make 3 – 4)
NOTE: if using charms as spikes, skip this step
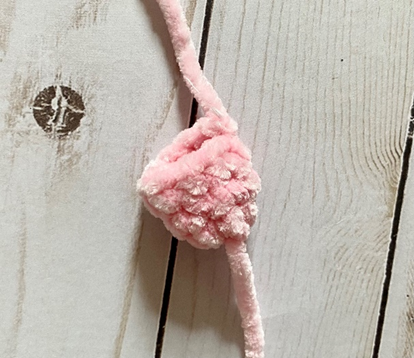
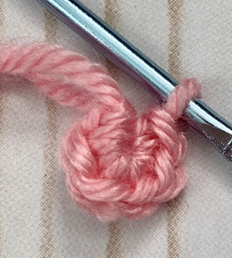
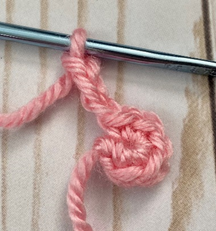
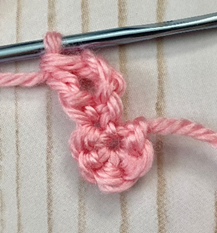
Rnd 1 – with 3.25 mm hook and medium weight yarn, make a magic ring, 6 sc in ring. Ch 3, turn. 3 tr in first st. Dc in next st. Dc, ch 2, Dc in next st. Dc in next st. 3 tr in next st. Ch 3, sk last st and sl st into small hole in center of magic ring. Fasten off; pull beg end to close hole and weave in ends (if sewing heart to something, you may want to leave a long tail for sewing when fastening off.)


Finishing
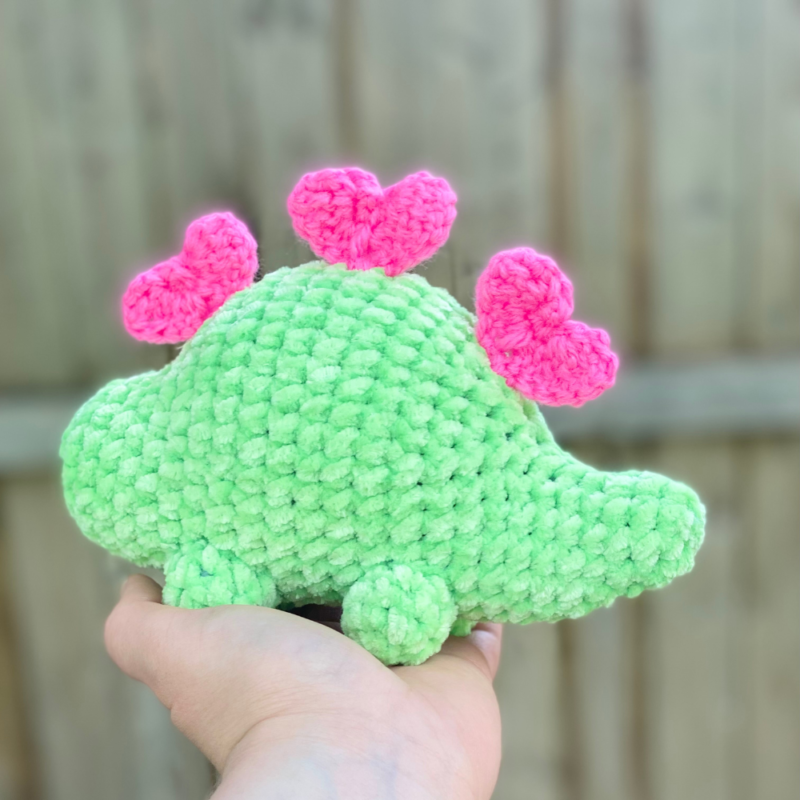
If using resin charms as spikes, sew and/or glue along center of Body, about 3 sts apart lengthwise. If using Heart spikes, align along center of Body about 3 sts apart lengthwise, and sew in place. Stuff and arrange Legs on bottom of piece and sew in place. Weave in all ends and/or tie knots and hide inside sts.

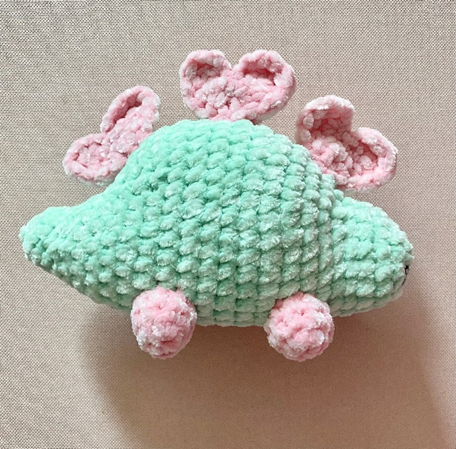
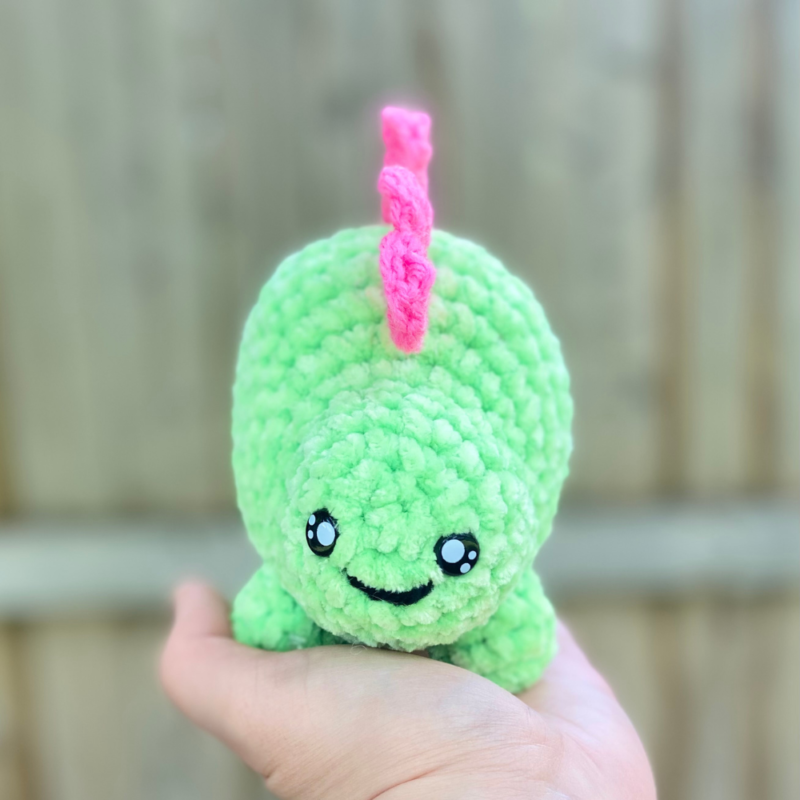
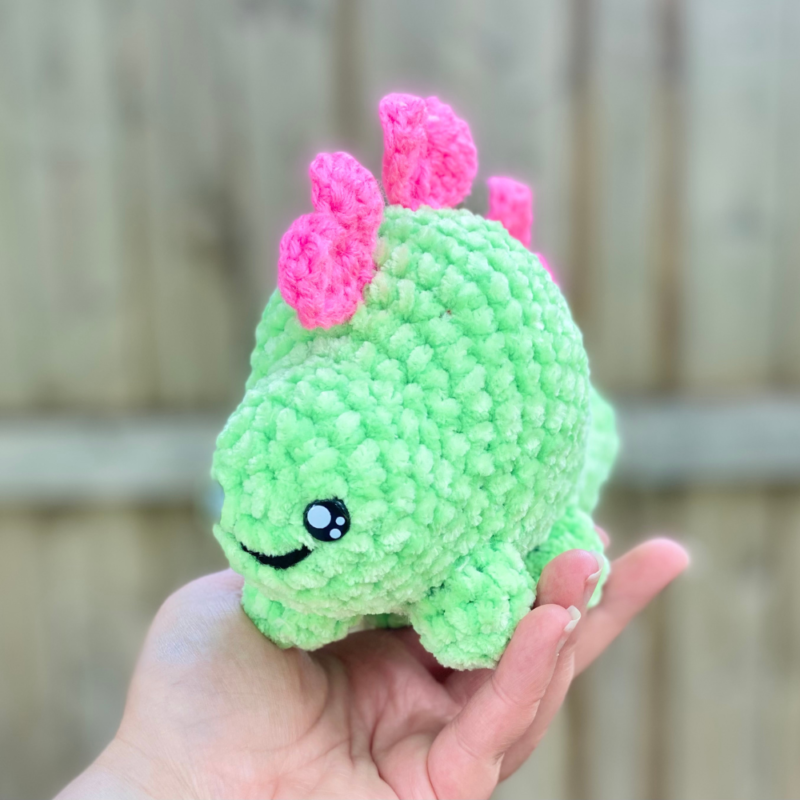
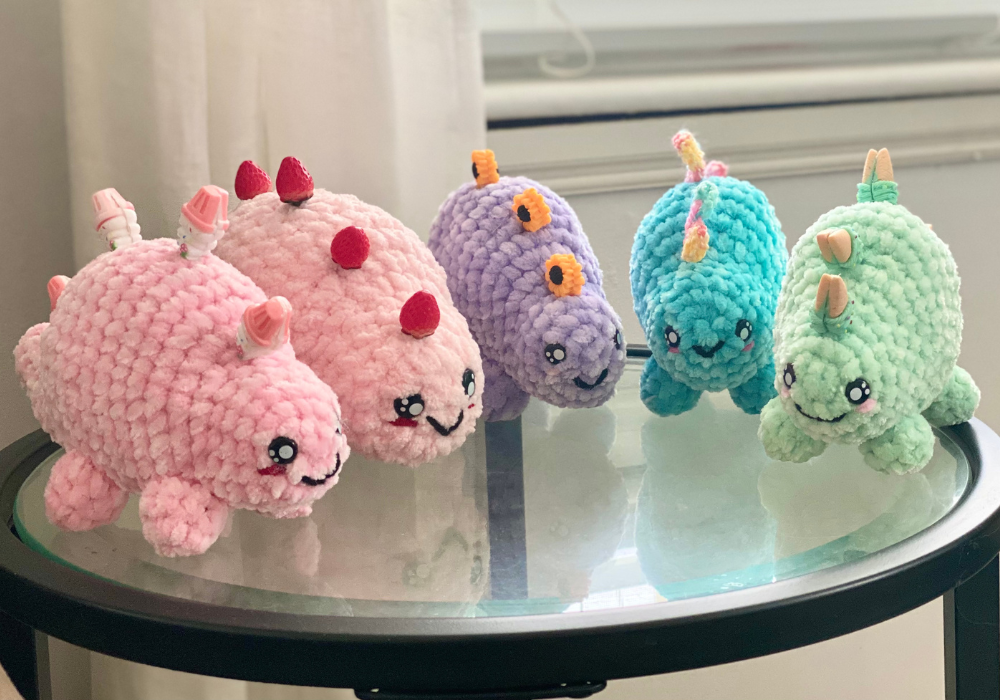
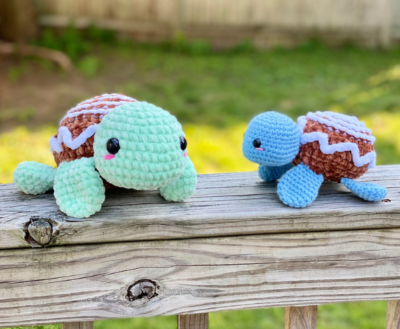
Here are the finished Steggos!
I hope you enjoyed crocheting this stegosaurus along with me today. If you love fun, free patterns like this one, then please be sure to sign up for my email list to keep up to date with all my latest designs:
Also, please be sure to follow me on social media, and tag me in photos of your finished projects made from my patterns, so I can see your lovely work!
Don’t forget to pin it for later HERE!
And you can find that ad-free PDF pattern HERE!
Happy Crocheting!
COPYRIGHT:
This pattern is owned by Crafty Kitty Crochet (Melissa Moore). Any reselling or distribution of this pattern is prohibited. Sale of items made using this pattern is welcomed, but I do ask that credit/a link be provided back to my site, craftykittycrochet.com.
Comments (2)
Sally
October 8, 2024 at 1:57 am
I really wanted to make this but the numbers don’t add up?
Is there an updated version?
Sally
Melissa
December 28, 2024 at 5:30 pm
Hi Sally, which part doesn’t add up? I can help troubleshoot the row/round with you!