
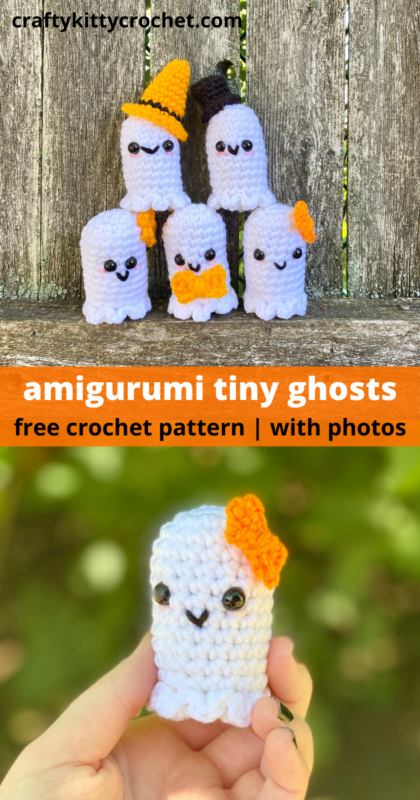
Amigurumi Wee Little Ghostie – Crochet Pattern
Pin it for later!
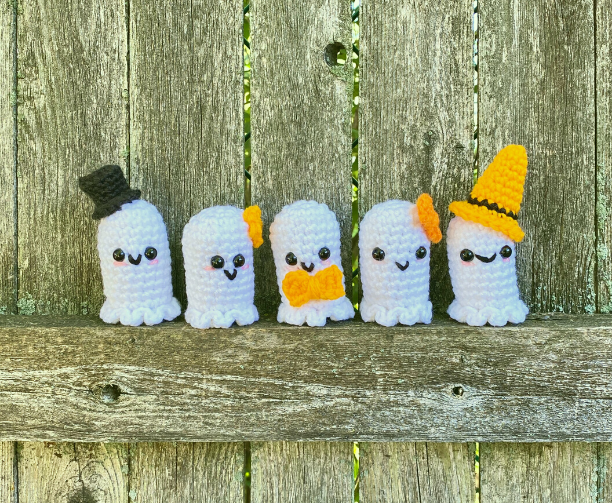
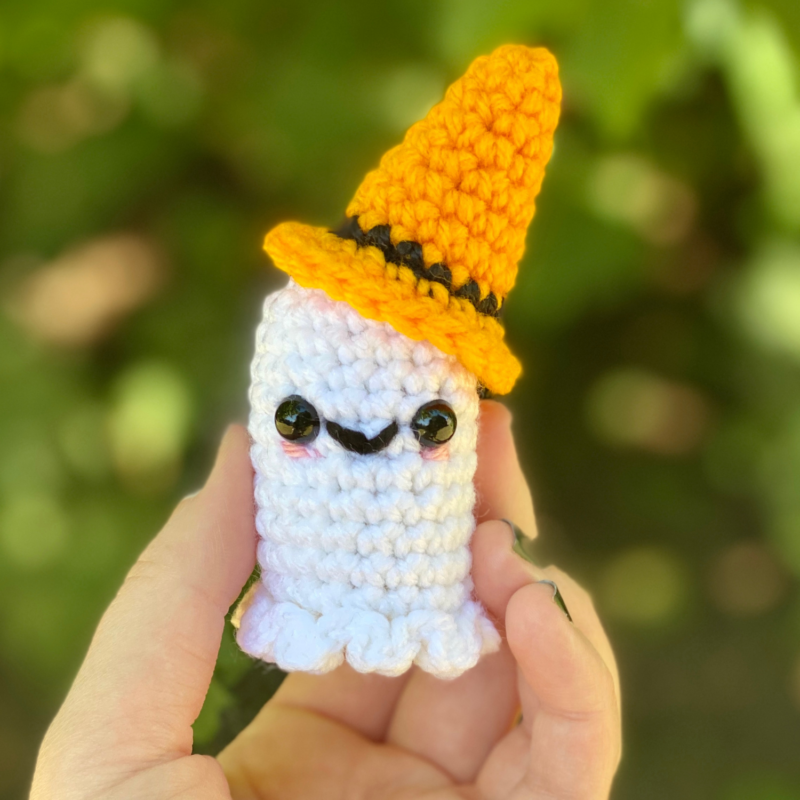
These little ghosts are a lot of Halloween fun! Customize them with all kinds of accessories, like a Witch Hat, Top Hat, Bows, and more! Plus, they are very small and quick to make, and don’t use much yarn – a perfect stashbuster project! They would be excellent as small Halloween gifts or even favors / prizes in a Halloween Scavenger Hunt! Kids will love them as toys, and adults will love them as adorable spooky decor. The possibilities are endless!
Wee Little Ghostie
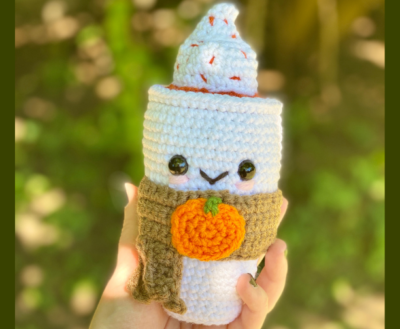
Amigurumi is one of my all-time favorite kinds of crochet, so naturally I wanted to make some cute Halloween ones this year! (Have you met my Amigurumi Pumpkin Spice Latte yet?) Ghosts are an easy and immediately recognizable symbol to design, so I started playing around with the design. Before I knew it, I was making a whole bunch of these little critters! They are so fast and addictive to make! You can customize them just about any way you can imagine, and included here are just a few ways you can dress them up to be even cuter.
This pattern uses only handfuls of yarn, so it’s a great way to get rid of small leftovers in your stash! But if you happen to be running out of some good White yarn, I’d recommend using Red Heart Super Saver in White. Just one skein will produce dozens of Ghosties! Find some on Amazon HERE!
Looking for an ad-free PDF copy of this pattern? You can purchase one in my shop HERE!
Supplies
Size D-3 / 3.25 mm crochet hook
Red Heart Super Saver in White (about 50 yds per Ghost)
Red Heart Super Saver in Pumpkin (about 20 yds needed for Witch Hat, 10 yds needed for Bow, 5 yds needed for Flower)
Red Heart Super Saver in Black (small amount needed for Smile and Witch Hat, 15 yds needed for Top Hat)
Red Heart Super Saver in Baby Pink (small amount needed for Blush)
1 pair 9 mm safety eyes per ghost
Fiberfill stuffing
Yarn Needle
Scissors
Abbreviations
*= indicates beginning/end of a section to be repeated
BLO = back loop only
Ch = chain
FLO = front loop only
Hdc = half double crochet
Rem = remaining
Rep = repeat
Rnd(s) = round(s)
Sc = single crochet
Sc2tog = single crochet 2 together
Sl St = slip stitch
St(s) = stitch(es)
Gauge
Exact gauge is not essential to this project.
Size
About 3 inches length
How to Make This
Instructions
Ghost
This pattern is worked in continuous rnds; do not join. You may wish to use a stitch marker and move it up at the beginning of each new rnd.
Rnd 1 – with White, make a magic ring. 6 sc in ring. (6 sc)
Rnd 2 – 2 sc in each st around. (12 sc)
Rnd 3 – 2 sc in next st, sc in next st; rep around. (18 sc)
Rnds 4 – 13 – sc in each st around. (18 sc)
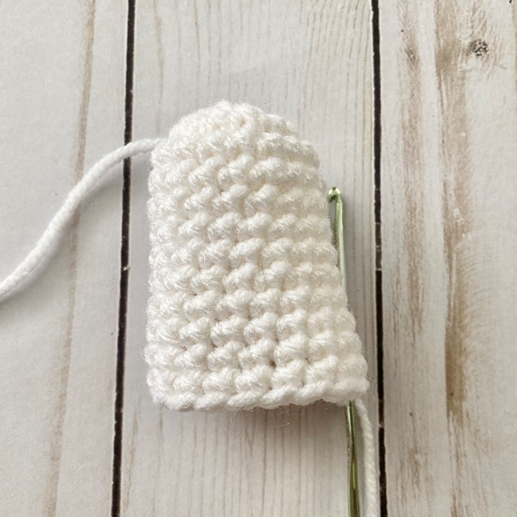
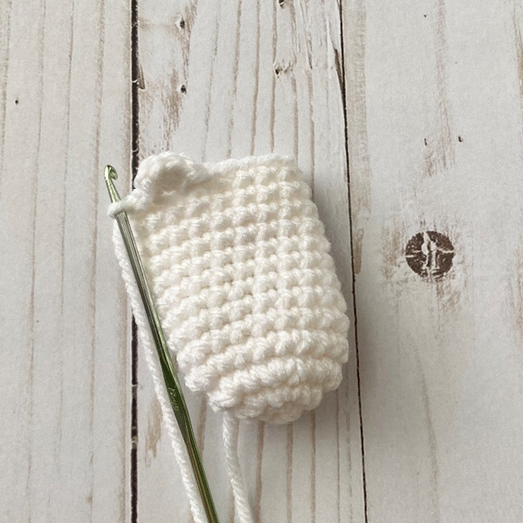
Rnd 14 – working in FLO (first photo below), *2 hdc in next st, sl st back into same st. Sl st in next 2 sts.* (See second photo below.) Rep from * to * 7 more times. Leave rem st unworked. Attach safety eyes between Rnds 7 and 8. Stuff Ghost (do not overstuff). (Third photo below shows piece after this rnd.) (16 hdc / 8 scallops)


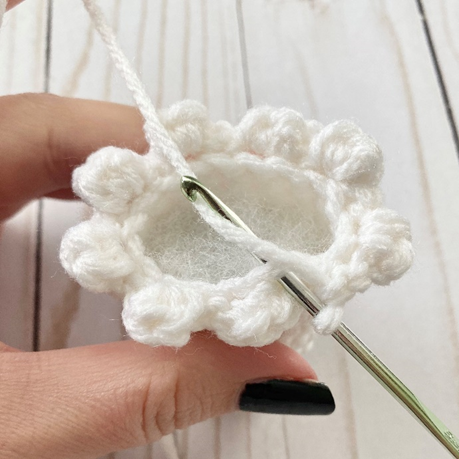
Rnd 15 – working in rem loops from Rnd 14 (first photo below), sc2tog over next 2 sts, sc in next st; rep around. (12 sc)
Rnd 16 – sc2tog in each st around. (6 sc)
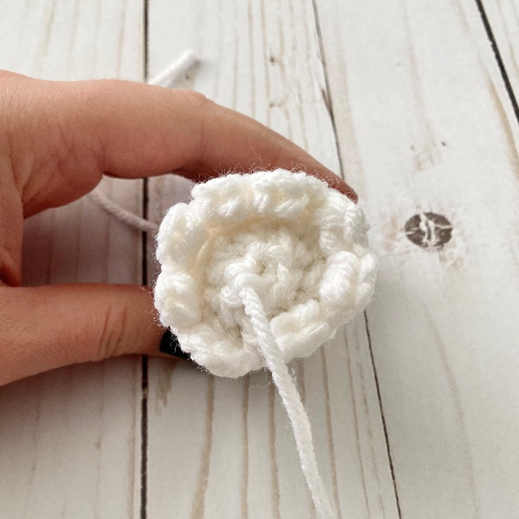
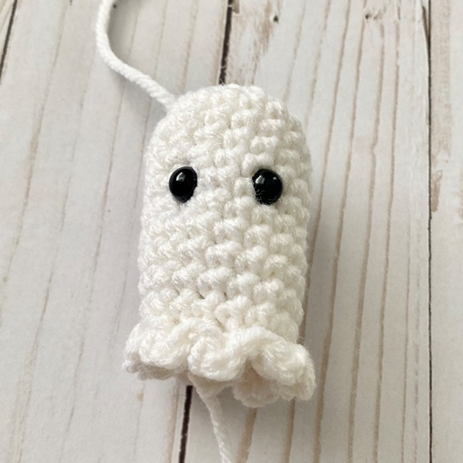
Rnd 17 – sc2tog over next 2 sts; leave rem sts unworked. (Second and third photo below shows piece after this rnd.) (5 sc)
Fasten off, leaving tail for sewing rem gap from Rnd 17.
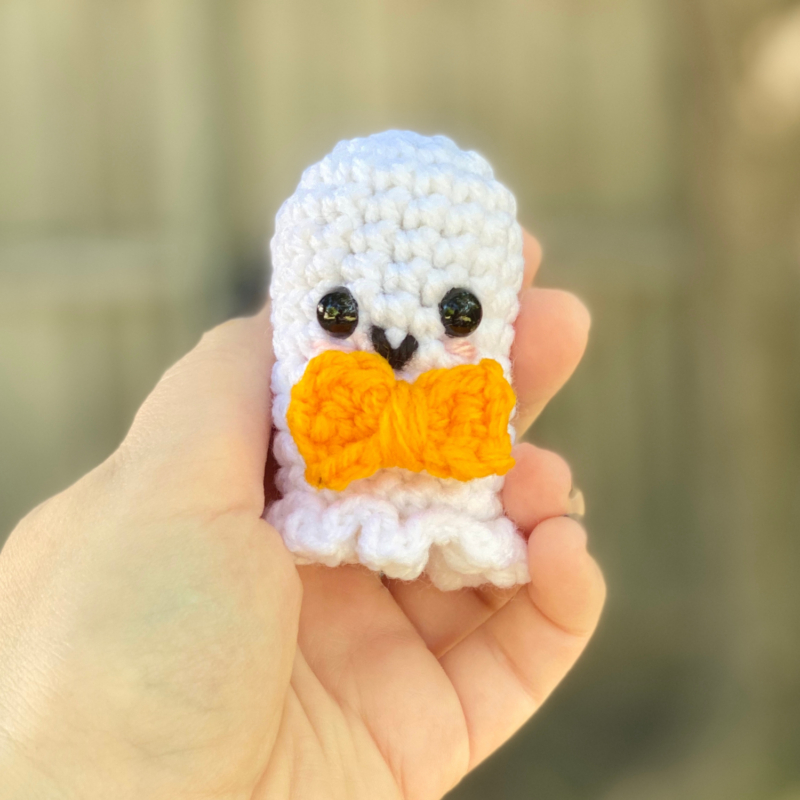
Bow
With Pumpkin, ch 6.
Row 1 – sc in each st across. Ch 1, turn (5 sc)
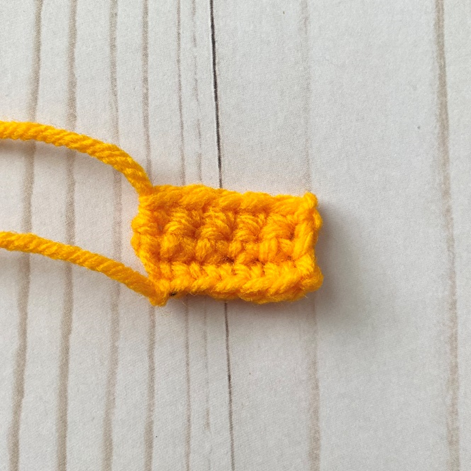
Rows 2 – 3 – rep Row 1. Do not ch 1 at end of Row 3. (First photo below shows piece after this row.) (5 sc)
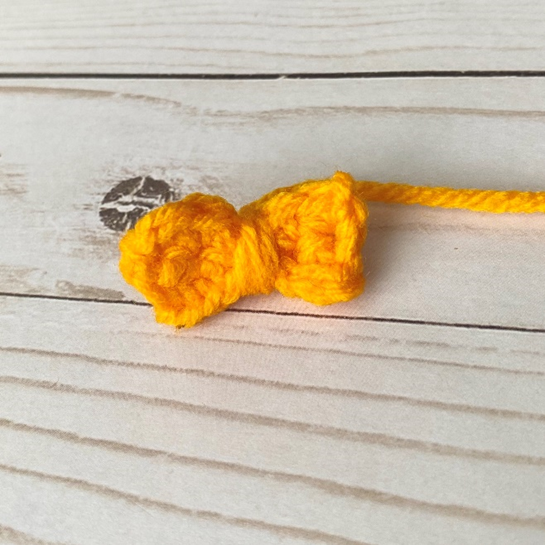
Fasten off, leaving long tail. Carry tail to middle of piece, and wrap tail around middle several times to cinch it into a bow shape. Secure in place by making a knot on back of piece. Leave rem tail for sewing.
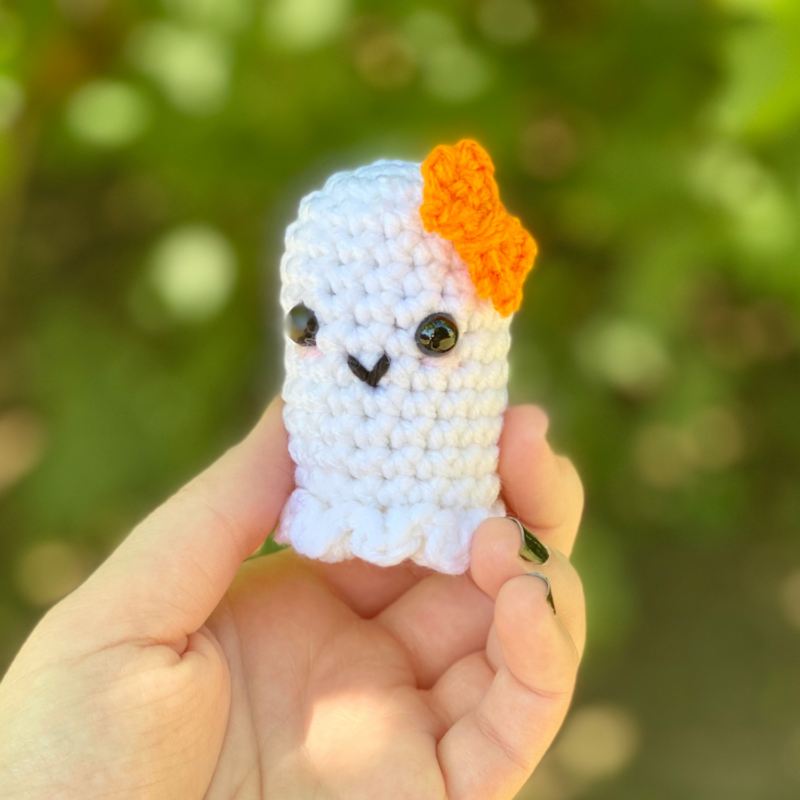
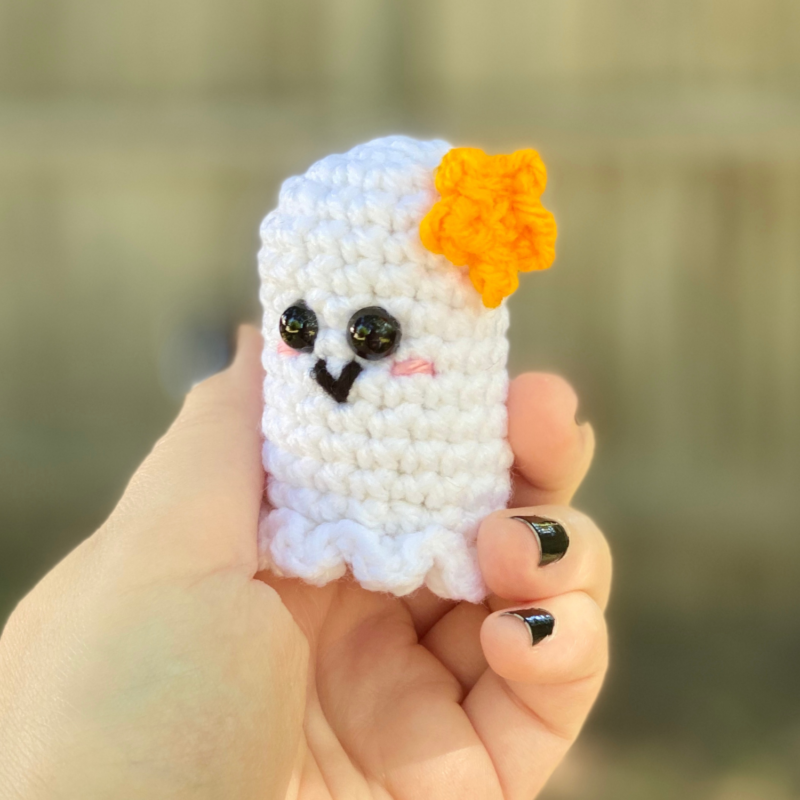
Flower
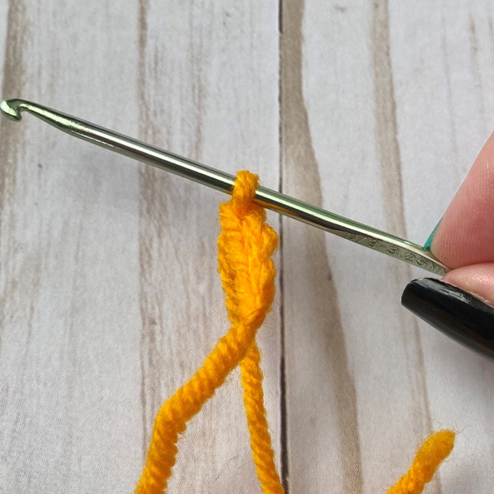
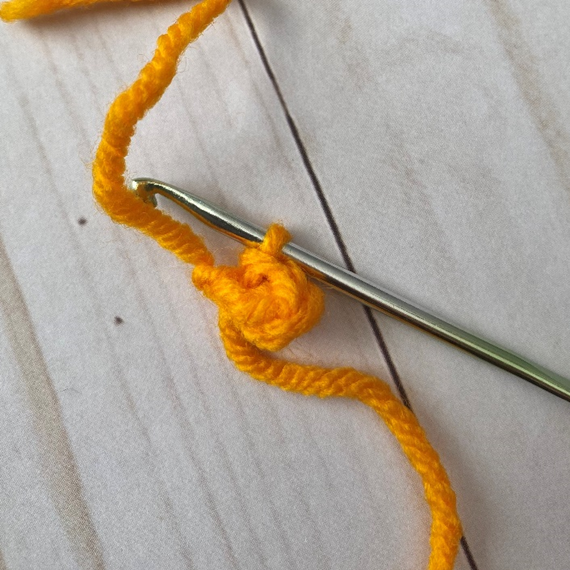
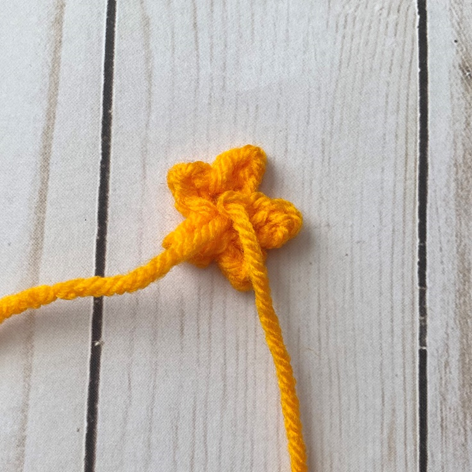
With Pumpkin, *ch 3. Sl st to first st.* (See first and second photos below.) Rep from * to * 4 more times. Sl st to first ch of first ch-3 to close. (Third photo below shows finished piece.)
Fasten off, leaving long tail for sewing.
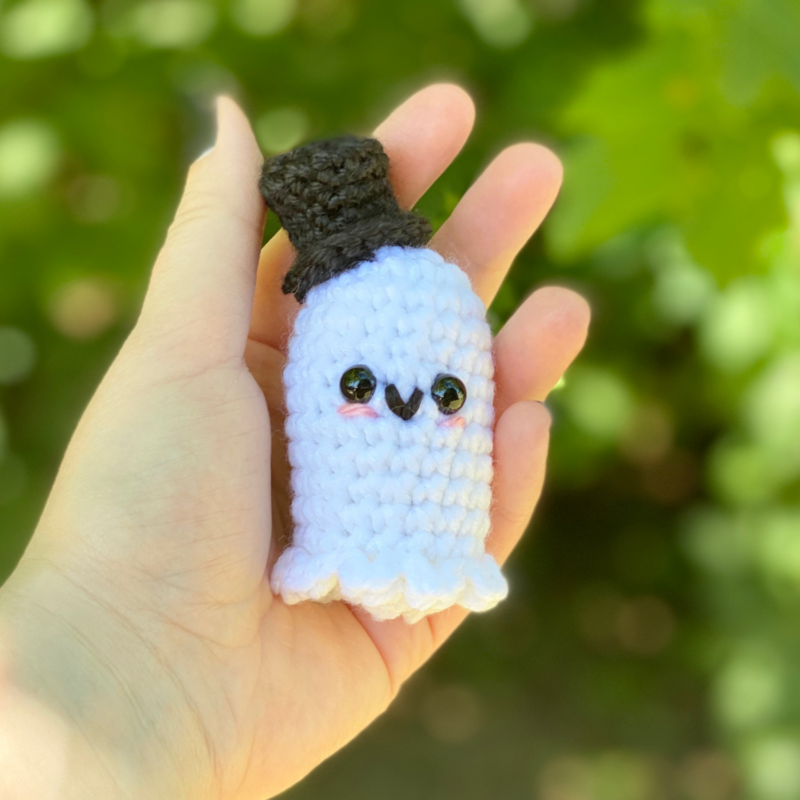
Top Hat
This pattern is worked in continuous rnds; do not join. You may wish to use a stitch marker and move it up at the beginning of each new rnd.
Rnd 1 – with Black, make a magic ring. 6 sc in ring. (6 sc)
Rnd 2 – 2 sc in each st around. (12 sc)
Rnd 3 – working in BLO, sc in each st around. (12 sc)
Rnds 4 – 7 – sc in each st around. (12 sc)
Rnd 8 – working in FLO, 2 sc in next st, sc in next; rep around. (18 sc)
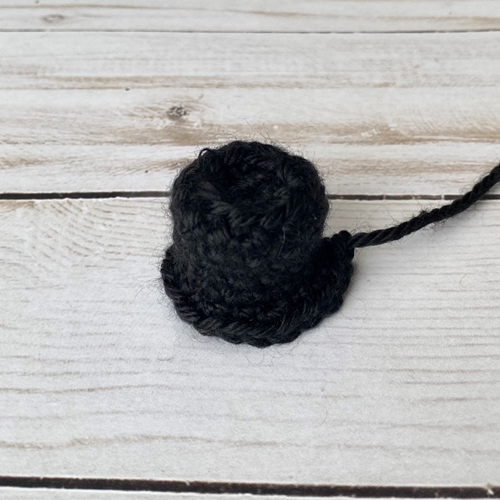
Fasten off, leaving long tail for sewing. (Photo below shows finished hat.)
Witch Hat
This pattern is worked in continuous rnds; do not join. You may wish to use a stitch marker and move it up at the beginning of each new rnd.
Rnd 1 – with Pumpkin, make a magic ring. 6 sc in ring. (6 sc)
Rnd 2 – sc in each st around. (6 sc)
Rnd 3 – 2 sc in next st, sc in next st; rep around (9 sc)
Rnd 4 – sc in each st around. (9 sc)
Rnd 5 – 2 sc in next st, sc in next 2 sts; rep around (12 sc)
Rnd 6 – sc in each st around. (12 sc)
Rnd 7 – 2 sc in next st, sc in next 3 sts; rep around (15 sc)
Rnd 8 – sc in each st around. Change to Black in last st. (15 sc)
Rnd 9 – sc in each st around. Change to Pumpkin in last st. (15 sc)
Rnd 10 – working in FLO, 2 sc in next st, sc in next 4 sts; rep around. (18 sc)
Rnd 11 – 2 sc in next st, sc in next 5 sts; rep around. (21 sc)
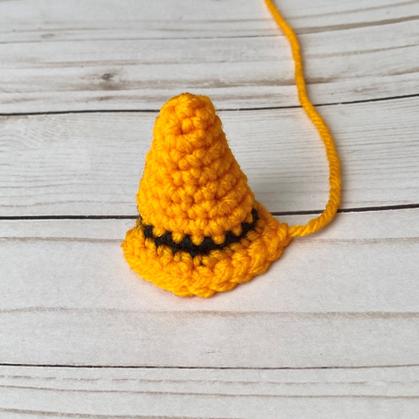
Fasten off, leaving long tail for sewing. (Photo below shows finished hat.)
Finishing
Sew desired accessory (Witch Hat, Bow, Flower, Top Hat) to Ghost. With Black, make a small “v” between eyes for Smile. With Pink, make small lines underneath each eye for Blush. Weave in all ends or tie off and hide knots inside sts.
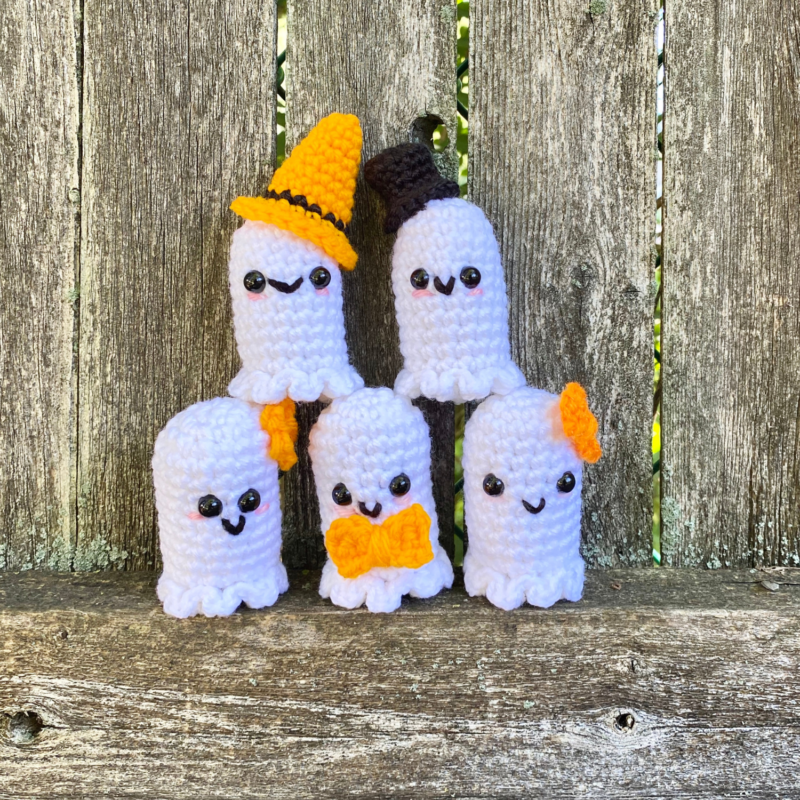
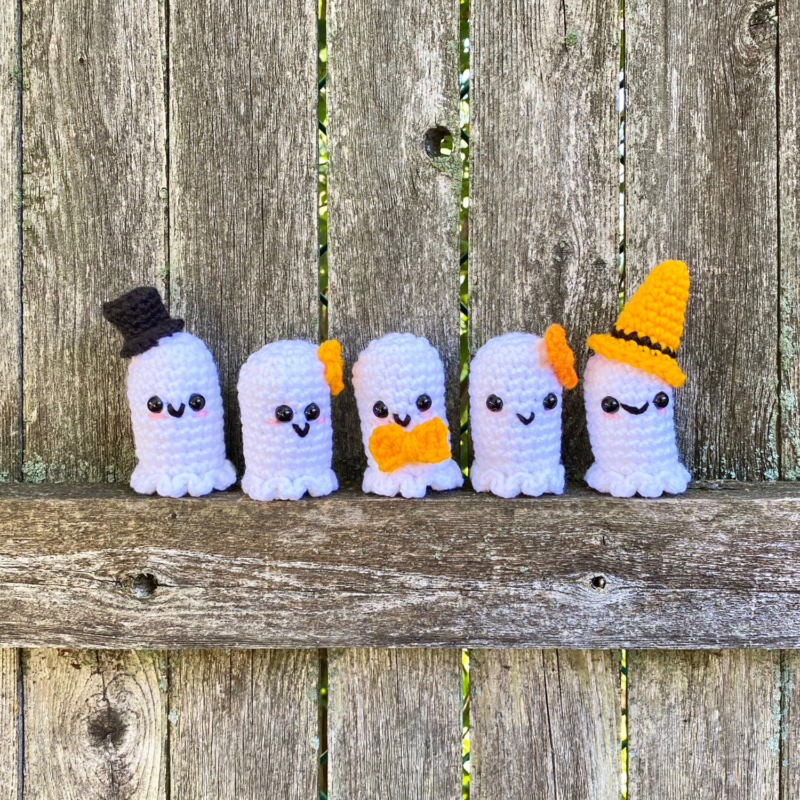
Here are some finished Ghosties!
I hope you enjoyed crocheting this tiny ghost with me today! If you love fun, free patterns like this one, then please be sure to subscribe to my email list to stay up to date on all my latest patterns:
And please be sure to follow me on social media, and tag me in photos of items you made from my patterns, so I can see your lovely work!
Don’t forget to pin it for later HERE!
And you can purchase that PDF pattern HERE!
Happy Crocheting!
COPYRIGHT: This pattern is owned by Crafty Kitty Crochet (Melissa Moore). Any reselling or distribution of this pattern is prohibited. Sale of items made using this pattern is welcomed, but I do ask that credit/a link be provided back to my site, craftykittycrochet.com.

Comments (14)
Fun Halloween Amigurumi Crochet Patterns – Round Up
September 24, 2021 at 12:43 pm
[…] Wee Little Ghostie Amigurumi– by Crafty Kitty Crochet […]
Amigurumi Pastel Ghosts – Crochet Pattern Mod ~ Crafty Kitty Crochet
September 2, 2023 at 11:25 pm
[…] or even tiny pumpkins! The possibilities are endless! And since this is a pattern mod of my free Wee Little Ghostie pattern, you can make these ghosts in either a small size or larger, chenille/plush size! This […]
Little Ghost Free Amigurumi Pattern Ideas – Carolinamontoni.com
September 4, 2023 at 2:19 pm
[…] Get Pattern […]
Shirley
September 4, 2023 at 6:22 pm
These are the cutest little ghosts ever!
Melissa
September 4, 2023 at 8:33 pm
Thank you Shirley!!! I’m so happy you like them!!!
Kiki
September 6, 2023 at 8:16 pm
Hello there, Melissa!
This is a very cute ghost pattern, and I can’t wait to complete one, but I am very puzzled by round 14. There are 18 stitches, but I’m not seeing how it’s possible to make 8 scallops evenly.. 2 HDC in 1 stitch, 1 sl st in the same st, followed by sl stitches in the next 2 stitches.. that means the first 3 stitches are getting used up from the 18 stitches, right? But 18 divided by 8 (scallops) is 2.25 .. I would only be able to make 7 scallops .. I can’t make 8. Or only 6 scallops evenly .. 18 / 3 = 6. I don’t know where I’m messing up. I hope someone can guide me. Thank you!
Melissa
September 12, 2023 at 9:27 pm
Hi Kiki! Sorry for the delay in getting back to you – thanks for reaching out! Your logic definitely adds up but the way it actually ends up adding up in the pattern isn’t in threes – since you slip stitch twice after the first scallop, the first part of the next scallop is actually your third “stitch” from the first scallop – so the hdc’s of the next scallop are made into that last sl st, as opposed to starting in the stitch after that. I hope that makes sense! If you’re still having issues, just let me know and I’d be happy to help you troubleshoot it further! Thanks 🙂 ~ Melissa
Kiki
September 21, 2023 at 3:37 am
I appreciate you getting back to me! Thank you so much! Your explanation helped as I was working it up. It makes sense now. 🙂
Melissa
October 5, 2023 at 9:54 pm
Awesome, so glad to hear it!!
Nancy
October 17, 2024 at 9:19 pm
I was stumped by round 15 also so I did something entirely different. Hopefully this will help when I get there on my next ghost.
Melissa
December 28, 2024 at 5:31 pm
Hi Nancy, let me know which part stumped you and I can try to help!
Amigurumi Mushroom Ghost – Crochet Pattern ~ Crafty Kitty Crochet
September 13, 2023 at 9:08 pm
[…] and cottagecore aesthetic, so it seemed like a natural choice to combine my Hearty Mushroom and Wee Ghostie patterns to make this adorable nature-inspired plushie for Halloween. I plan on making a bunch for […]
S
October 10, 2023 at 1:09 pm
For round 14 it says leave the rem stitch alone for round 15. But when I do round 14 do the slip stitch in the back loop. I don’t have any other stitch or rem to use for round 15.
Melissa
October 27, 2023 at 12:36 am
Hey, thanks for letting me know! I’ll double check the stitch count in the pattern, but if your ghost looks ok then I think it’s probably fine how it is, the rem stitch won’t make that big a difference!