
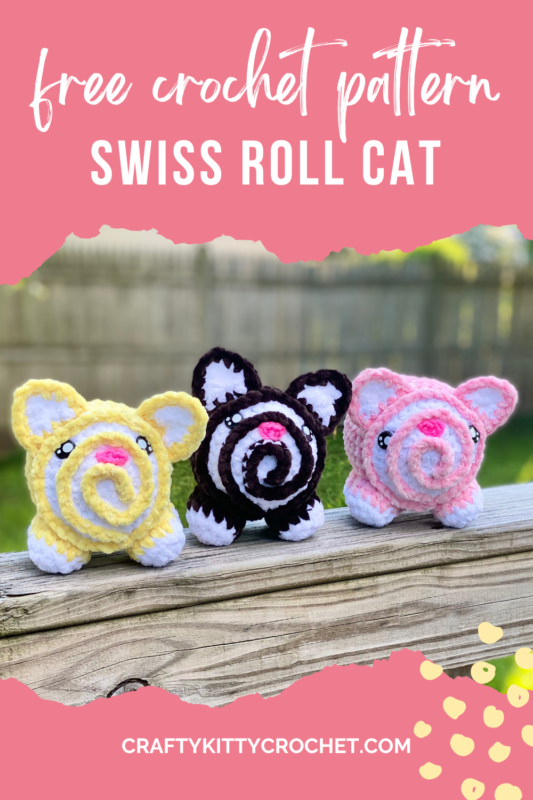
Swiss Roll Cat – Five Year Anniversary Crochet Pattern
Pin it for later!
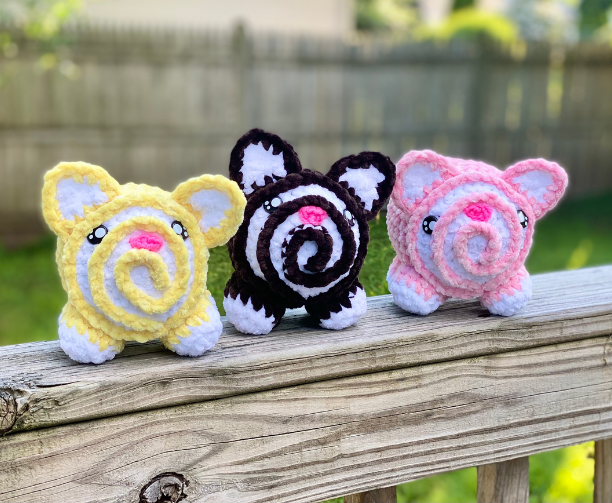
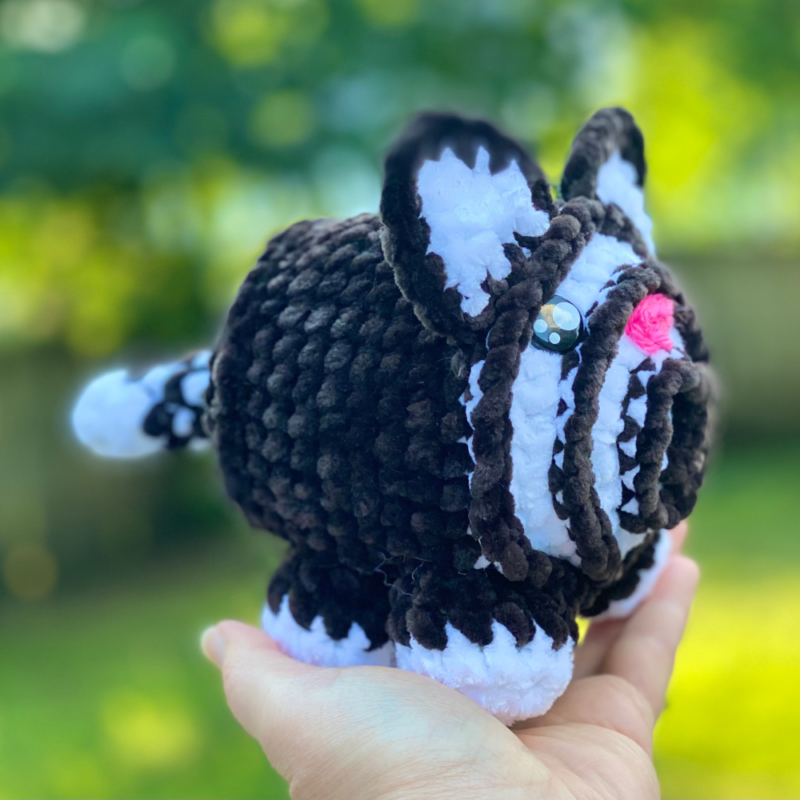
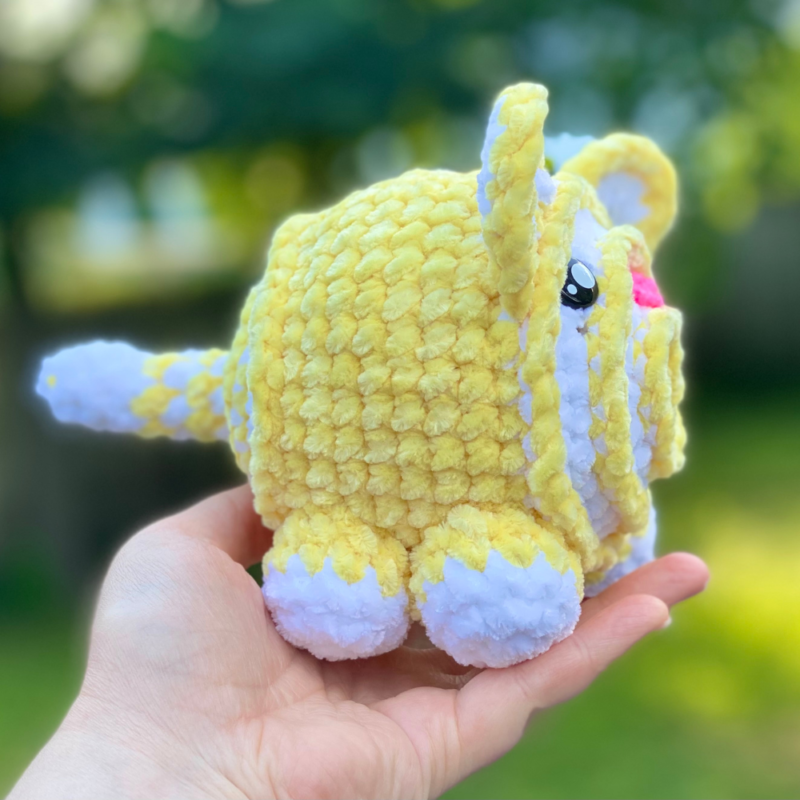
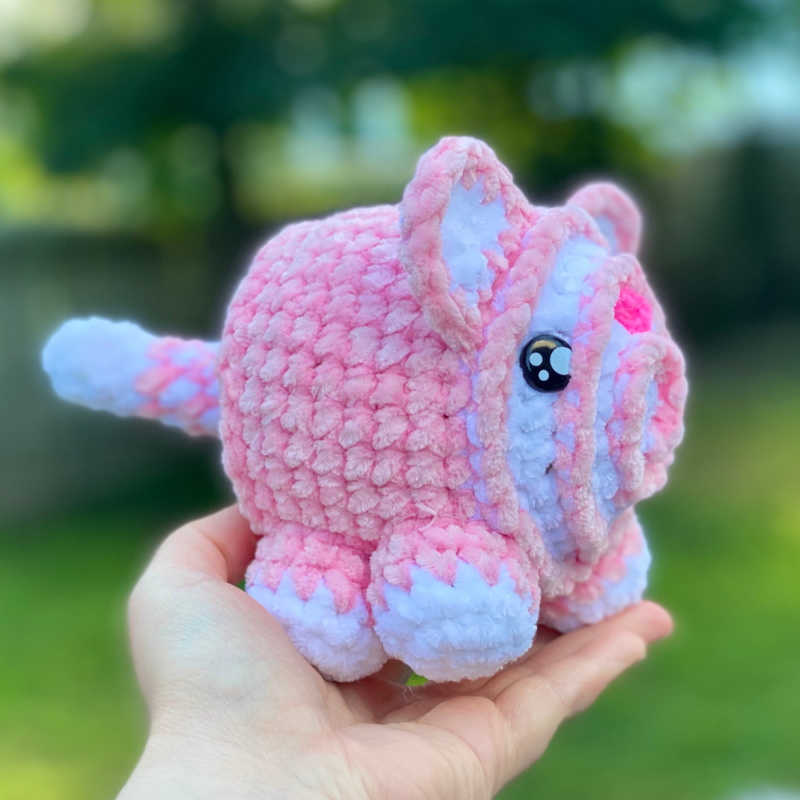
To celebrate my bloggiversary, here is a free pattern that is sure to please cat lovers and dessert lovers alike! this Swiss Roll Cat is a combo of the delicious cakes we all know and love, and a little kawaii kitty motif! It’s the perfect decor, gift, or even craft fair make since it works up fast and the pattern is easy to follow. Customize it to be any “flavor” by working it up in the color scheme of your choice. This sweet plushie is the perfect combination of play food and stuffed animal / toy!
Swiss Roll Cat
It’s hard to believe I’m celebrating five years of blogging my crochet patterns! It’s been an amazing journey and I’m looking forward to many more years! If you haven’t checked them out already, I’d love for you to see my other anniversary patterns. They’re all cat/dessert themed – my Kitty Cupcake, Ice Cream Kitty, Kitty Popsicle, and Ice Cream Cookie Cat are all free PDFs as well, and would be a great addition to your kawaii food / cat collection!
The yarn I used for these Swiss Cat Rolls is exclusive to Premier’s website and Dollar Tree – a great alternative is Premier Parfait Chunky! Find some on Amazon HERE!
Looking for the ad-free PDF pattern? You can find it FOR FREE in my shop HERE!
Supplies
Size 7 / 4.5 mm crochet hook
Super bulky chenille yarn in white – about 25 yds (Premier Just Chenille in White used in photos)
Super bulky chenille yarn in contrast color – about 50 yds (Premier Just Chenille in Pink and Yellow, and Premier Parfait Chunky in Espresso used in photos
Medium weight yarn in pink – less than 1 yd (Red Heart Super Saver in Pretty in Pink and Shocking Pink used in photos)
1 pair of 12 mm safety eyes
Fiberfill stuffing
Yarn needle with large eye
Scissors
Abbreviations
*= indicates beginning/end of a section to be repeated
Beg = beginning
BLO = back loop only
Ch = chain
Rem = remaining
Rep = repeat
Rnd(s) = round(s)
Sc = single crochet
Sc2tog = single crochet 2 together
Sk = skip
Sl st = slip stitch
St(s) = stitch(es)
Gauge
Exact gauge is not essential to this project.
Size
About 5 inches length (not including tail) and 5 inches width
How to Make This
Instructions
Cake
This piece is worked in continuous rnds; do not join. You may wish to use a stitch marker and move it up at the beg of each new rnd.
Rnd 1 – with White yarn, make a magic ring. 6 sc in ring (6 sc)
Rnd 2 – 2 sc in each st around. (12 sc)
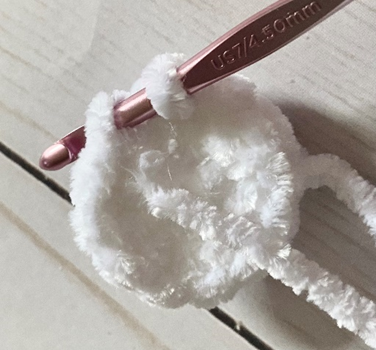
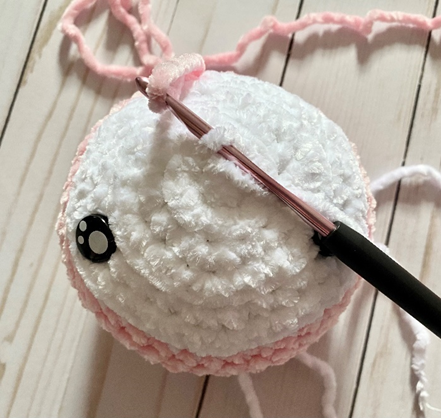
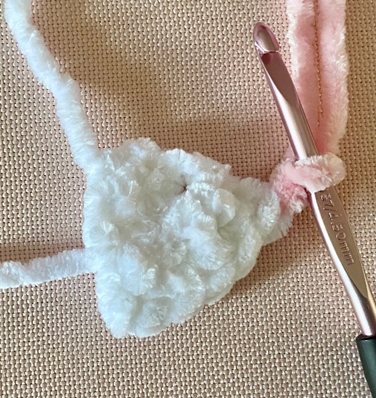
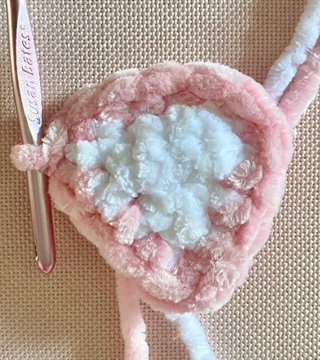
Rnd 3 – *Working in BLO (first photo below), 2 sc in next st, sc in next st.* Rep from * to * around. (18 sc)
Rnd 4 – *2 sc in next st, sc in next 2 sts.* Rep from * to * around. (24 sc)
Rnd 5 – *Working in BLO, 2 sc in next st, sc in next 3 sts.* Rep from * to * around. (30 sc)
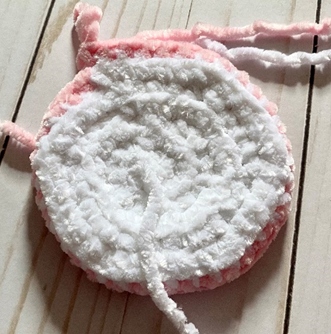
Rnd 6 – *2 sc in next st, sc in next 4 sts.* Rep from * to * around. In last st, change to contrast color yarn (36 sc)
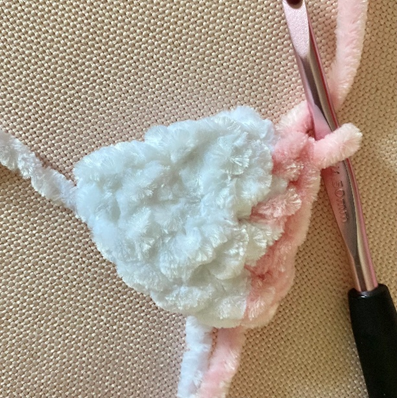
Rnd 7 – Working in BLO, sc in each st around. (Second photo below shows piece at this stage.) (36 sc)
Rnds 8 – 14 – sc in each st around. In last st of Rnd 14, change back to White yarn. Attach safety eyes between Rnd 6, about 6 – 7 sts apart. Begin stuffing. (36 sc)
Rnd 15 – *working in BLO, sc2tog over next 2 sts, sc in next 4 sts.* Rep from * to * around. (30 sc)
Rnd 16 – sc2tog over next 2 sts, sc in next 3 sts.* Rep from * to * around. (24 sc)
Rnd 17 – *working in BLO, sc2tog over next 2 sts, sc in next 2 sts.* Rep from * to * around. Finish stuffing. (18 sc)
Rnd 18 – *sc2tog over next 2 sts, sc in next st.* Rep from * to * around. (12 sc)
Rnd 19 – *working in BLO, sc2tog over next 2 sts.* Rep from * to * around. (6 sc)
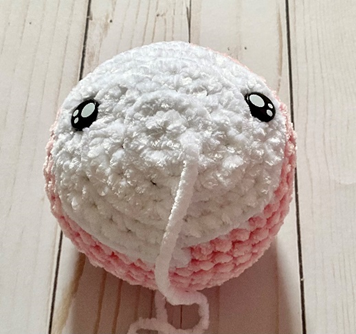
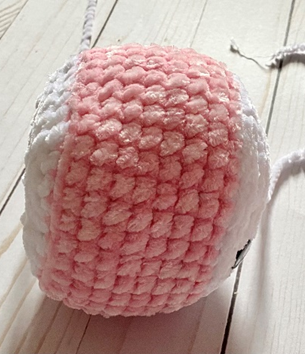
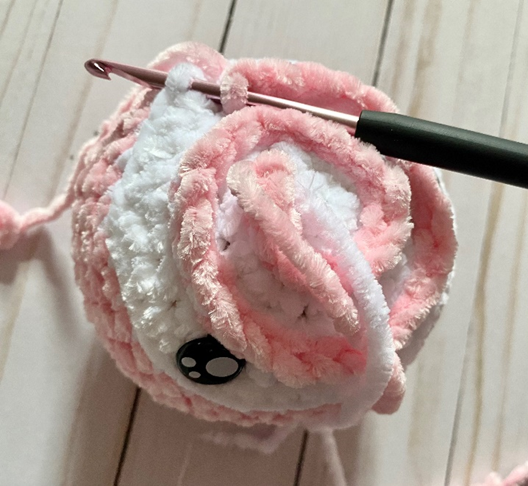
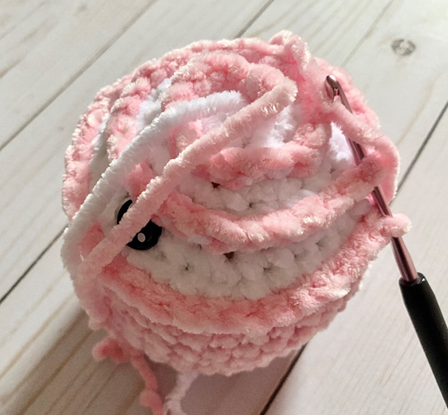
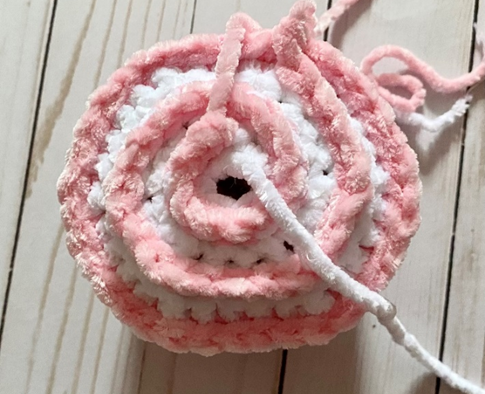
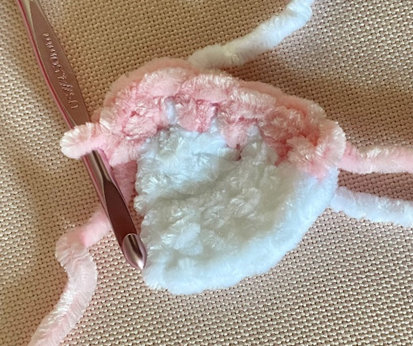
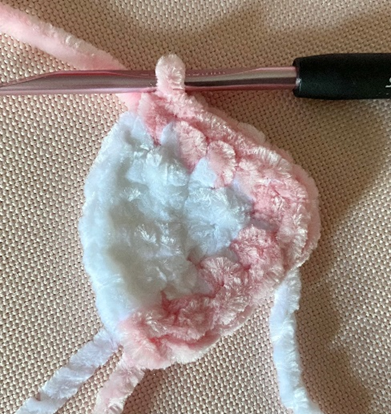
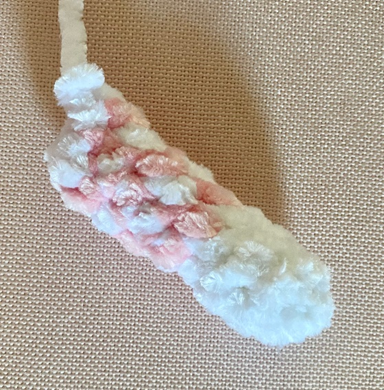
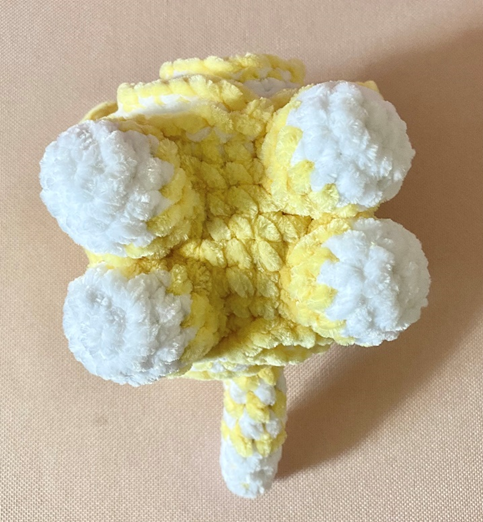
Fasten off, leaving long tail to sew rem gap from Rnd 19. (Third and fourth photos show piece at this stage.)
Swirl
Attach contrast color yarn in first rem loop of Rnd 3 of Cake, ch 1. Sk next rem loop, loosely sl st in each rem loop from Rnds 3, 5, and 7. Join with sl st to first sl st into rem loop of Rnd 7. Fasten off. Attach contrast color on other end of Cake, starting at Rnd 19, and rep process.
Ear (make 2)
With White yarn, ch 2.
Row 1 – 3 sc in 2nd ch from hook. Ch 1, turn (3 sc)
Row 2 – sc in each st across. Ch 1, turn (3 sc)
Row 3 – 2 sc in first st, sc in next st, 2 sc in last st. Ch 1, turn (5 sc)
Row 4 – sc in each st across. In last st, join contrast color. Ch 1, turn (5 sc)
Edging
Working up side of piece, evenly make 3 sc (first and second photos below). 3 sc in “tip” of Ear (third photo). Working back down other side, evenly make 3 sc (fourth photo). Sc across bottom edge of Row 3; join with sl st to first st of Edging (fifth photo).
Fasten off, leaving long tail for sewing.
Tail
This piece is worked in continuous rnds; do not join. You may wish to use a stitch marker and move it up at the beg of each new rnd.
Rnd 1 – with White yarn, make a magic ring. 6 sc in ring (6 sc)
Rnds 2 – 4 – sc in each st around. In last st of Rnd 3, join contrast color yarn. (6 sc)
Rnd 5 – sc in each st around. In last st, join White yarn. (6 sc)
Rnd 6 – sc in each st around. In last st, join contrast color yarn. (6 sc)
Rnds 7 – 10 – rep Rnds 5 – 6. (6 sc per rnd)
Fasten off, leaving long tail for sewing. (Photo below shows finished piece.)
Feet (make 4)
This piece is worked in continuous rnds; do not join. You may wish to use a stitch marker and move it up at the beg of each new rnd.
Rnd 1 – with White yarn, make a magic ring. 6 sc in ring (6 sc)
Rnd 2 – 2 sc in each st around. (12 sc)
Rnd 3 – sc in each st around. In last st, join contrast color yarn. (12 sc)
Rnds 4 – 5 – sc in each st around. (12 sc)
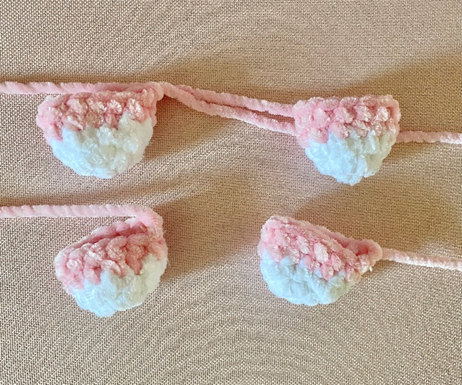
Fasten off, leaving long tail for sewing. (Photo below shows finished pieces)
Nose
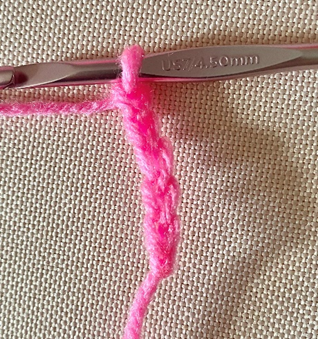
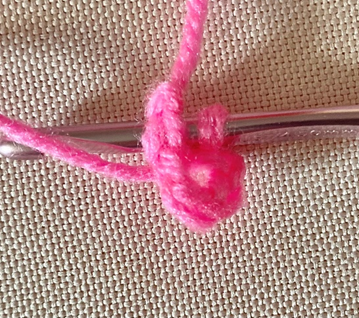
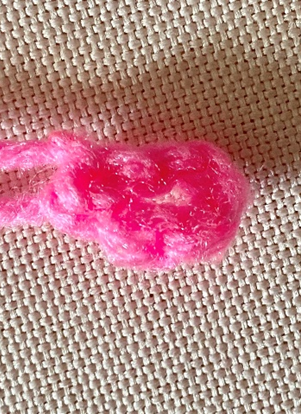
With medium weight pink yarn, ch 5 (first photo). Sl st to first ch (second and third photos).
Fasten off, leaving long tail for sewing.
Finishing
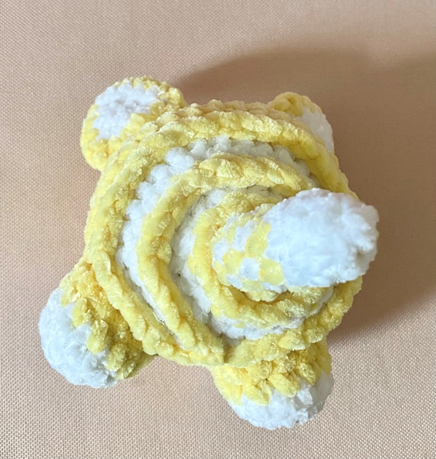
Line up Ears on Rnd 15 of Cake, aligning one above each eye (there should be about 3 sts in between Ears) and sew in place. Sew Nose between Swirls between Rnds 3 and 5. (First photo below shows Ear and Nose placement.) Lightly stuff and sew Tail over Rnd 19 on back of Cake (second photo). Stuff and sew Feet on bottom of Cake (third photo). Weave in all ends and/or tie off ends and hide knots inside sts.
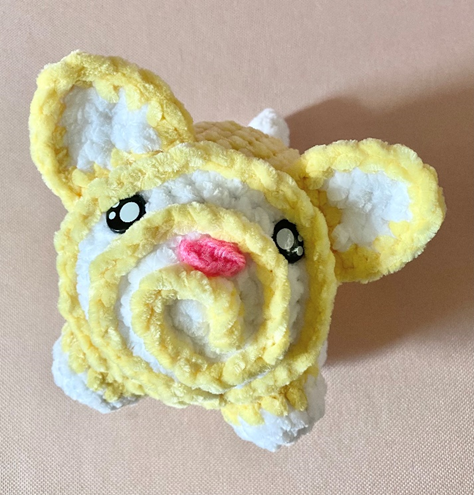
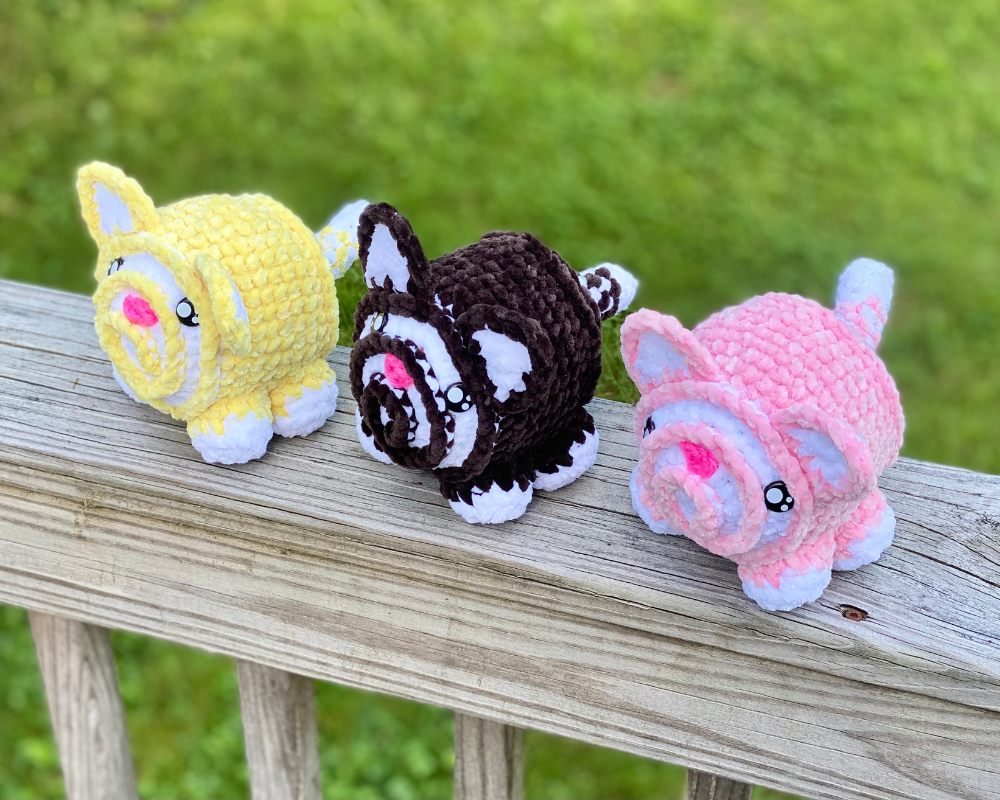
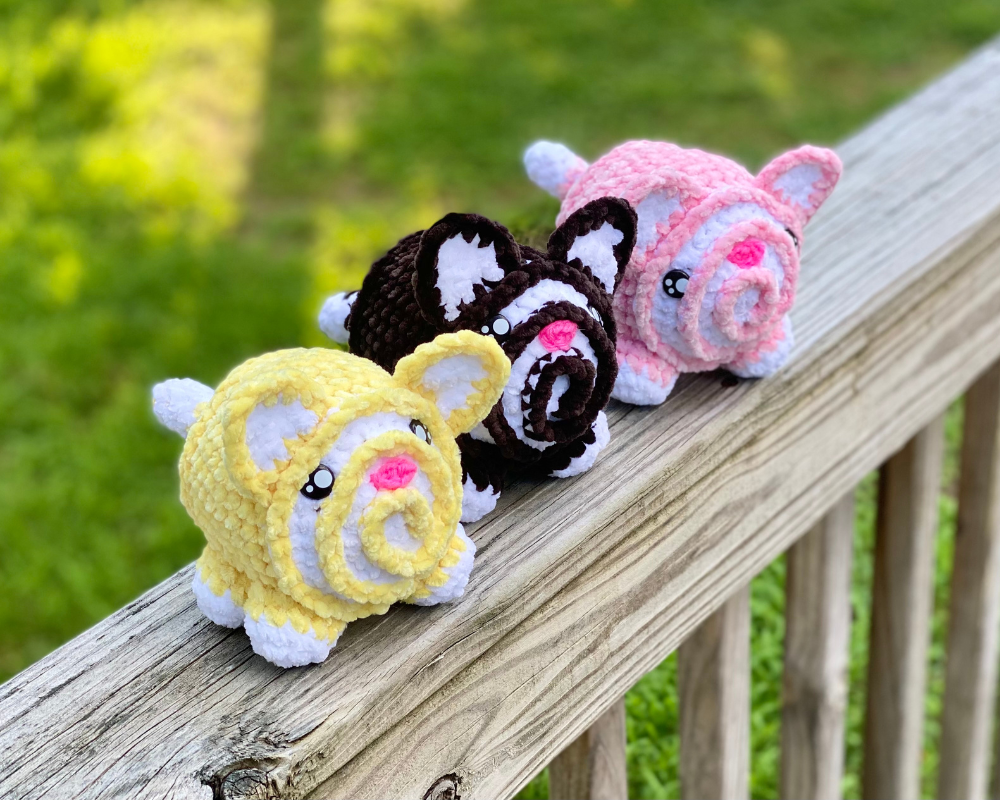
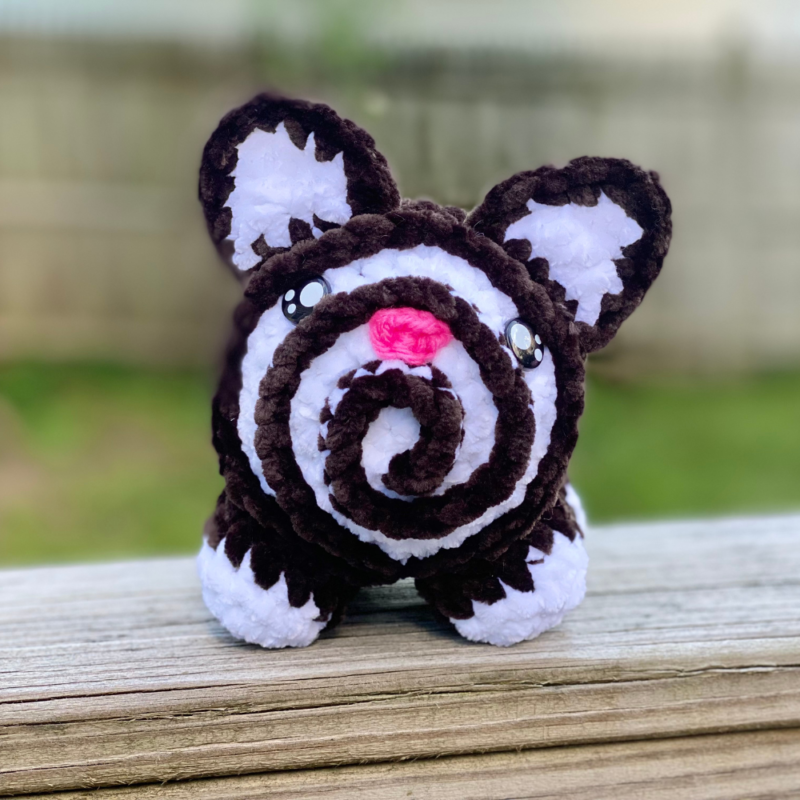
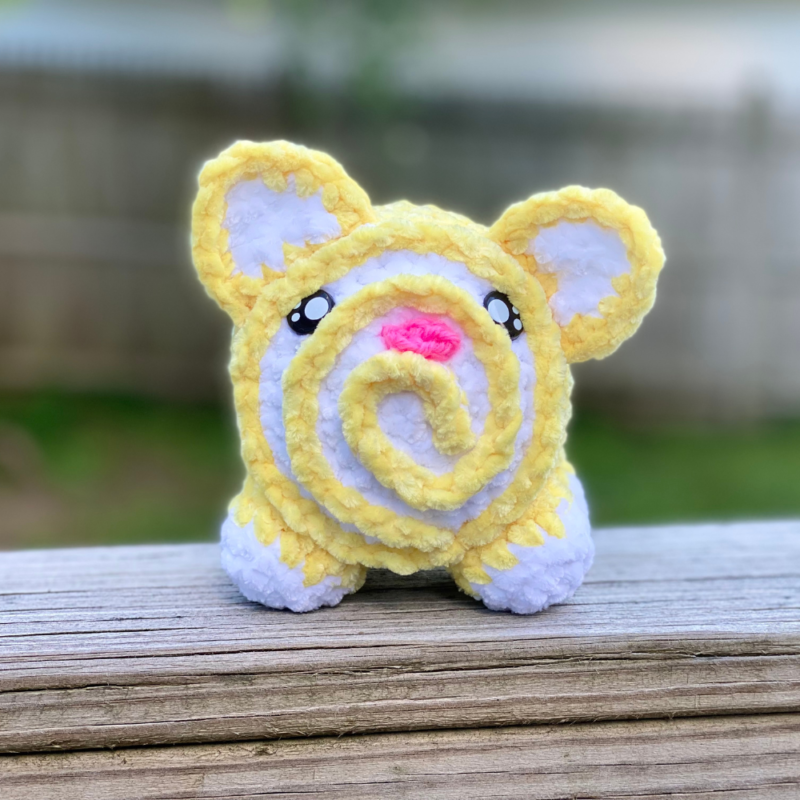
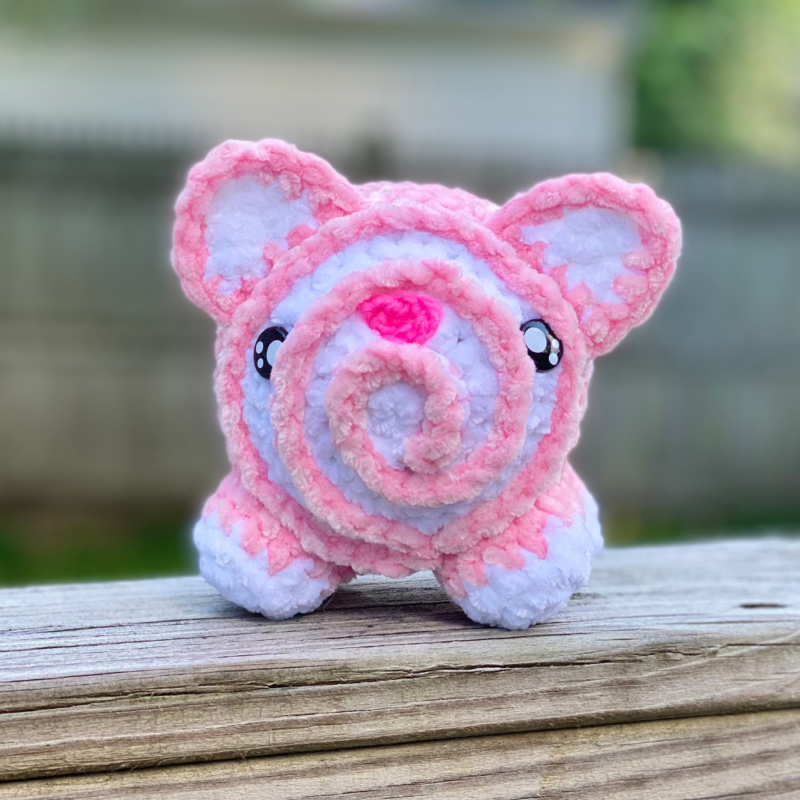
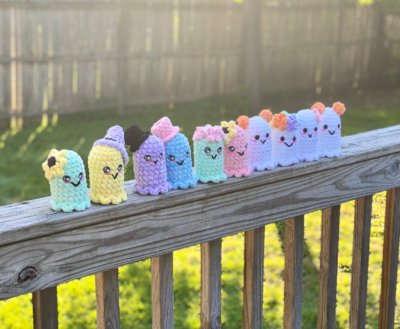
Here are the finished cats!
I hope you enjoyed crocheting this cat along with me today. If you love fun, free patterns like this one, then please be sure to sign up for my email list to keep up to date with all my latest designs:
Also, please be sure to follow me on social media, and tag me in photos of your finished projects made from my patterns, so I can see your lovely work!
Don’t forget to pin it for later HERE!
And you can find that ad-free PDF pattern HERE!
Happy Crocheting!
COPYRIGHT:
This pattern is owned by Crafty Kitty Crochet (Melissa Moore). Any reselling or distribution of this pattern is prohibited. Sale of items made using this pattern is welcomed, but I do ask that credit/a link be provided back to my site, craftykittycrochet.com.
Comments (1)
25 Free Crochet Cat Patterns That Are Super Cute & Easy!
October 2, 2023 at 11:19 am
[…] craftykittycrochet […]