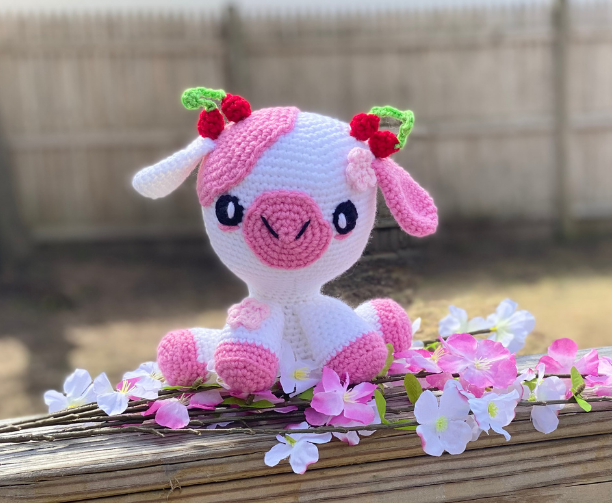
Amigurumi Cherry Blossom Cow – Crochet Pattern
Pin it for later!
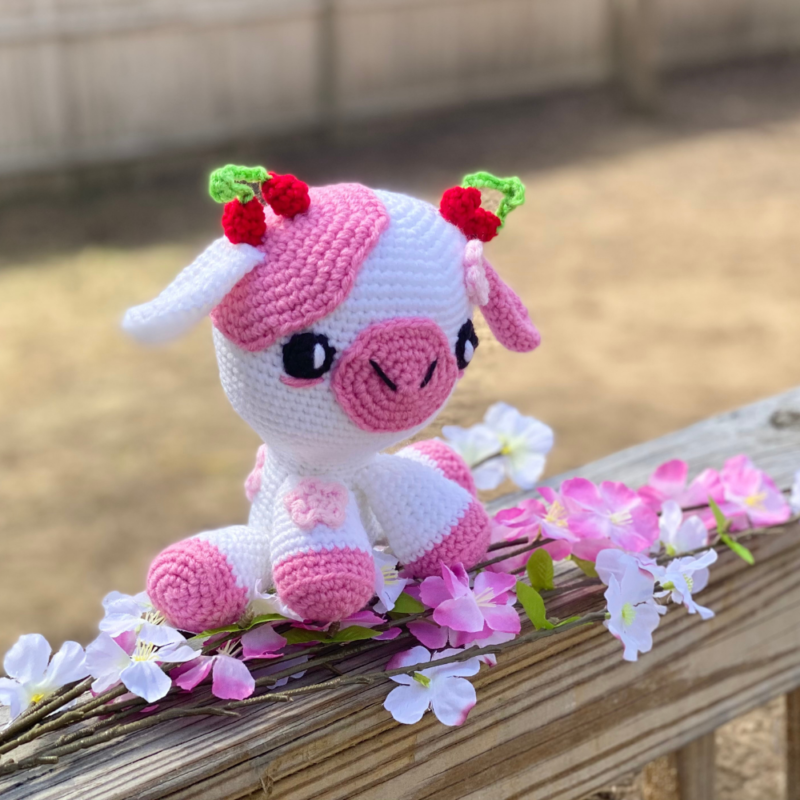
It’s spring, which means it’s cherry blossom time! And what cuter way is there to join flowers and amigurumi than to crochet a Cherry Blossom Cow? This sweet plushie loves moo-tiful cherry blossom flowers, and even has cherries as horns! Customize your cow cutie by adding as many cherry blossom florals throughout as you’d like. It’s the perfect plushie for springtime, cow lovers, plushie collectors, as an Easter gift, or for those who love pink aesthetic! The possibilities are endless!
Cherry Blossom Cow
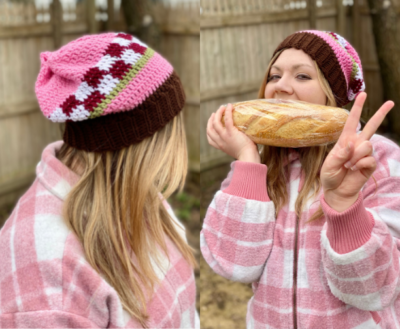
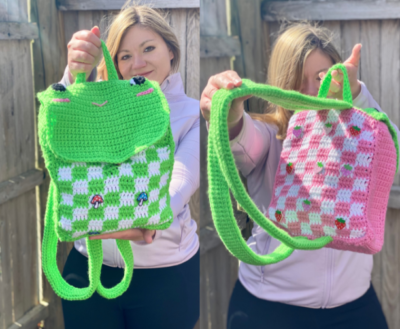
Cows are so much fun to crochet, as I found out with my Softie Animal Backpacks! There are so many cute variations of cows that have become popular – strawberry, chocolate milk, etc.! And now you can crochet one that’s customized for the spring season. Cherry blossoms make me so happy in that they’re pink, they signal warm happy weather, and I got to see some myself in person when I went to Tokyo! (Read more about that when you check out my Cherry Blossom Slouchy Hat and Cherry Blossom Scarf!) So I figured, let’s celebrate the wonder and magic of both spring and cute amigurumi cows!
The best part? The yarn I used is a fun staple – Red Heart Super Saver! Find some on Amazon:
Looking for the ad-free PDF version of this pattern? You can find it in my shop HERE!
Supplies
Size D / 3 – 3.25 mm crochet hook
Red Heart Stripes in White (about 200 yds needed)
Red Heart Super Saver in Perfect Pink (about 100 yds needed)
Red Heart Super Saver in Cherry Red (about 20 yds needed)
Red Heart Super Saver in Black (about 10 yds needed)
Red Heart Super Saver in Spring Green (about 5 yds needed)
Fiberfill Stuffing
Yarn Needle
Scissors
Straight pins (optional)
Abbreviations
*= indicates beginning/end of a section to be repeated
Beg = beginning
BLO = back loop only
Ch = chain
Hdc = half double crochet
Rem = remaining
Rep = repeat
Rnd(s) = round(s)
Sc = single crochet
Sc2tog = single crochet 2 together
Sl St = slip stitch
St(s) = stitch(es)
Gauge
Exact gauge is not essential to this project.
Size
Finished size is about 9 inches length
How to Make This
Head & Body
This piece is worked in continuous rnds; do not join. You may wish to use a stitch marker and move it up and the beginning of each new rnd.
Head
Rnd 1 – with white yarn, make a magic ring. 6 sc in ring. (6 sc)
Rnd 2 – 2 sc in each st around. (12 sc)
Rnd 3 – 2 sc in next st, sc in next st; rep around. (18 sc)
Rnd 4 – 2 sc in next st, sc in next 2 sts; rep around. (24 sc)
Rnd 5 – 2 sc in next st, sc in next 3 sts; rep around. (30 sc)
Rnd 6 – 2 sc in next st, sc in next 4 sts; rep around. (36 sc)
Rnd 7 – 2 sc in next st, sc in next 5 sts; rep around. (42 sc)
Rnd 8 – 2 sc in next st, sc in next 6 sts; rep around. (48 sc)
Rnd 9 – 2 sc in next st, sc in next 7 sts; rep around. (54 sc)
Rnd 10 – 2 sc in next st, sc in next 8 sts; rep around. (60 sc)
Rnd 11 – 2 sc in next st, sc in next 9 sts; rep around. (66 sc)
Rnds 12 – 26 – sc in each st around. Begin stuffing. (66 sc)
Rnd 27 – sc2tog over next 2 sts, sc in next 9 sts; rep around (60 sc)
Rnd 28 – sc2tog over next 2 sts, sc in next 8 sts; rep around (54 sc)
Rnd 29 – sc2tog over next 2 sts, sc in next 7 sts; rep around (48 sc)
Rnd 30 – sc2tog over next 2 sts, sc in next 6 sts; rep around (42 sc)
Rnd 31 – sc2tog over next 2 sts, sc in next 5 sts; rep around (36 sc)
Rnd 32 – sc2tog over next 2 sts, sc in next 4 sts; rep around (30 sc)
Rnd 33 – sc2tog over next 2 sts, sc in next 3 sts; rep around (24 sc)
Do not fasten off.
Body
Rnds 34 – 37 – sc in each st around. (24 sc)
Rnd 38 – 2 sc in next st, sc in next 3 sts; rep around. (30 sc)
Rnds 39 – 42 – sc in each st around. (30 sc)
Rnd 43 – 2 sc in next st, sc in next 4 sts; rep around. (36 sc)
Rnds 44 – 47 – sc in each st around. Continue stuffing. (36 sc)
Rnd 48 – sc2tog over next 2 sts, sc in next 4 sts; rep around. (30 sc)
Rnd 49 – sc2tog over next 2 sts, sc in next 3 sts; rep around. (24 sc)
Rnd 50 – sc2tog over next 2 sts, sc in next 2 sts; rep around. Finish stuffing. (18 sc)
Rnd 51 – sc2tog over next 2 sts, sc in next st; rep around. (12 sc)
Rnd 52 – sc2tog around. (6 sc)
Rnd 53 – sc2tog over next 2 sts, leave rem sts unworked. (5 sc)
Fasten off, leaving end long enough to sew up rem gap left over from Rnd 53.

Ear (make 2)
This piece is worked in continuous rnds; do not join. You may wish to use a stitch marker and move it up and the beginning of each new rnd.
Rnd 1 – with pink or white yarn, make a magic ring. 6 sc in ring. (6 sc)
Rnd 2 – 2 sc in each st around. (12 sc)
Rnd 3 – 2 sc in next st, sc in next st; rep around. (18 sc)
Rnds 4 – 9 – sc in each st around. (18 sc)
Rnd 10 – sc2tog over next 2 sts, sc in next st; rep around. (12 sc)
Rnd 11 – 14 – sc in each st around. (12 sc)
Fasten off, leaving long tail for sewing.

Cherry (make 4)
This piece is worked in continuous rnds; do not join. You may wish to use a stitch marker and move it up and the beginning of each new rnd.
Rnd 1 – with red yarn, make a magic ring. 6 sc in ring. (6 sc)
Rnds 2 – 3 – sc in each st around. Use beg yarn tail to stuff piece. (6 sc)
Rnd 3 – [sc2tog] twice. Fasten off red yarn, leaving long tail for sewing. (4 sc)
Cherry Stem
Attach green yarn through both sides of top of one Cherry (first and second photos). Ch 6, turn (third photo). In 2nd ch from hook, make 4 sc (fourth photo). Ch 5 (fifth photo), sl st through both sides of top of another Cherry (sixth photo).
Fasten off. Rep process to make second full Cherry. (Seventh photo shows finished cherries.)


Eye (make 2)
This piece is worked in continuous rnds; do not join. You may wish to use a stitch marker and move it up and the beginning of each new rnd.
Rnd 1 – with Black, make a magic ring. 6 sc in ring. (6 sc)
Rnd 2 – 2 sc in each st around. (12 sc)
Fasten off, leaving long tail for sewing.
Eye Sparkle
With White on needle, make several vertical lines at top of Eye for large sparkle. Make smaller lines at bottom of Eye for small sparkles. Rep on other Eye. Tie off ends on back of Eyes.

Snout
This piece is worked in continuous rnds; do not join. You may wish to use a stitch marker and move it up and the beginning of each new rnd.
Rnd 1 – with pink yarn, make a magic ring. 6 sc in ring. (6 sc)
Rnd 2 – 2 sc in each st around. (12 sc)
Rnd 3 – 2 sc in next st, sc in next st; rep around. (18 sc)
Rnd 4 – 2 sc in next st, sc in next 2 sts; rep around. (24 sc)
Rnd 5 – 2 sc in next st, sc in next 3 sts; rep around. (30 sc)
Fasten off, leaving long tail for sewing. Stretch sideways to create more of an oval shape (first photo below). With black yarn, make two lines in center (second photo below).


Hoof (make 4)
This piece is worked in continuous rnds; do not join. You may wish to use a stitch marker and move it up and the beginning of each new rnd.
Rnd 1 – with pink yarn, make a magic ring. 6 sc in ring. (6 sc)
Rnd 2 – 2 sc in each st around. (12 sc)
Rnd 3 – 2 sc in next st, sc in next st; rep around. (18 sc)
Rnd 4 – 2 sc in next st, sc in next 2 sts; rep around. (24 sc)
Rnd 5 – working in BLO, sc in each st around. (24 sc)
Rnd 6 – sc in each st around; change to white yarn in last st. (24 sc)
Rnds 7 – 10 – sc in each st around. (24 sc)
Rnd 11 – sc2tog over next 2 sts, sc in next 2 sts; rep around. (18 sc)
Rnd 12 – sc in each st around. (18 sc)
Fasten off, leaving long tail for sewing.

Spot
This piece is worked in continuous rnds; do not join. You may wish to use a stitch marker and move it up and the beginning of each new rnd.
Rnd 1 – with pink yarn, make a magic ring. 6 sc in ring. (6 sc)
Rnd 2 – 2 sc in each st around. (12 sc)
Rnd 3 – 2 sc in next st, sc in next st; rep around. (18 sc)
Rnd 4 – 2 sc in next st, sc in next 2 sts; rep around. (24 sc)
Rnd 5 – 2 sc in next st, sc in next 3 sts; rep around. (30 sc)
Rnd 6 – 2 sc in next st, sc in next 4 sts; rep around. (36 sc)
Rnd 7 – 2 sc in next st, sc in next 5 sts; rep around. (42 sc)
Rnd 8 – 2 sc in next st, sc in next 6 sts; rep around. (48 sc)
Rnd 9 – 2 sc in next st, sc in next 7 sts; rep around. (54 sc)
Fasten off, leaving long tail for sewing.

Flower (make 5 or as many as desired)
Rnd 1 – With light pink yarn, make a magic ring. Make 5 sc in ring, join with sl st to first sc of rnd. (5 sc)
Rnd 2 – Ch 1. *2 hdc in same st, sl st in next st (first photo).* Rep from * to * 4 more times. (Second photo shows finished flower.)
Fasten off, leaving long tail for sewing.


Tail
Holding strands of white and pink yarn together, ch 5. Fasten off, leaving short tail. Holding white and pink yarn together, pull double strand through last st and tie a slip knot. Fasten off, leaving short tail. Trim both short tails to be even and about ½ inch length.

Finishing
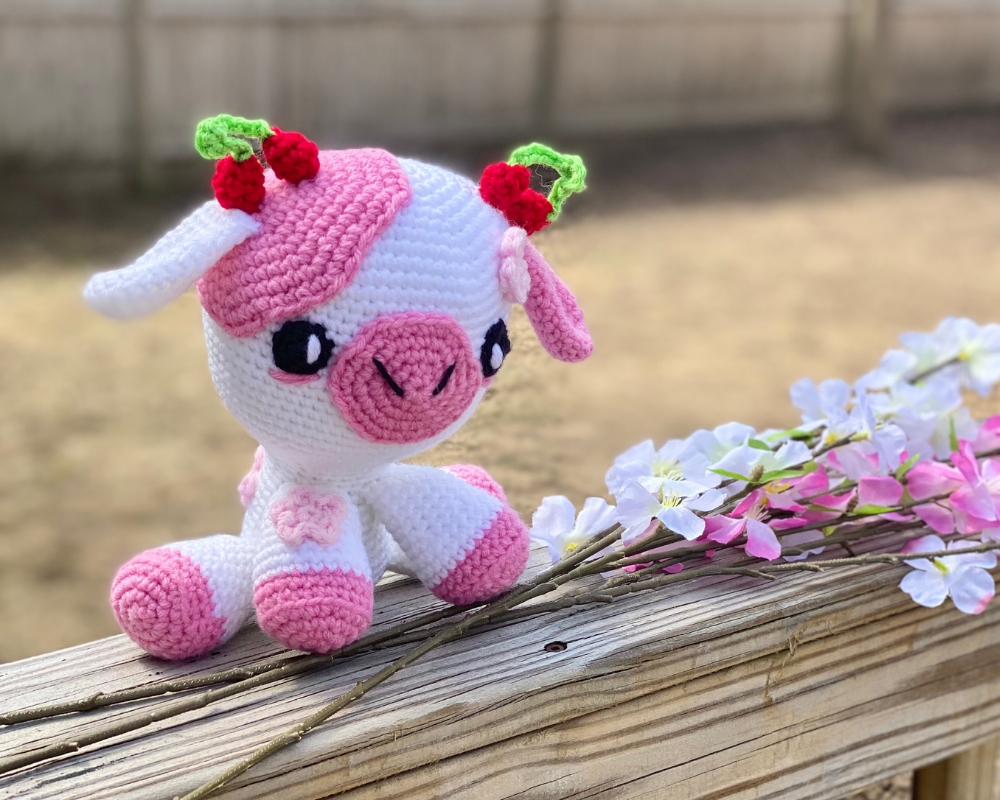
Stuff Arms and Legs. Press Ears flat. Arrange all pieces as seen in photos below. You may wish to use straight pins to keep pieces in place while sewing. Sew all pieces to Head/Body. With pink yarn, make small lines under Eyes for Blush. Weave in all ends or tie off knots and hide inside sts.


Here is the finished cow!
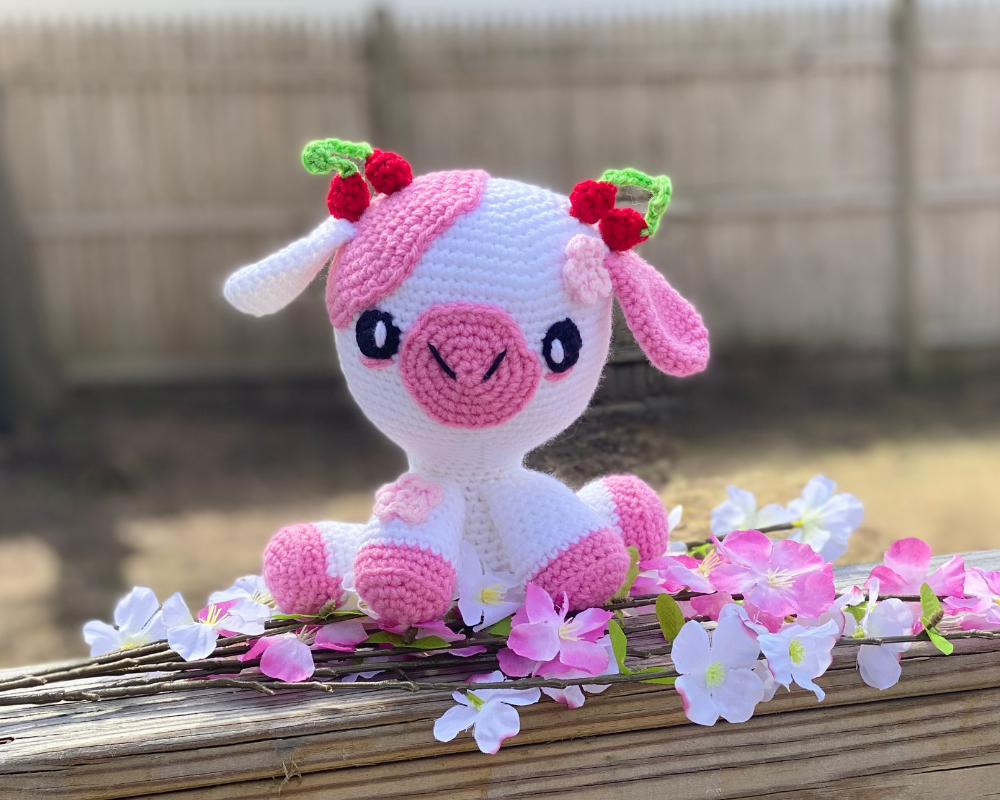
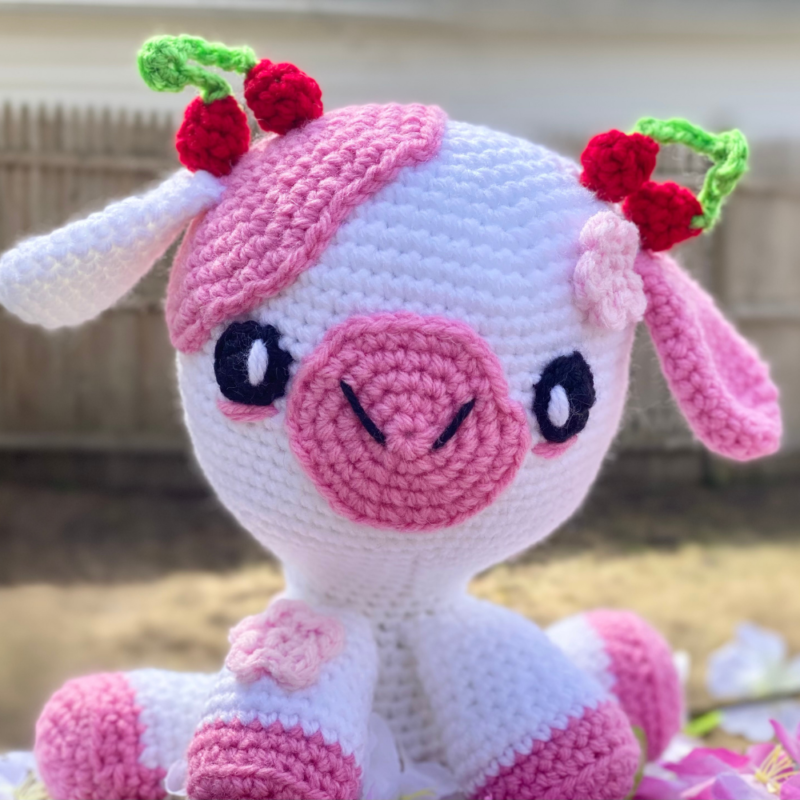
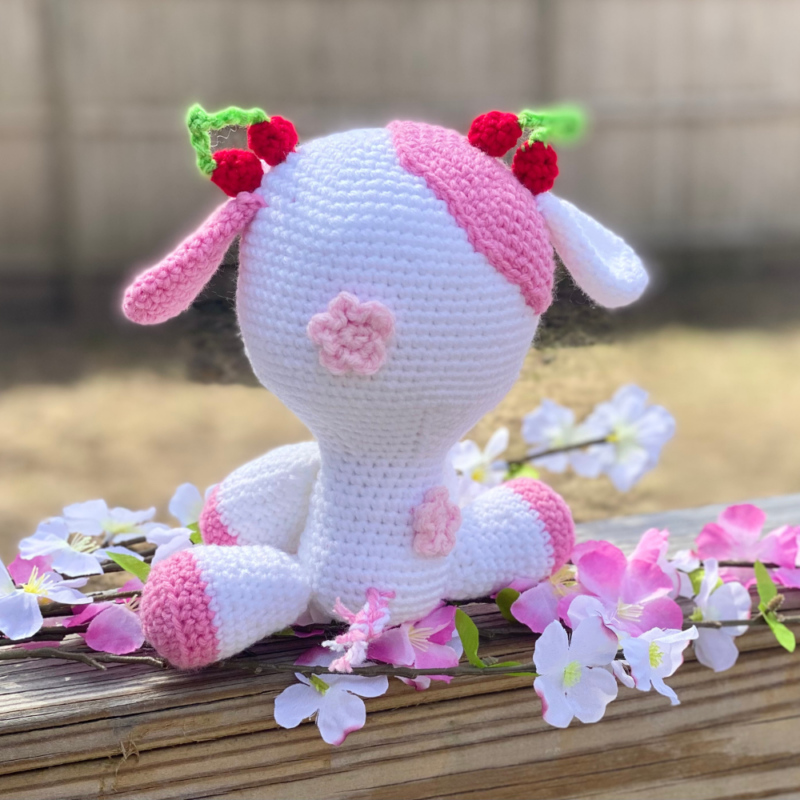
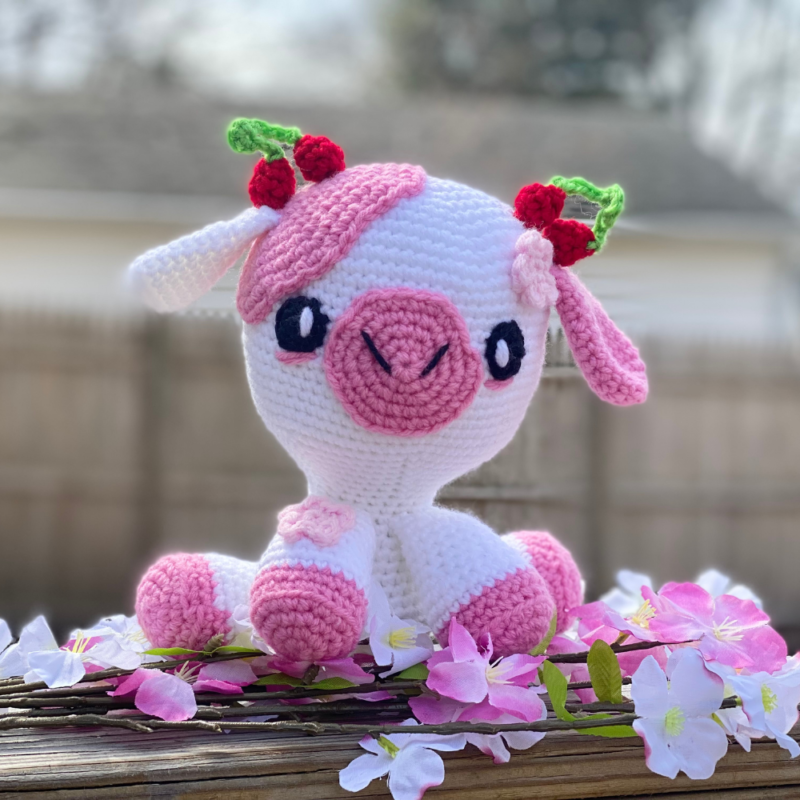
I hope you enjoyed crocheting this cherry blossom cow along with me today. If you love fun, free patterns like this one, then please be sure to sign up for my email list to keep up to date with all my latest designs:
Also, please be sure to follow me on social media, and tag me in photos of your finished projects made from my patterns, so I can see your lovely work!
Don’t forget to pin it for later HERE!
And you can find that ad-free PDF pattern HERE!
Happy Crocheting!
COPYRIGHT:
This pattern is owned by Crafty Kitty Crochet (Melissa Moore). Any reselling or distribution of this pattern is prohibited. Sale of items made using this pattern is welcomed, but I do ask that credit/a link be provided back to my site, craftykittycrochet.com.


Comments (3)
Amigurumi Candy Corn Cow – Crochet Pattern ~ Crafty Kitty Crochet
September 10, 2022 at 8:43 pm
[…] might be familiar with my Cherry Blossom Cow, who served as the base cow for this Halloween version! Well, I couldn’t just stop at candy corns […]
16 Crochet Cherries Patterns For Toys, Cozies & Decors – Red Agape Blog
November 5, 2023 at 4:49 am
[…] craftykittycrochet […]
12 Cherry Blossom Project Crochet Patterns -FREE – iGOODideas.com
January 11, 2024 at 7:22 pm
[…] 2. Click here to get this Cherry Blossom Cow FREE PATTERN […]