
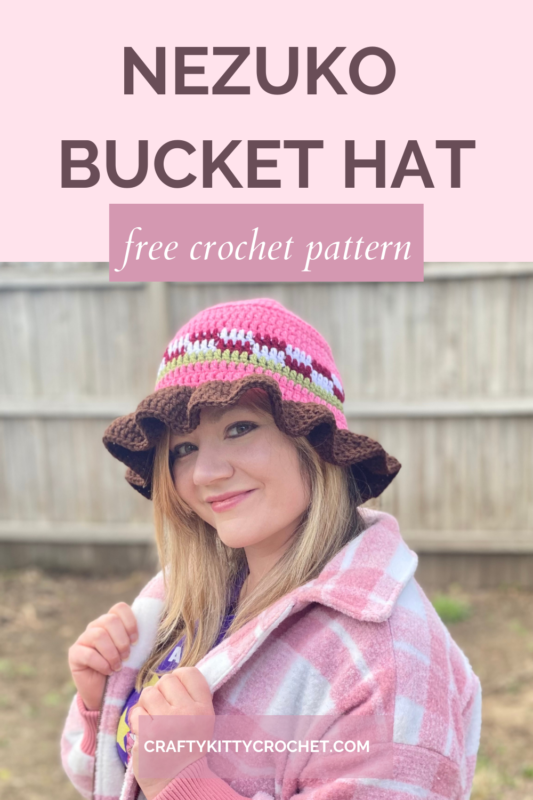
Little Sis Bucket Hat – Crochet Pattern
Pin it for later!
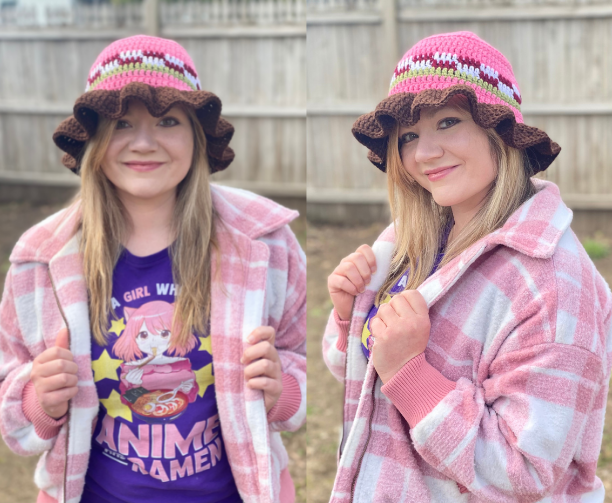
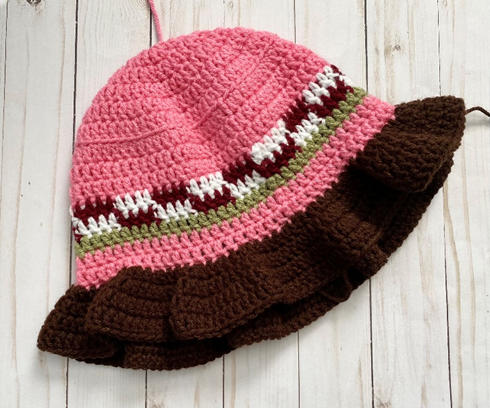
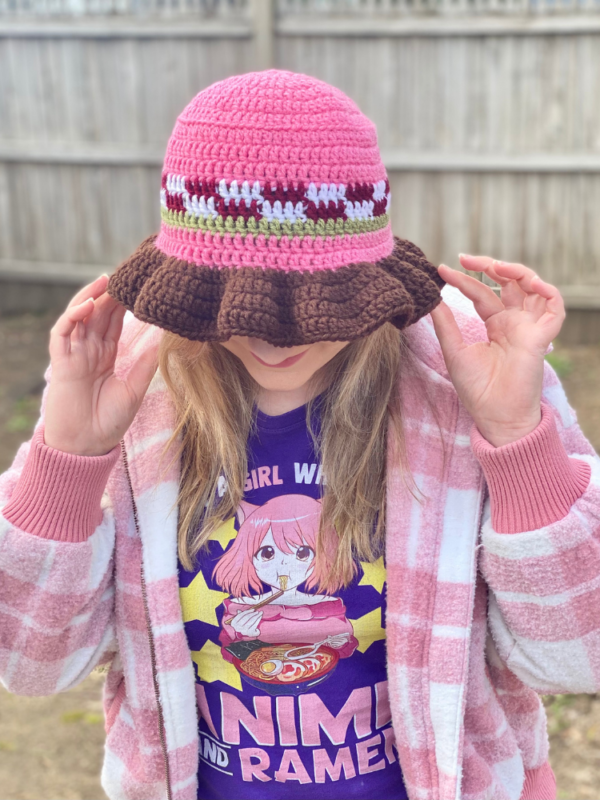
If you love anime, bucket hats, and kawaii accessories, then you will love this Little Sis Bucket Hat! Made in the colors and pattern of the outfit worn by that cute little demon sis we all know and love, this bucket hat is easy to make and comfy to wear! The brim is even ruffled for added cuteness! It’s sure to keep the sun out of your eyes during spring and summer without being too warm either. Whether you love the anime, manga, or both, you can have fun doing a “casual cosplay” in this adorable hat!
Little Sis Bucket Hat
As a compliment to my Little Sis Slouchy Hat, here is a gorgeous and trendy bucket hat made in the same colors and pattern! I was so pleased with how the pattern of pink, green, brown, and checkerboard on the slouchy hat version came out, that I just had to try it on what seems to be the most popular hat of the season: The Bucket Hat!!! This way, you can honor our Best Girl all season long with a cute and comfy accessory.
You’ll be needing some medium weight yarn for this lovely little hat, and I used Red Heart Super Saver to make mine! Find it on Amazon HERE!
Looking for the ad-free PDF version of this pattern? You can find it in my shop HERE!
Supplies
Size H/8 5.0 mm crochet hook
Medium weight yarn in pink – about 75 yds (Red Heart Super Saver in Perfect Pink used in photos)
Medium weight yarn in white – about 20 yds (Red Heart Super Saver in White used in photos)
Medium weight yarn in dark red – about 20 yds (Red Heart Super Saver in Burgundy used in photos)
Medium weight yarn in green – about 20 yds (Red Heart Super Saver in Tea Leaf used in photos)
Medium weight yarn in brown – about 70 yds (Red Heart Super Saver in Coffee used in photos)
Yarn Needle
Scissors
Abbreviations
*= indicates beginning/end of a section to be repeated
BLO = back loop only
Ch = chain
Dc = double crochet
FLO = front loop only
Rep = repeat
Rnd(s) = round(s)
Sl St = slip stitch
Gauge
3 dc and 2 rows = about 1 inch
Size
About 23 inches circumference, 9 inches length when laying flat
How to Make This
Instructions
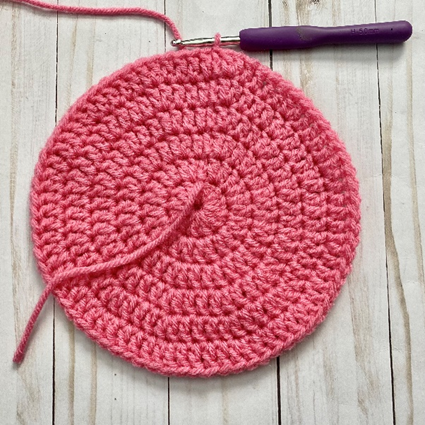
Rnd 1 – with pink yarn, make a magic ring. 12 dc in ring, join with sl st to first dc of rnd. Ch 2 (12 dc)
Rnd 2 – 2 dc in each st around. Join with sl st to first dc of rnd. Ch 2 (24 dc)
Rnd 3 – *Dc in next st, 2 dc in next st.* Rep from * to * around. Join with sl st to first dc of rnd. Ch 2 (36 dc)
Rnd 4 – *Dc in next 2 sts, 2 dc in next st.* Rep from * to * around. Join with sl st to first dc of rnd. Ch 2 (48 dc)
Rnd 5 – *Dc in next 3 sts, 2 dc in next st.* Rep from * to * around. Join with sl st to first dc of rnd. Ch 2 (60 dc)
Rnd 6 – *Dc in next 4 sts, 2 dc in next st.* Rep from * to * around. Join with sl st to first dc of rnd. Ch 2 (72 dc)
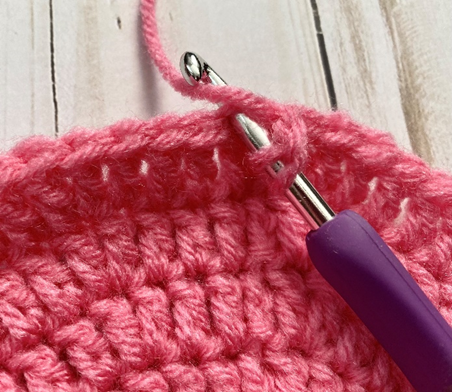
Rnd 7 – Working in BLO (second photo), dc in each st around. Join with sl st to first dc of rnd. Ch 2 (72 dc)
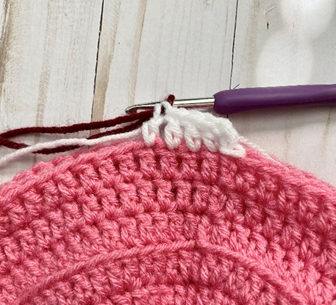
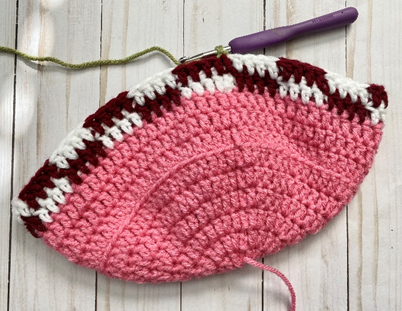
Rnds 8 – 9 – Dc in each st around. Join with sl st to first dc of rnd. Change to white yarn in last st (first photo below). Ch 2 (72 dc)
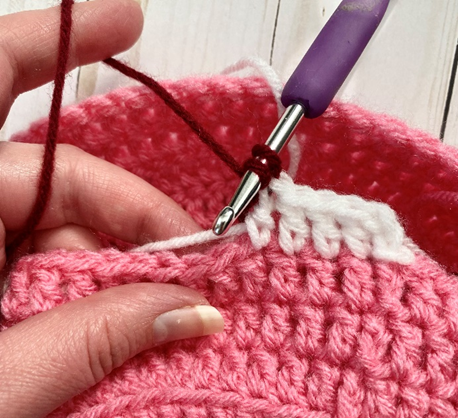
Rnd 10 – *Dc in next 4 sts, change to red yarn. Carrying white yarn behind sts (second and third photos), dc in next 4 sts, change back to white (fourth photo).* Rep from * to * 8 more times. Do not change to white yarn at end of rnd. Join with sl st to first dc of rnd. Ch 2 (72 dc)
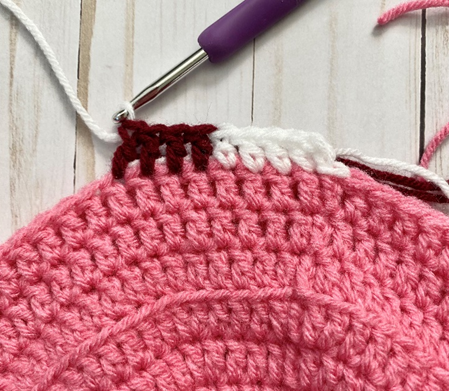
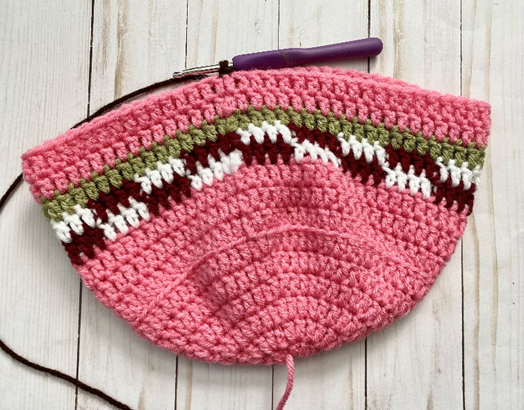
Rnd 11 – Carrying white yarn to next rnd and behind current sts, *Dc in next 4 sts, change to white yarn. Carrying red yarn behind sts, dc in next 4 sts, change back to red (first photo below).* Rep from * to * 8 more times. Change to green yarn in last st of rnd. Join with sl st to first dc of rnd. Ch 2 (72 dc)
Rnd 12 – Dc in each st around. Join with sl st to first dc of rnd. Change to pink yarn in last st. Ch 2 (72 dc)
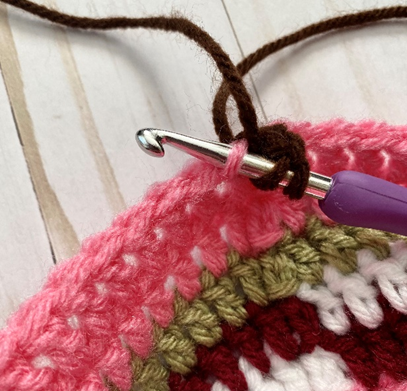
Rnds 13 – 14 – Dc in each st around. Join with sl st to first dc of rnd. Change to brown yarn in last st (first photo below). Ch 2 (72 dc)
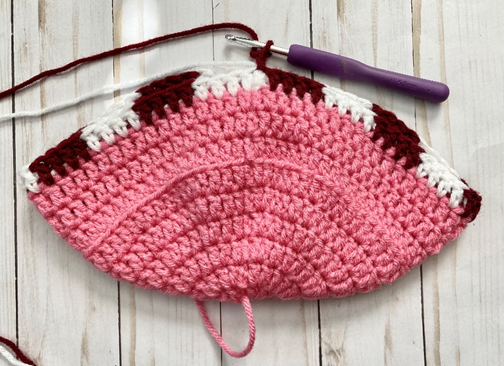
Rnd 15 – working in FLO (second photo below), dc in next st, 2 dc in next st. Rep from * to * around. Join with sl st to first dc of rnd. Ch 2 (108 dc)
Rnd 16 – *Dc in next 2 sts, 2 dc in next st.* Rep from * to * around. Join with sl st to first dc of rnd (first photo below). Ch 2 (144 dc)
Rnd 17 – *Dc in next 3 sts, 2 dc in next st.* Rep from * to * around. Join with sl st to first dc of rnd. Ch 2 (180 dc)
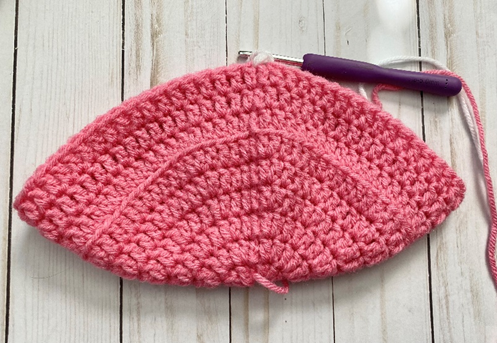
Rnd 18 – Dc in each st around. Join with sl st to first dc of rnd. (180 dc)
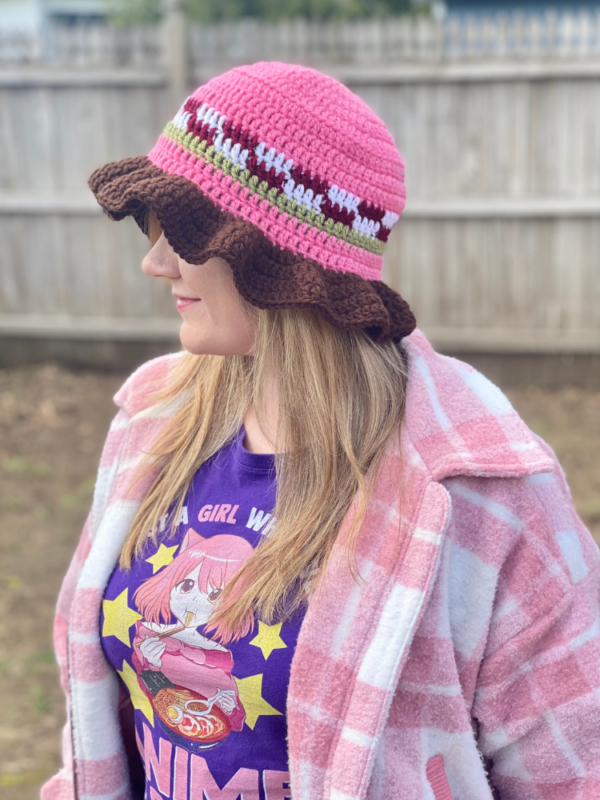
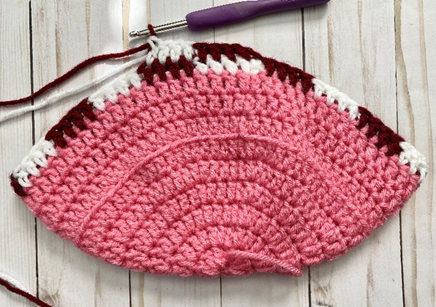
Fasten off, weave in ends. Second photo below shows finished piece.
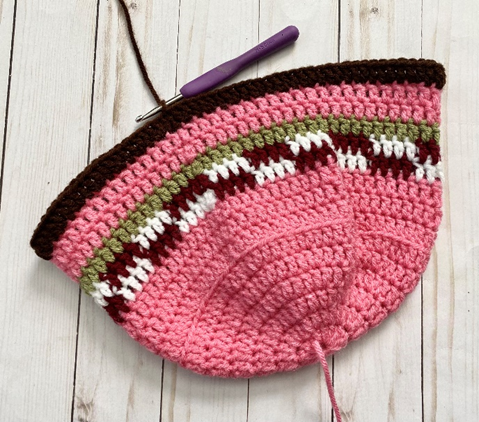
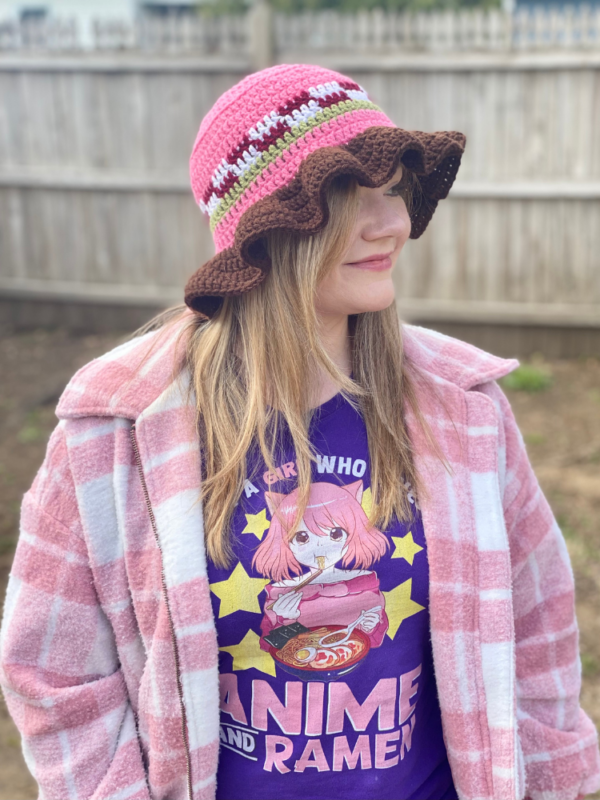
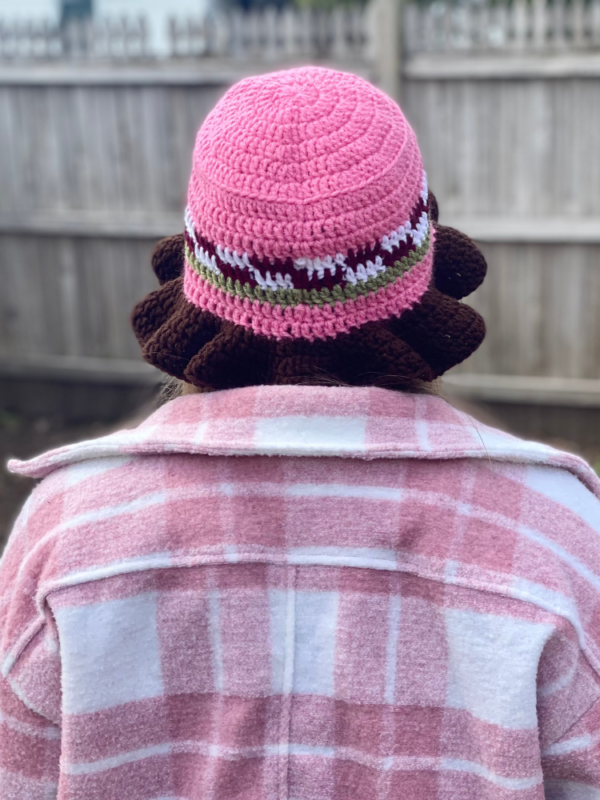
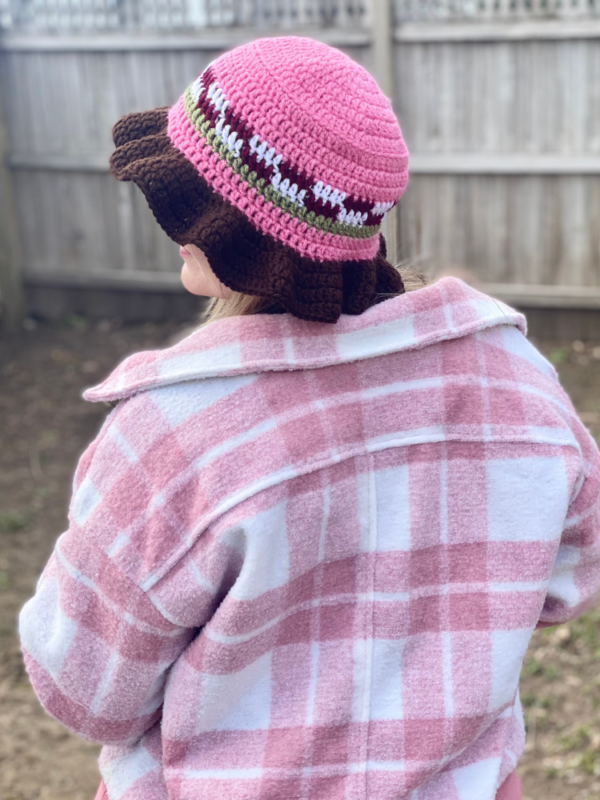
Here is the finished hat!

I hope you enjoyed crocheting this bucket hat along with me today. If you love fun, free patterns like this one, then please be sure to sign up for my email list to keep up to date with all my latest designs:
Also, please be sure to follow me on social media, and tag me in photos of your finished projects made from my patterns, so I can see your lovely work!
Don’t forget to pin it for later HERE!
And you can find that ad-free PDF pattern HERE!
Happy Crocheting!
COPYRIGHT:
This pattern is owned by Crafty Kitty Crochet (Melissa Moore). Any reselling or distribution of this pattern is prohibited. Sale of items made using this pattern is welcomed, but I do ask that credit/a link be provided back to my site, craftykittycrochet.com.

Comments (3)
Gingham Frog Bucket Hat – Crochet Pattern ~ Crafty Kitty Crochet
March 22, 2023 at 6:12 pm
[…] with the gingham crochet effect a while back, as you can see from my Gingham Frog Backpack and Little Sis Bucket Hat patterns! It’s just such a fun look and very easy to produce. And it so happens that gingham is […]
11 Unique Bucket Hat Free Crochet Patterns
March 21, 2026 at 2:25 pm
[…] craftykittycrochet […]
11 Distinctive Free Crochet Patterns for Bucket Hats – Chloe Crochet
June 27, 2026 at 3:35 am
[…] craftykittycrochet […]