
Amigurumi Jelly Bees – Crochet Pattern
Pin it for later!
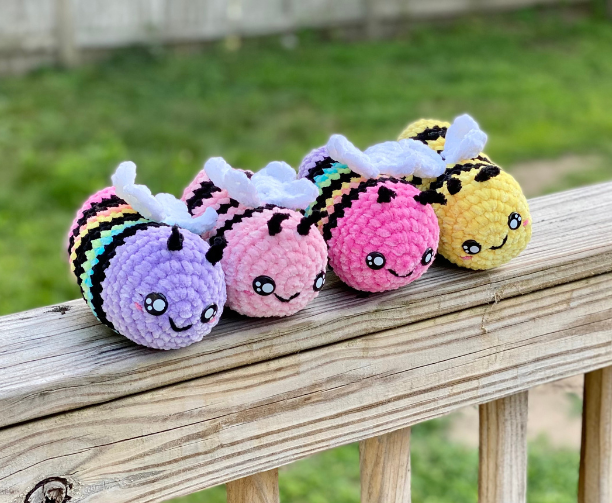
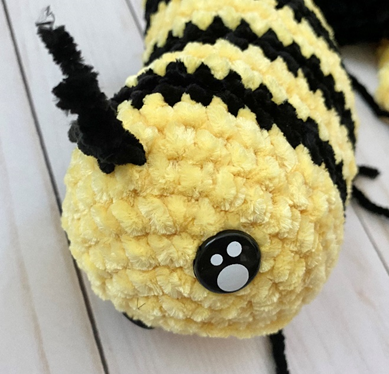
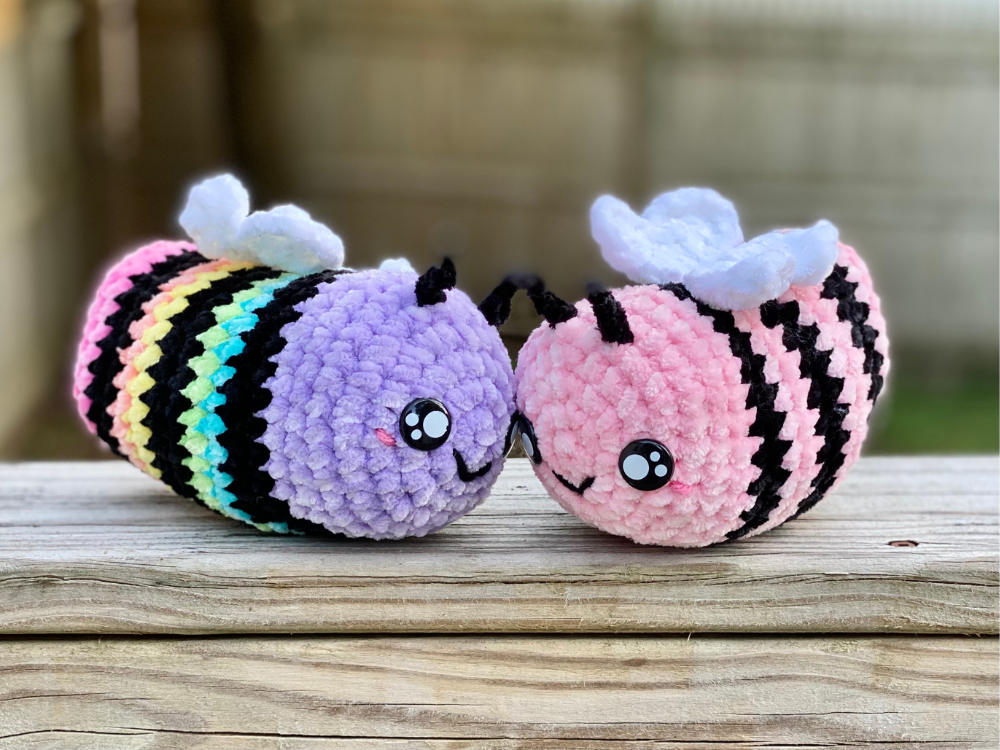
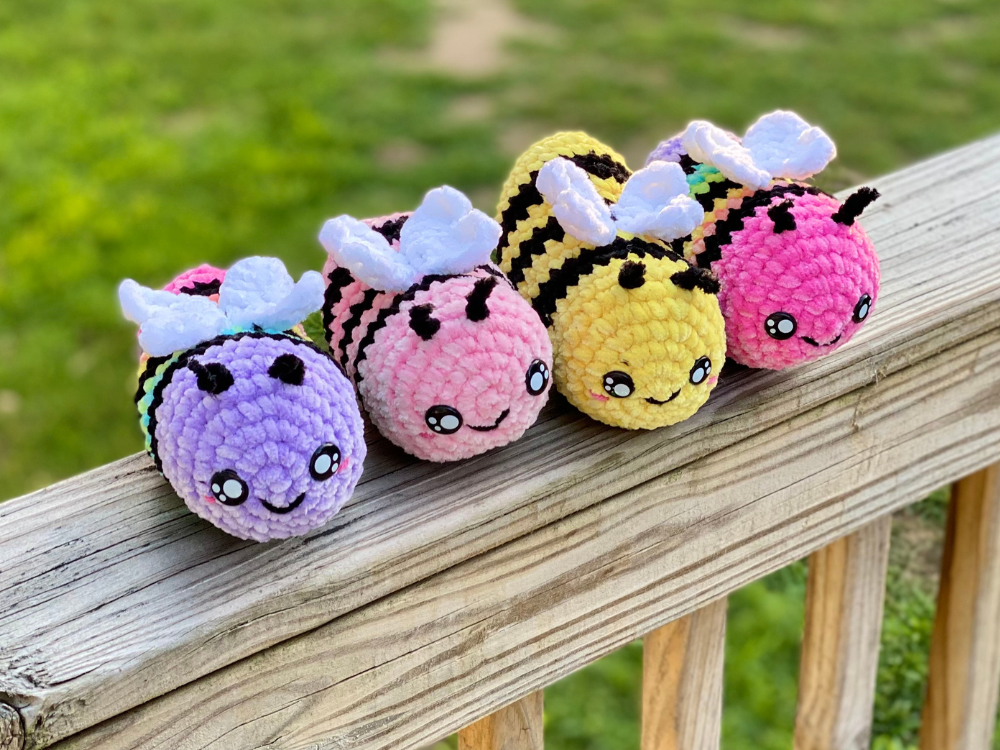
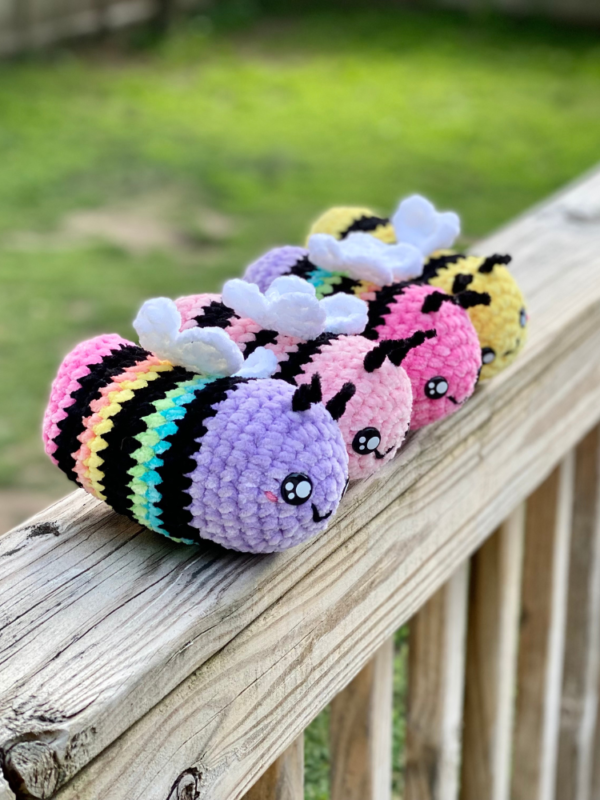
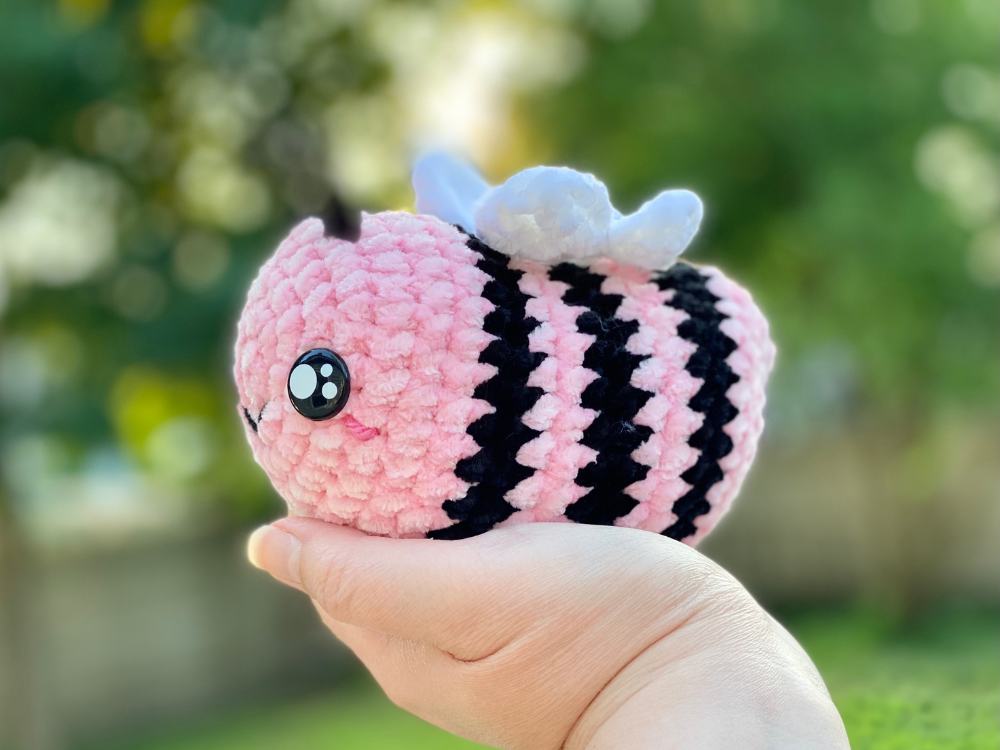
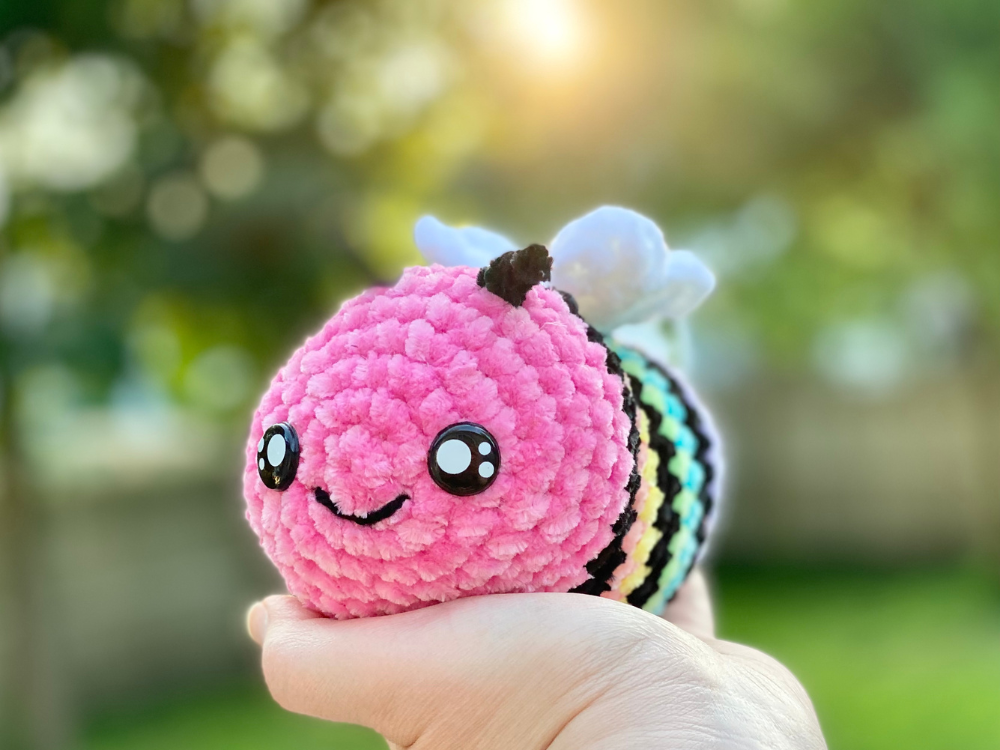
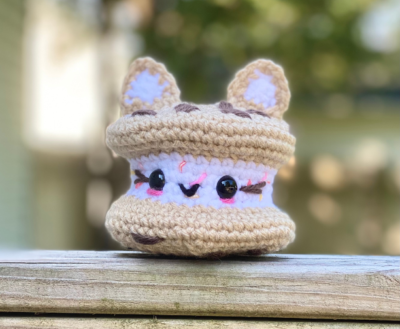
These cute little bumble bees are shaped like jelly beans: so they’re JELLY BEES! Crochet them in any colors you want – pink, rainbow, etc. – using this easy to follow amigurumi pattern! These kawaii bees are the perfect plushie for gifting as a stuffed toy to kids of all ages! They’re also great for decor, and even for craft fairs! Everyone will be buzzing about these cuties for sure!
Amigurumi Jelly Bees
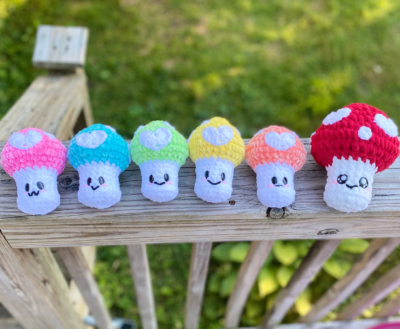
It’s no secret that I’ve become a little obsessed with chenille yarn! My Hearty Mushrooms, Sweet Spring Birds, and Golden Puppy are great examples of this! And I have so many more fun, velvety soft projects in the works too. So why not make some cute fuzzy bees? As you know from patterns like my S’mores Jellyfish and Cherry Pie Turtle, I also love to throw a food twist on many of my animal patterns. So why not make the cutest fruit candy bees around? That’s how I came up with the idea for Jelly Bees!
The yarn I used is a Dollar Tree exclusive, so if you’re looking for an alternative that you can buy from anywhere you’re located, I suggest Premier Parfait Chunky! Find some on Amazon HERE!
Looking for the ad-free PDF copy of this pattern? You can find it in my shop HERE!
Special thanks to LoveSewing for featuring these bees in a round-up on their site!!!
Supplies
Size 7 / 4.5 mm crochet hook
About 35 yds of bulky weight yarn in contrast color (yellow or rainbow colors; Premier Just Chenille in Sunshine or Yellow used for regular bee; Premier Just Chenille in Flamingo, Mango, Sunshine, Lime, and Aqua used for rainbow bee; Premier Just Chenille in Pink used for pink bee)
About 25 yds of bulky weight yarn in black (Premier Just Chenille in Black)
About 10 yds of bulky weight yarn in white (Premier Just Chenille in White)
Small amount of medium weight black yarn for smile
Small amount of medium weight pink yarn for blush
1 pair of 15 mm safety eyes
Fiberfill stuffing
Yarn needle
Scissors
Abbreviations
*= indicates beginning/end of a section to be repeated
Ch = chain
Dc = double crochet
Rem = remaining
Rep = repeat
Rnd(s) = round(s)
Sc = single crochet
Sc2tog = single crochet 2 together
Sk = skip
Sl St = slip stitch
St(s) = stitch(es)
Tr = triple crochet
Gauge
Exact gauge is not essential to this project.
Size
About 6.5 – 7 inches length
Notes
Shape of Body is made by using increases/decreases throughout, which doesn’t affect number of stitches per round, but does affect shaping of piece.
Premier Just Chenille is classified as a Super Bulky weight yarn, but is closer to Bulky weight.
How to Make This
Instructions
Body
This piece is worked in continuous rnds; do not join. You may wish to use a stitch marker and move it up at the beginning of each new rnd.
Rnd 1 – With contrast color yarn, make a magic ring. 6 sc in ring. (6 sc)
Rnd 2 – 2 sc in each st around. (12 sc)
Rnd 3 – *2 sc in next st, sc in next st.* Rep from * to * around. (18 sc)
Rnd 4 – *2 sc in next st, sc in next 2 sts.* Rep from * to * around. (24 sc)
Rnd 5 – *2 sc in next st, sc in next 3 sts.* Rep from * to * around. (30 sc)
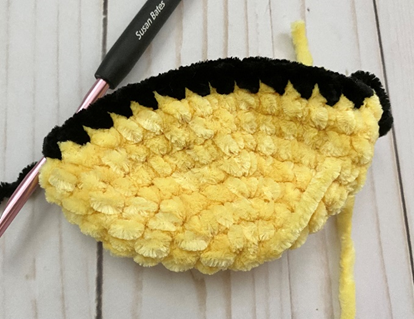
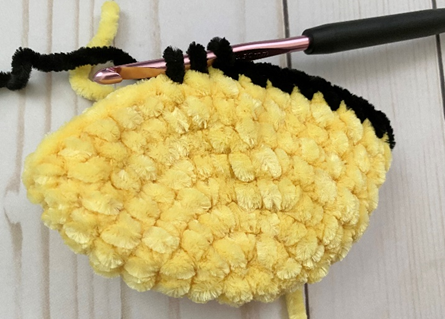
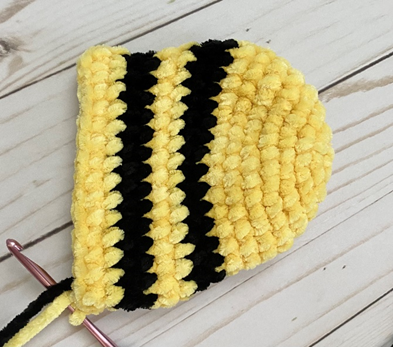
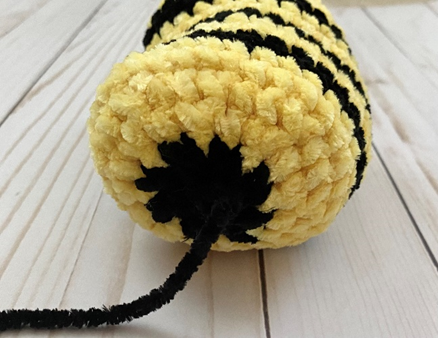
Rnds 6 – 8 – sc in each st around (first photo below). In last st of Rnd 8, change to black yarn. (30 sc per rnd)
Rnd 9 – sc in next 13 sts. Sc2tog over next 2 sts (second photo). Sc in next 14 sts. 2 sc in last st. Third photo shows finished rnd. (30 sc)
Rnd 10 – rep Rnd 9, change to contrast color yarn in last st (fourth photo). (30 sc)

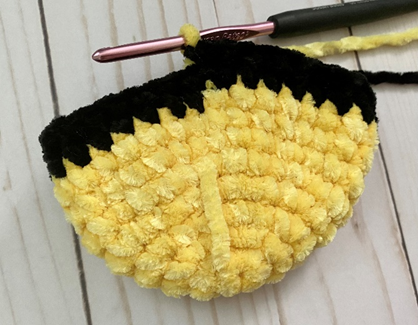
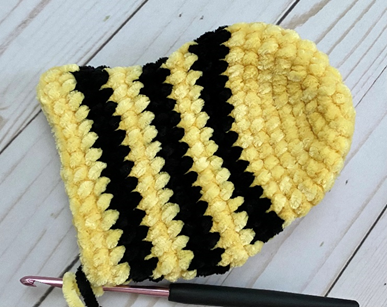
Rnds 11 – 12 – rep Rnds 9 – 10; change to black yarn in last st of Rnd 10 (first photo below). (30 sc per rnd)
Rnds 13 – 14 – sc in each st around. Change to contrast color in last st of Rnd 14 (second photo below). (30 sc)
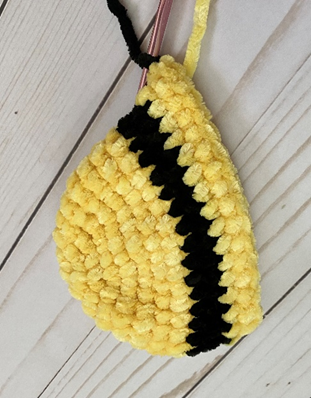
Rnd 15 – sc2tog over next 2 sts. Sc in next 13 sts. 2 sc in next st. Sc in last 14 sts. (30 sc)
Rnd 16 – rep Rnd 15; change to black yarn in last st. (First photo below.) (30 sc)
Rnds 17 – 18 – rep Rnds 15 – 16; change to contrast color yarn in last st of Rnd 18. (30 sc)
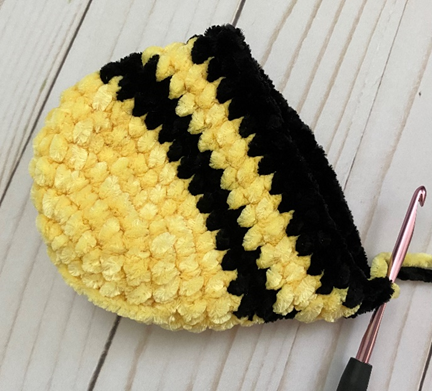
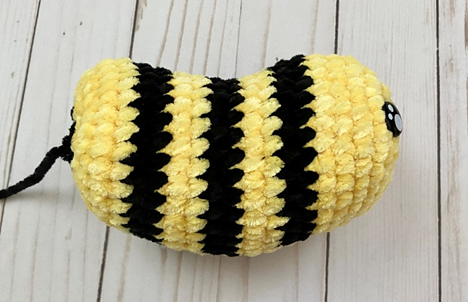
Rnd 19 – 20 – rep Rnds 17 – 18. (Second photo below.) Attach safety eyes about 7 – 8 sts apart between Rnds 4 and 5. Stuff piece. (30 sc per rnd)
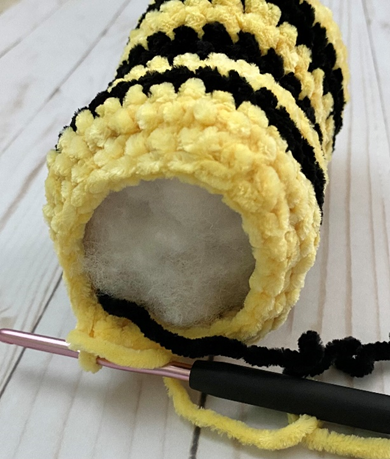
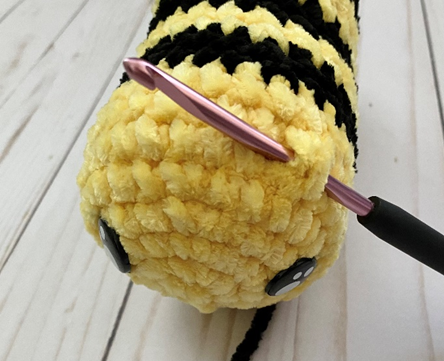
Rnd 21 – *sc in next 2 sts, sc2tog over next 2 sts.* Rep from * to * 6 more times. Sc over last 2 sts. (Third photo below.) (23 sc)
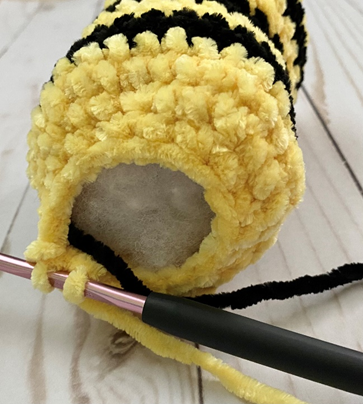
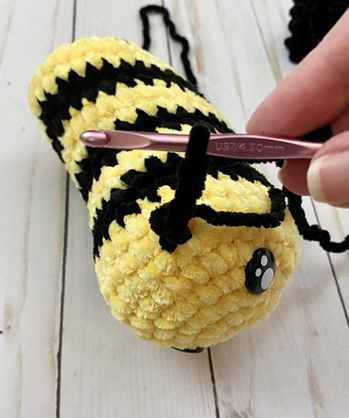
Rnd 22 – *sc in next st, sc2tog over next 2 sts.* Rep from * to * 6 more times. Sc in last 2 sts. Change to black in last st. Finish stuffing. (Fourth photo.) (16 sc)
Rnd 23 – *sc2tog over next 2 sts.* Rep from * to * around. (8 sc)
Rnd 24 – rep Rnd 23. (4 sc)
Fasten off, leaving tail for sewing rem gap from Rnd 24. Two photos below show piece after finishing Body.
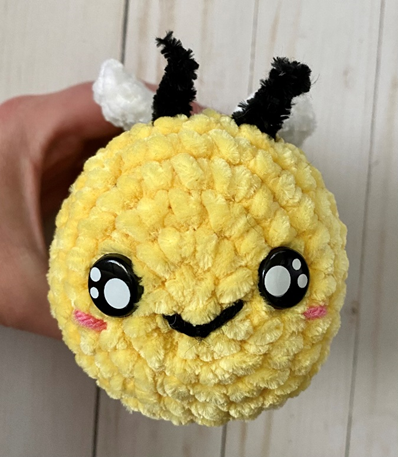
Antenna (make 2)
Join black yarn around a st between Rnds 6 and 7 of Body, on one side of head (photo to right). Ch 4 (first photo below). Fasten off. Tie knot close to last ch, trim end (do not trim too closely to knot). Rep 4 sts apart on opposite side of head to make second antenna. Second and third photos below show finished antennae.
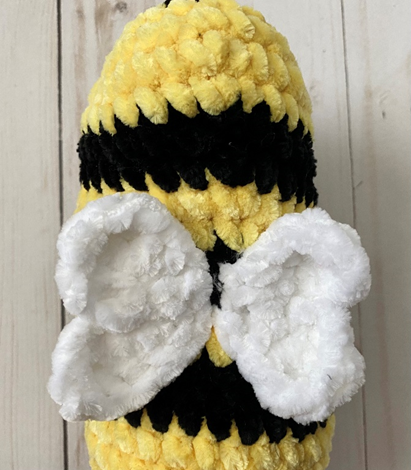
Heart Wing (Make 2)
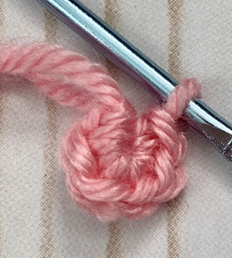
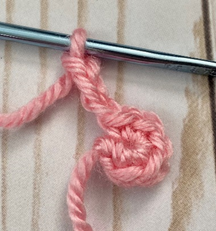
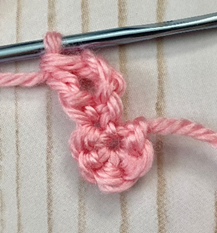
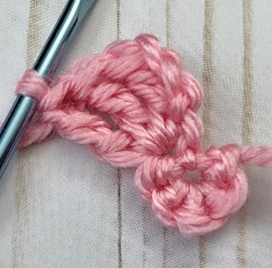
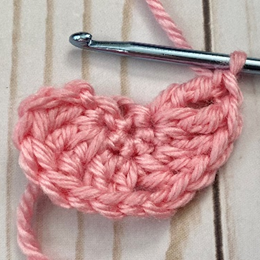
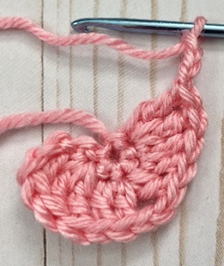
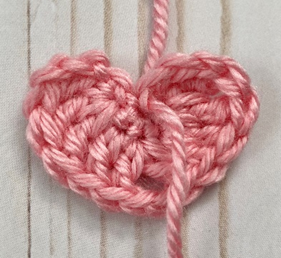
Rnd 1 – with white yarn, make a magic ring, 6 sc in ring. Ch 3, turn. 3 tr in first st. Dc in next st. Dc, ch 2, Dc in next st. Dc in next st. 3 tr in next st. Ch 3, sk last st and sl st into small hole in center of magic ring. Fasten off; pull beg end to close hole and weave in ends (leave a long tail for sewing when fastening off.)


Finishing
Sew Heart Wings to center-top of Body (first photo below). With medium weight black yarn, make a small “v” between eyes for smile. With medium weight pink yarn, make small horizontal lines near outer edges of each eye for blush. (Second photo below shows finished smile/blush.)
Weave in all ends and/or tie off knots and hide inside sts.
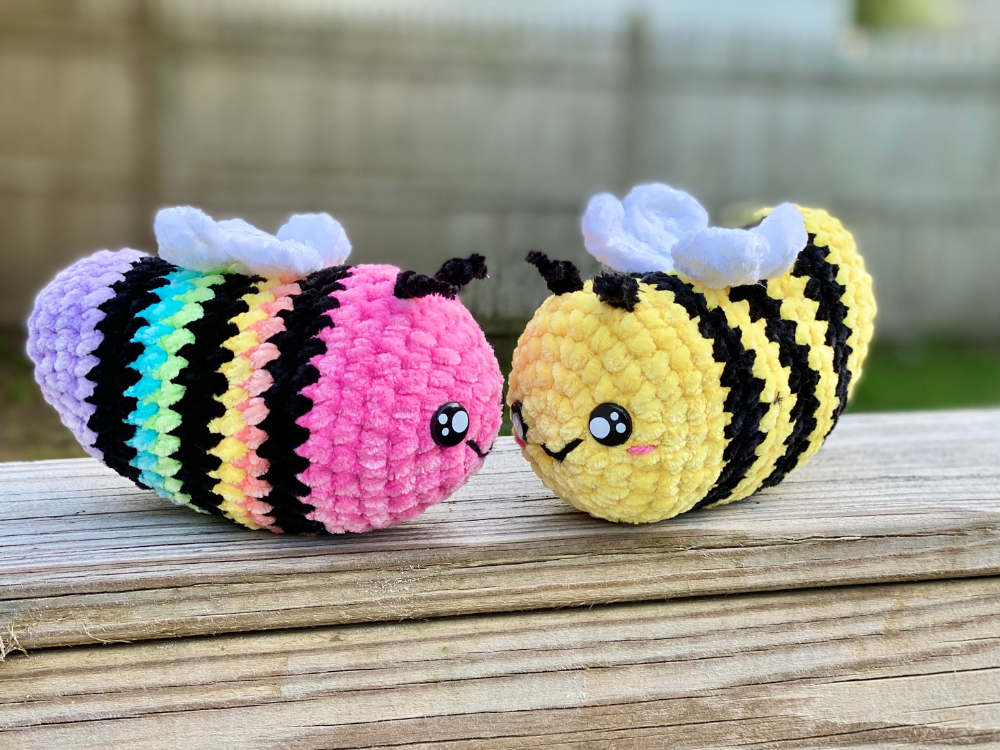
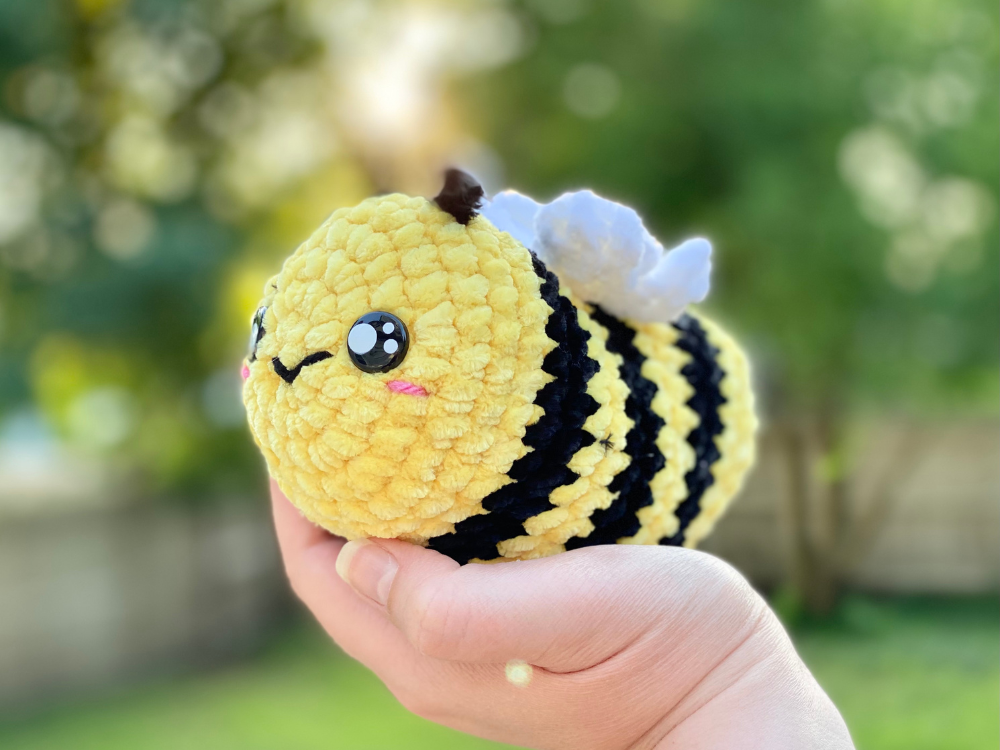
Here are the finished bees!
I hope you enjoyed crocheting these bees along with me today. If you love fun, free patterns like this one, then please be sure to sign up for my email list to keep up to date with all my latest designs:
Also, please be sure to follow me on social media, and tag me in photos of your finished projects made from my patterns, so I can see your lovely work!
Don’t forget to pin it for later HERE!
And you can find that ad-free PDF pattern HERE!
Happy Crocheting!
COPYRIGHT:
This pattern is owned by Crafty Kitty Crochet (Melissa Moore). Any reselling or distribution of this pattern is prohibited. Sale of items made using this pattern is welcomed, but I do ask that credit/a link be provided back to my site, craftykittycrochet.com.
Comments (11)
Amigurumi Friendship Frogs – Crochet Pattern ~ Crafty Kitty Crochet
August 11, 2022 at 8:17 pm
[…] chenille yarn craze really caught me this summer, as you may have guessed from my Amigurumi Jelly Bees and Hearty Mushrooms! I’ve been wanting to make a frog plushie for some time now – especially […]
30+ Bee-utiful Crochet Bee Patterns – Dabbles & Babbles
November 17, 2022 at 9:33 am
[…] Get the Jelly Bees Pattern […]
Brooke Jackson
January 24, 2023 at 4:46 am
Where did you get your eyes please?
Melissa
January 24, 2023 at 2:22 pm
Hi Brooke – you can find the ones I bought on Amazon here (this is my affiliate link, fyi!): https://www.amazon.com/gp/product/B07VWT1QQV/ref=ppx_yo_dt_b_asin_title_o07_s00?ie=UTF8&th=1&_encoding=UTF8&tag=craftykittycr-20&linkCode=ur2&linkId=9f6d887650efb77331d7af5adbe9cb58&camp=1789&creative=9325
Thanks!
Kaitlyn
February 22, 2023 at 10:46 pm
Hi! I’m a beginner and am trying to start this project. I’m having issues with interpreting the pattern once I get to round 4. I read that row as (sc, 2 inc) repeat 6 times which is getting me 30 stitches in round 4 instead of 24. What am I doing wrong?
Melissa
February 22, 2023 at 11:17 pm
Hi Kaitlyn! My apologies, there was a wording error in the pattern, it’s fixed now! It should be “2 sc in next st, sc in next 2 sts” repeated 6 total times, which is 24 sc! Please let me know if you have any other questions and hope you love the pattern! Thank you! ~ Melissa
Kaitlyn
February 23, 2023 at 12:07 am
Awesome!! Thank you so much!!
Melissa
February 23, 2023 at 2:46 pm
You’re so welcome and thank you!
Sarah
August 31, 2023 at 1:02 pm
This is an adorable pattern! I’m making a few for a craft fair.
Question… round 10 says “rep round 10”. Is it rep r 9?
Melissa
September 2, 2023 at 9:55 pm
Thank you so much Sarah! Yes, sorry, that was a typo – I just fixed it!! 😀
Crochet Bee Patterns – 20 Buzz-Worthy Designs for Gifts.
January 20, 2026 at 6:14 am
[…] More at: Crafty Kitty CrochetFREE […]